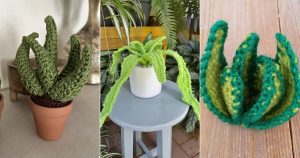
Add a touch of green without the watering! Try this Crochet Snake Plant Pattern Tutorial and make a leafy piece for your home.
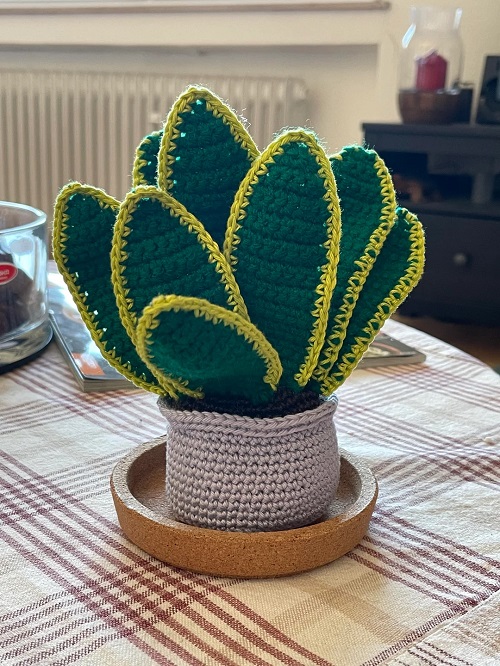
This easy-to-follow Crochet Snake Plant Pattern Tutorial will tell you how to work on the sword-shaped leaves, soil, and plant base separately before joining everything into a cute handmade decoration. This project uses basic crochet stitches, a few yarn colors, stuffing, and simple sewing to give the finished plant a neat shape. They will look adorable on your desk, shelf, craft table, or beside your other handmade decorations. This tutorial walks you through each part at a comfortable pace, from forming the leaves to attaching them securely to the soil. Grab your hook and yarn, then follow the steps to crochet your own little snake plant.
Crochet Snake Plant Pattern Tutorial
1. Checklist of all the Materials
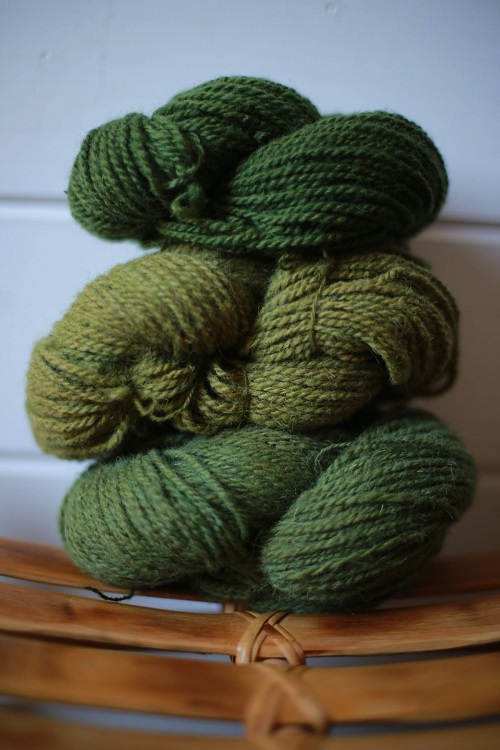
For this crochet snake plant,
- Gather your 5 mm crochet hook and medium-weight yarn.
- You will need dark green, medium green, light green, and brown yarn for the main version. A small amount of pink yarn or embroidery floss can be used for tiny decorative details, while black embroidery floss works for the face on the pot.
- Polyester fiberfill, a yarn needle, scissors, and a few stitch markers.
- Also, if you are opting to make a face on the pot,
- Then you will require two 10 mm black safety eyes.
- Keep your yarn needle close while working because several pieces need to be sewn together.
- Stitch markers are useful when you are joining rounds and want to keep track of the starting point.
2. Know the Crochet Abbreviations
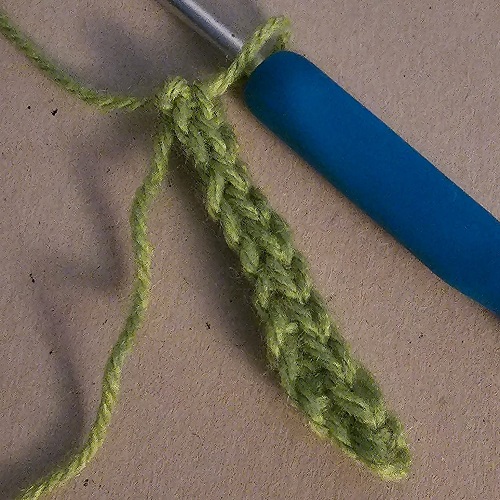
Here, we have used the US crochet terms throughout the project—
ch: chain
sl st: slip stitch
sc: single crochet
hdc: half double crochet
dc: double crochet
sc2tog: single crochet two together
FLO: front loop only
BLO: back loop only
3. Start with the Large Leaf
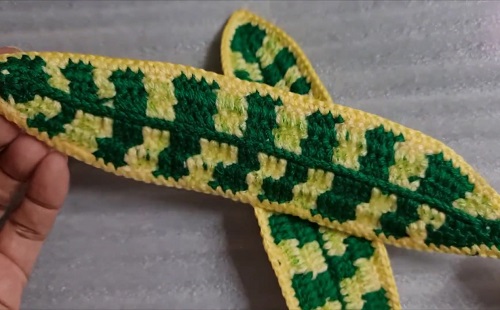
Start with your dark green yarn and chain 17. Work into the third chain from your hook. Make 5 double crochets, followed by 5 half double crochets and 4 single crochets. Work 2 single crochets into the next chain. Turn your work so you can crochet along the opposite side of the starting chain. Make 5 single crochets, 5 half double crochets, and 5 double crochets. Chain 2 and turn.
For the second row, work 13 double crochets, 1 half double crochet, and 1 single crochet. In the next stitch, work 1 half double crochet, chain 1, 1 double crochet, chain 1, and 1 half double crochet into the same stitch. Follow with 1 single crochet, 1 half double crochet, and 13 double crochets. Fasten off and weave in the loose end.
Use your light green yarn for the final row. Join it at the beginning of the row and work single crochets across the leaf. At the center, work a small chain space to help form the pointed shape. Finish the row, fasten off, and weave in the yarn end.
4. Make 2 Medium Leaves
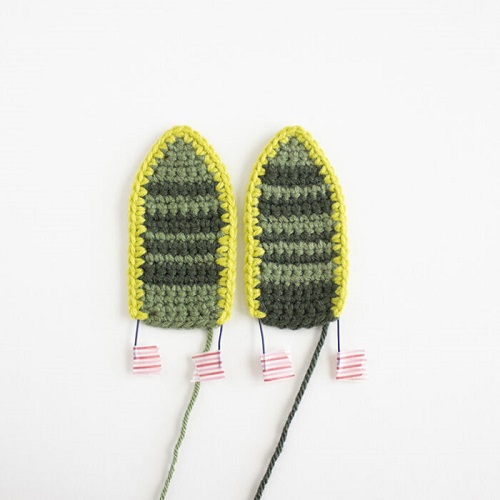
For each medium leaf, chain 14 with your chosen green yarn. Start with the third chain from your hook, and work 4 double crochets, 4 half double crochets, and 3 single crochets. In the next chain, work 2 single crochets. Continue along the other side of the starting chain with 4 single crochets, 4 half double crochets, and 4 double crochets. Chain 2 and turn.
Work the second row using double crochet, half double crochet, and single crochet stitches. At the center, use the same small combination of half double crochet, chain 1, double crochet, chain 1, and half double crochet to form the top section.
To finish the light green edging work, single crochet across the row and form the center point with a short chain space. Fasten off and weave in the ends. Repeat the same process once more so you have two medium leaves. Your leaves are ready to be potted in the soil.
5. Crochet the base, i.e., soil
Now pick up your brown yarn for the soil section. Begin with a magic ring. Work 6 single crochets into the ring and join with a slip stitch. For the next round, work 2 single crochets into every stitch around. Check that you have 12 stitches, and then move on.
Continue increasing evenly around the following rounds. Work 18 stitches in round three, 24 in round four, 30 in round five, and 36 in round six. Keep your stitches firm but not overly tight. The soil needs to stay flat enough for the leaves to sit securely. Fasten off after the final round. Leave a long yarn tail because you need to sew the leaves onto the soil.
6. Construct the house for your plant
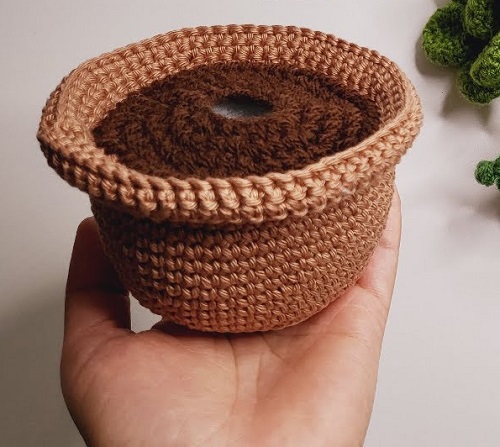
Your Sansevieria needs a small crocheted pot to hold the soil and leaves. Use a basic round-bottom crochet pot in brown, terracotta, cream, or any color you prefer. Work the pot tightly enough to hold the stuffing without leaving large gaps between stitches. A wider base works well because the tall leaves will make a small plant top-heavy. Before closing the pot completely, place a small amount of polyester fiberfill inside. Do not pack it too firmly. You will need enough filling to give the pot body while keeping the surface smooth.
7. Arrange the leaves in the pot
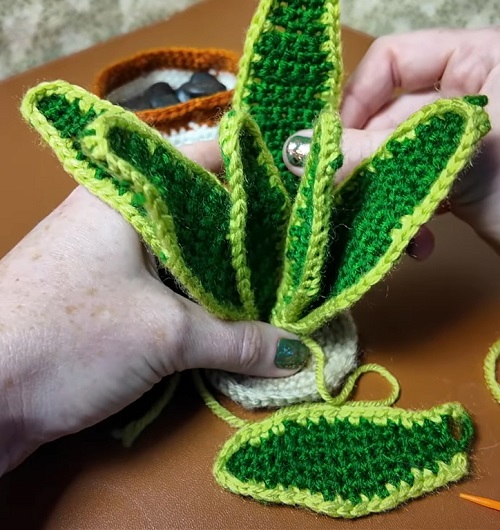
Lay the large leaf across the top of the crocheted soil and position the two medium leaves around it. Take a moment to look at the plant from the front, back, and sides. Move the leaves around until they form a balanced group. Keep the same side of each leaf facing outward. This small detail helps the leaves look consistent once they are sewn in place. For a realistic look, remember the snake plant leaves in your mind or get a glance at it from your garden.
8. Sew the Leaves in Place
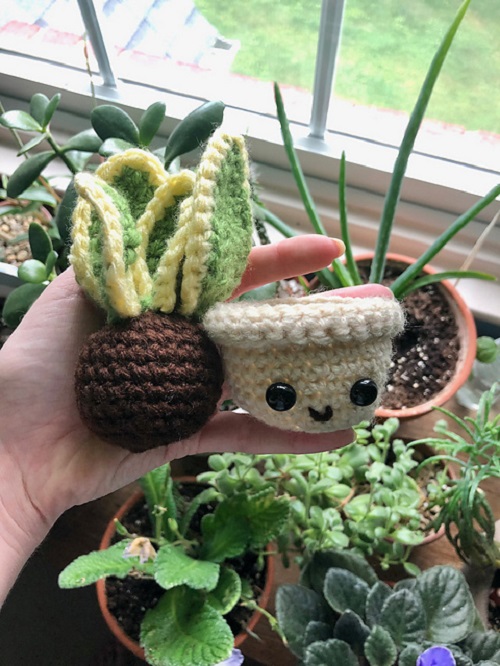
Thread your yarn needle with the long brown yarn tail. Place the large leaf around the upper section of the soil. Stitch through the bottom edge of the leaf and then through the soil, moving along the leaf a little at a time. Pull each stitch snugly, but avoid pulling so hard that the leaf may pucker.
Continue around the full bottom edge until the large leaf is firmly attached. Repeat the process with both medium leaves. Position them on opposite sides of the soil so the plant has a fuller shape. Once all three leaves are secure, knot the yarn on the underside and weave the remaining tail into the piece.
9. Finish the Plant
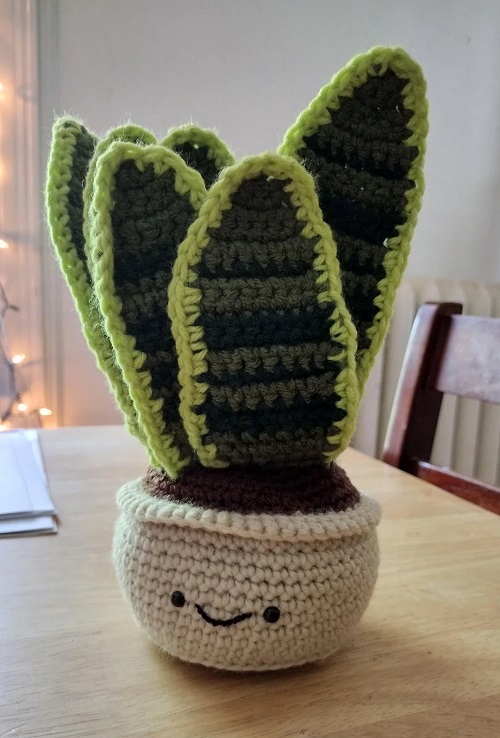
Place the finished soil section into your crocheted pot and secure it according to the pot design you are using. Give the leaves a gentle bend with your fingers to give them a more real look. The large leaf can curve slightly outward, while the smaller leaves can stand at different angles.
Sew on the safety eyes and any small facial details you want for a cute character version of the pot. Your crocheted snake plant is now ready to sit on your shelf, desk, bedside table, or craft corner.
Things to Keep in Mind while Working
Always count your stitches at the end of every row before moving forward, as the leaf rows use several different stitches, so it is easy to lose your place. When you are attaching the leaves, place a few loose stitches first. Once you are happy with the position, tighten them gradually. This makes it much easier to correct a leaf that sits at the wrong angle.
Friendly Helpful Tips
- Try to keep the same tension throughout each leaf because loose stitches will make the edges floppy, while very tight stitches will curl the piece.
- To mark the beginning of rounds, use a stitch marker, which will save you time when working on the soil and pot.
- Move it along as you finish each round so your increases stay in the right places. Do not overfill with stuffing, as it will stretch the crochet fabric and make the pot look lumpy.
- Use small amounts and shape the filling with your fingers as you go.
- Try to keep the leaf tips natural by avoiding pressing the pointed sections flat.
- A gentle curve will give the leaves a more upright appearance and help them resemble the strong leaves of a real snake plant.
- Safety eyes and other small decorations should be attached firmly. For projects intended for young children, embroidered details are a safer choice than loose small pieces. Once the plant is finished, spend a few minutes arranging the leaves by hand. Small changes in their direction will make your whole plant look fuller and more balanced.