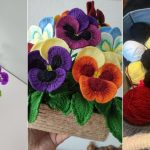

Learn how to crochet a Pansy Flower with easy steps and simple stitches. Choose your favorite yarn colors and hand-make a lovely flower.
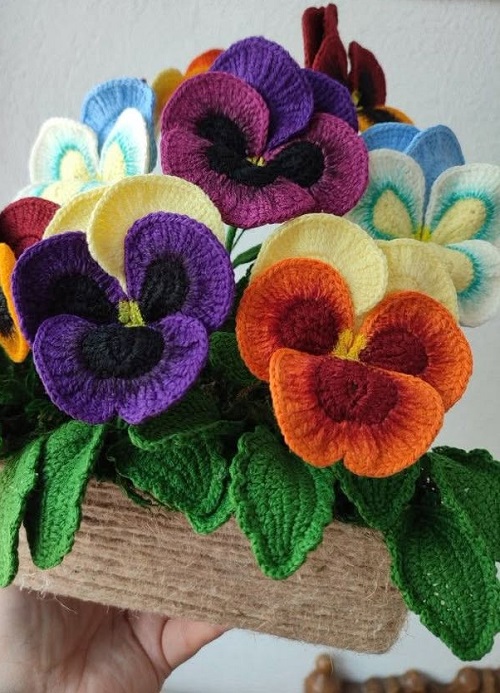

If you have some yarn left over, you can use it to make a pretty pansy. Learning how to crochet a Pansy Flower is simple once you know a few basic stitches. Pick your favorite colors and make flowers to decorate bags, headbands, gifts, or other handmade items.

What You Need
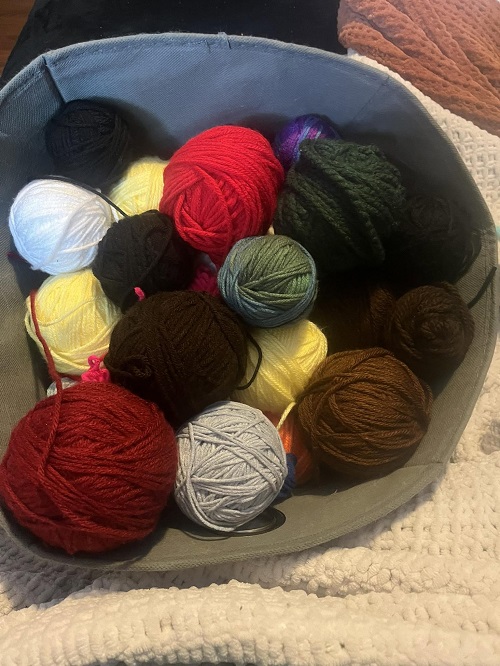
- Yarn in two or three colors
- Green yarn for leaves, if desired
- Crochet hook suited to your yarn
- Scissors
- Yarn needle
- Floral wire, if you want to make a stem
Cotton yarn is a good choice for a small flower because it gives the stitches a clear shape. Choose a yellow or cream shade for the center and a contrasting color for the petals. Purple, blue, pink, and white all work well.
Crochet Abbreviations
This tutorial uses US crochet terms.
- ch: chain
- sl st: slip stitch
- sc: single crochet
- hdc: half double crochet
- dc: double crochet
- tr: treble crochet
- st: stitch
How to Crochet a Pansy Flower
Step 1: Crochet the Flower Center
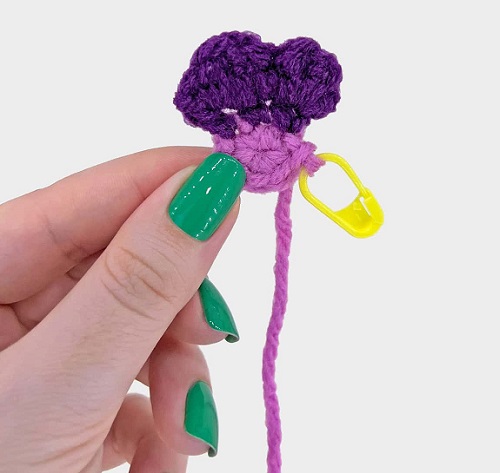
Start with yellow yarn. Make a magic ring and work six single crochet stitches into it. Pull the yarn tail to close the center, then join with a slip stitch.
Fasten off, leaving a yarn tail to sew the center to the petals later.
Keep the center small. If you make it too large, it can cover the inner edges of the petals and make the flower look more like a daisy than a pansy.
Step 2: Make the Petals
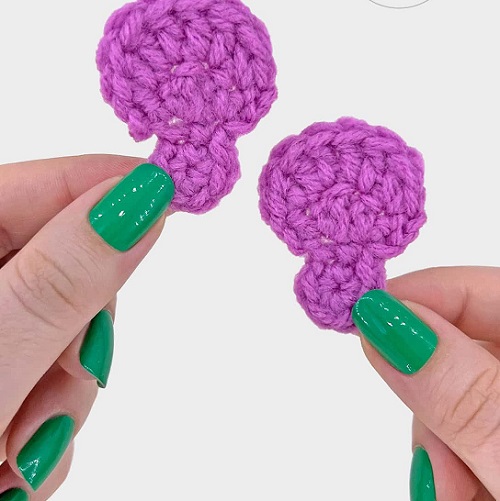
Choose your main petal color. Pansies have five petals, and you can make yours in one color or use a second shade for the upper petals.

For each petal, make a short chain of four stitches. Work a single crochet into the second chain from the hook, a half double crochet into the next chain, and a group of taller stitches into the last chain to widen the tip. Work back along the other side of the starting chain to give the petal a rounded edge.
Join at the base with a slip stitch and fasten off, leaving a long tail for sewing.
Repeat until you have five petals. Keep them close to the same size so they sit neatly together. If your first petal looks too narrow, add a stitch or two to the wider end of the next one and check the shape before making the rest.
Step 3: Add Color to the Petals
Look at a real pansy, and you’ll notice that the color near the center is often darker than the outer edges. You can copy this detail with a few small stitches.
Thread a yarn needle with a darker shade and sew two or three short lines from the base of each petal toward its middle. Don’t pull the stitches too tight, or the petal may gather.
You can leave this detail out if you prefer a plain flower. It is a small step, but it helps give the finished pansy its familiar appearance.
Step 4: Sew the Petals Together
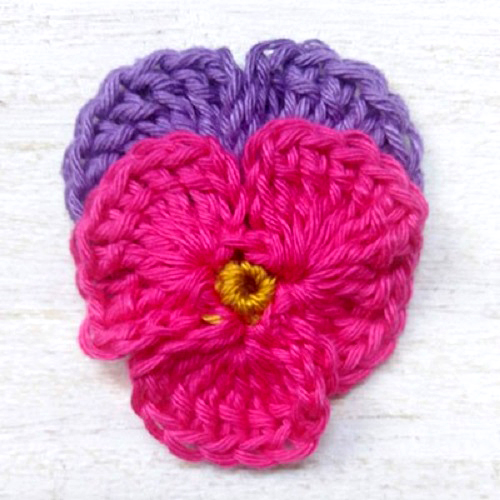
Arrange the petals on your work surface before sewing them. Place them around the yellow center, overlapping their inner edges slightly.
Use the yarn tails to sew the petals together at the base. Take small stitches through the adjoining edges, checking the front as you go. If one petal is sitting too far forward or hiding the next one, adjust it before securing the join.
When the petals are in place, sew the yellow center over the middle. Weave in the loose ends on the back of the flower.
Step 5: Make Leaves
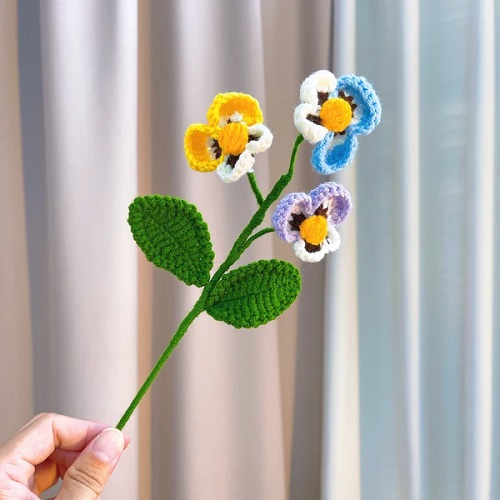
If you want to add leaves, use green yarn.
Chain six stitches. Work a slip stitch into the second chain from the hook, then a single crochet, a half double crochet, and double crochet stitches along the remaining chain. Work back along the opposite side to complete the leaf, using stitches that taper toward the starting point.
Fasten off and leave a tail for sewing. Make one or two leaves, then attach them to the back of the pansy.
The leaves don’t need to be large. Small ones help frame the flower without covering the petals.
Step 6: Add a Stem if You Want One
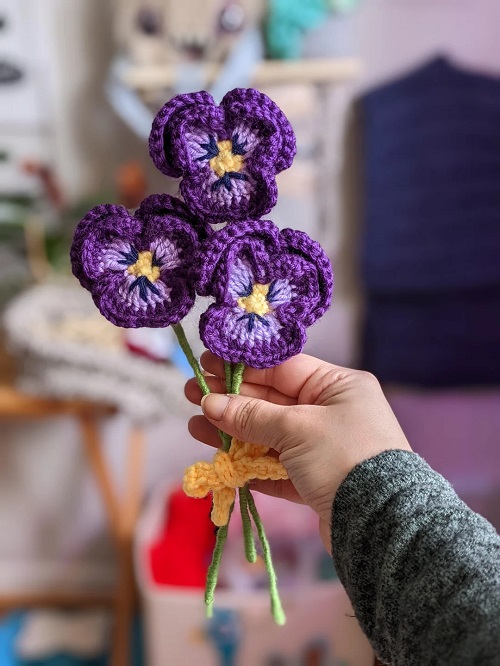
You can leave your pansy flat and sew it onto a bag, headband, or cushion. If you’d rather make a flower for a vase, attach a short piece of floral wire to the back.
Secure the wire at the base of the flower, then cover it with green yarn or floral tape. Make sure no sharp wire ends are exposed.
If you’re making a flower for a child’s accessory, skip the wire and sew the pansy securely onto the fabric instead.
A Few Things to Check Before You Finish
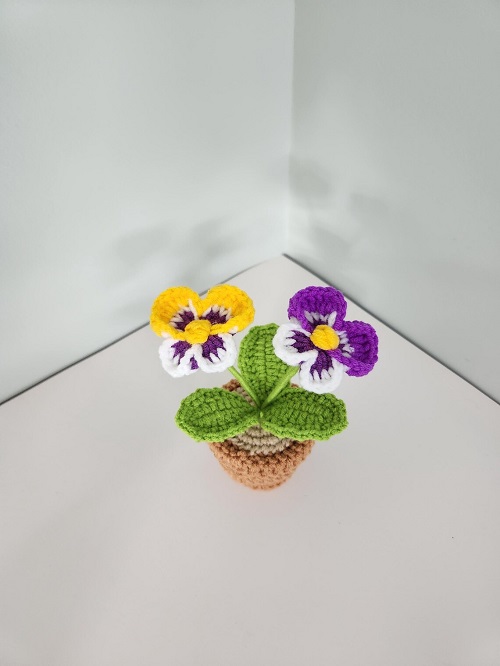
Lay your flower flat and look at the petals from the front. If they bunch up in the center, loosen the sewing stitches slightly. If there are gaps between them, overlap the edges a little more and sew them together again.
You can also shape the petals gently with your fingers. Avoid pulling on the tips, as this may stretch the stitches.
Once you’re happy with the shape, weave in any remaining yarn ends. Your pansy is ready to use as an applique, a hair accessory, or part of a handmade bouquet.
More Ways to Use Crochet Pansies
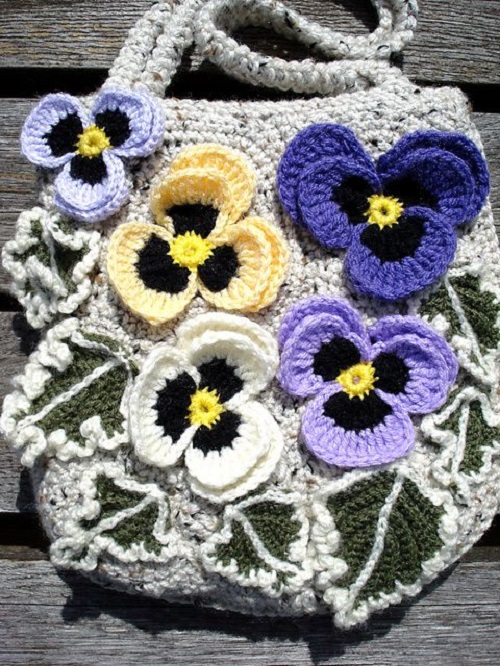
Make several flowers in different colors and sew them onto a tote bag or a knitted hat. You can also attach one to a gift wrap ribbon or make a small bouquet with green stems.
If you enjoy making small crochet flowers, save your leftover yarn pieces in a few colors. You can use them for the centers, petals, and markings without opening a new skein for every flower.
Each pansy can be a little different. Change the petal colors, add darker stitches near the center, or make the petals slightly wider. Once you’ve made one, you can adjust the next flower to suit the project you’re working on.