Try this Crochet Leaf Garland Tutorial and make a simple leafy decoration for your home. Grab your yarn and hook, then start creating today!
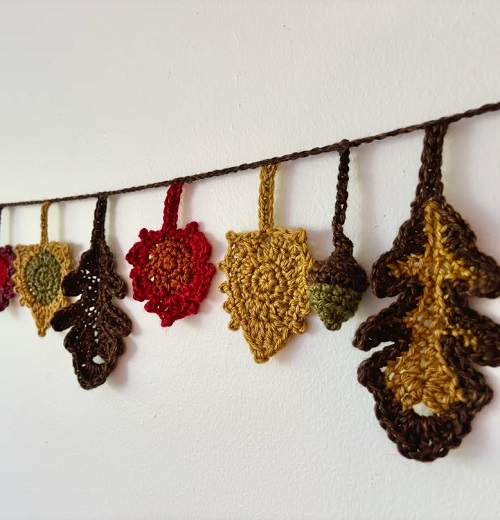
Looking for a small crochet project that you can finish without using much yarn? This crochet leaf garland tutorial is a good one to try. Each leaf takes only a few yards, and you can make a whole bunch while using up leftover yarn from other projects.
The leaves are worked in one piece, so there is no sewing several parts together. Once you’ve made enough, attach them to a simple crocheted cord or a piece of twine and hang the garland over a shelf, mantel, headboard, or nursery wall.
Green yarn gives it a fresh, leafy look, but don’t feel limited to green. Try rust and orange for fall, soft neutrals for everyday décor, or colors that match a particular room.
Crochet Leaf Garland Tutorial
What You’ll Need
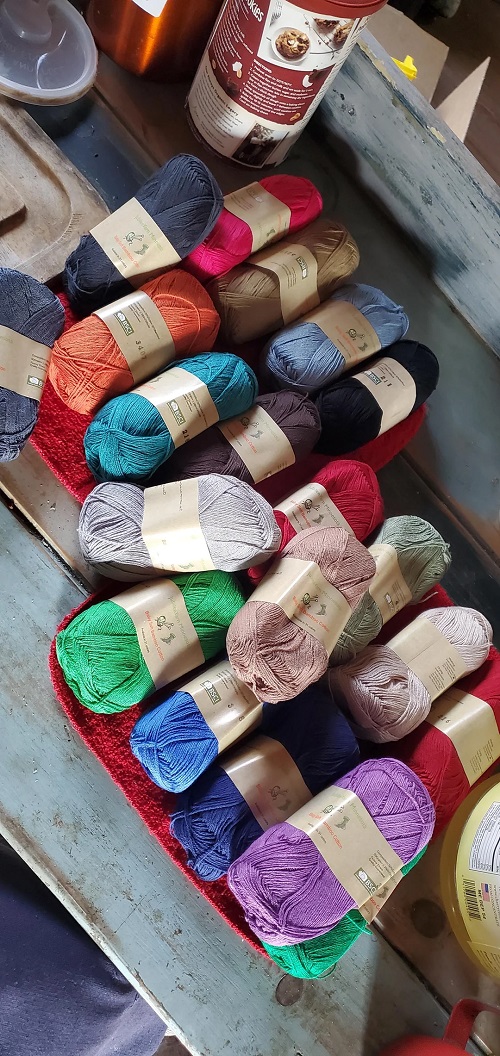
* Worsted-weight yarn in the colors you like
* 4.0 mm (G/6) crochet hook
* Yarn or tapestry needle
* Scissors
* Twine, ribbon, or yarn for the garland string
Yarn Needed
Each leaf uses only a small amount of yarn, roughly 3–4 yards. For a 5-foot garland, start with about 12–15 leaves. Add more if you want the garland to look fuller.
Crochet Terms
This pattern uses US crochet terms.
Abbreviations
* ch – chain
* sl st – slip stitch
* sc – single crochet
* hdc – half double crochet
* dc – double crochet
Crochet Leaf Garland Pattern
Step 1: Start the Leaf
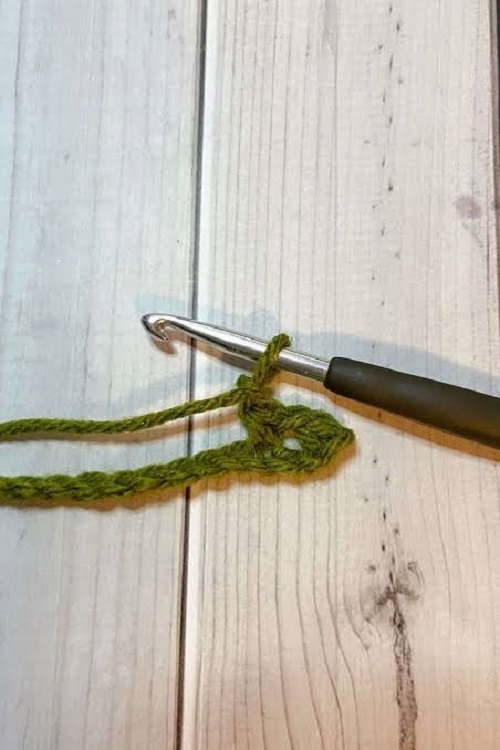
Chain **12**.
You’ll work down one side of this chain first and then come back along the other side. Try to work into just one loop of the chain instead of the whole chain. It makes the second side much easier to find.
Don’t worry if the chain twists a little while you’re starting. Just straighten it out as you work.
Step 2: Crochet Down One Side
Starting in the second chain from your hook, work these stitches:
* sl st in the next 2 chains
* sc in the next 2 chains
* hdc in the next 2 chains
* dc in the next 3 chains
* hdc in the next chain
* sc in the next chain
* 3 sc in the last chain
The three single crochets in the last chain turn your work around the end of the leaf.
At this point, you should be able to see the beginning of the leaf shape. The stitches are shorter near the ends and taller through the middle, which gives the leaf its pointed, slightly rounded shape.
Step 3: Work Back Along the Other Side
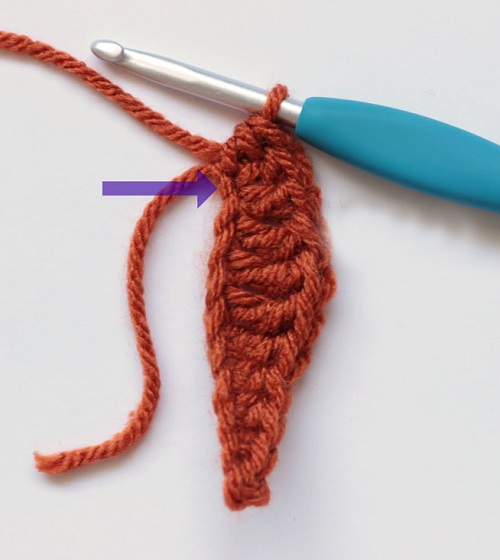
Now turn your work slightly so you can see the unused loops on the other side of the foundation chain.
Continue working into those loops:
* sc in the next chain
* hdc in the next chain
* dc in the next 3 chains
* hdc in the next 2 chains
* sc in the next 2 chains
* sl st in the last 2 chains
Slip stitch into the first slip stitch to close the leaf.
Fasten off and leave a yarn tail about 6 inches long.
Step 4: Shape the Leaf
Before making a whole pile of leaves, take a moment to look at your first one.
If it looks a little scrunched up, gently stretch it with your fingers and flatten the stitches. You can also lightly block the leaf if you want a crisper shape.
Don’t worry about tiny differences between leaves. Handmade pieces rarely come out exactly alike, and those little differences can make the finished garland look much more natural.
Optional: Add a Center Vein
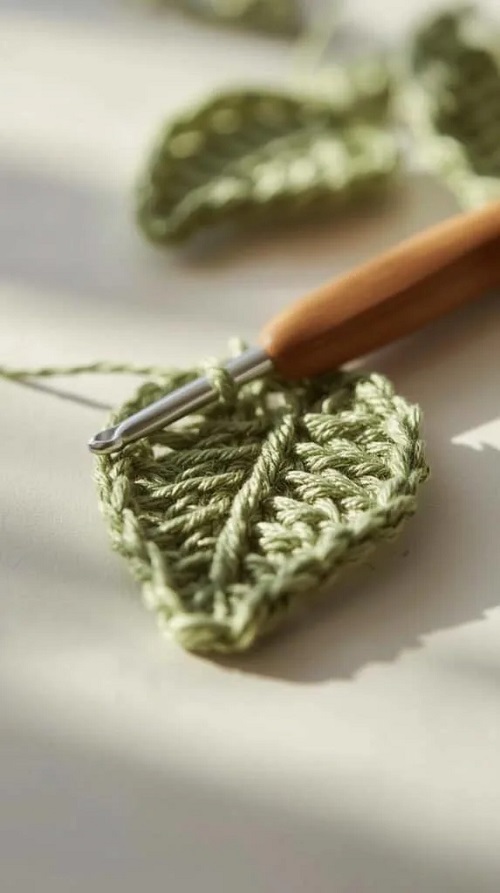
If you’d like your leaves to have a little more detail, you can add a simple center vein.
Thread a matching or contrasting yarn onto your needle and bring it up near the pointed end of the leaf. Work small stitches down the center, following the natural line of the leaf.
Keep the stitches loose. You don’t want to pull the leaf inward.
Finish near the bottom and weave the yarn ends into the back of the leaf.
This step is completely optional. The leaves look nice without it, too.
Make More Leaves
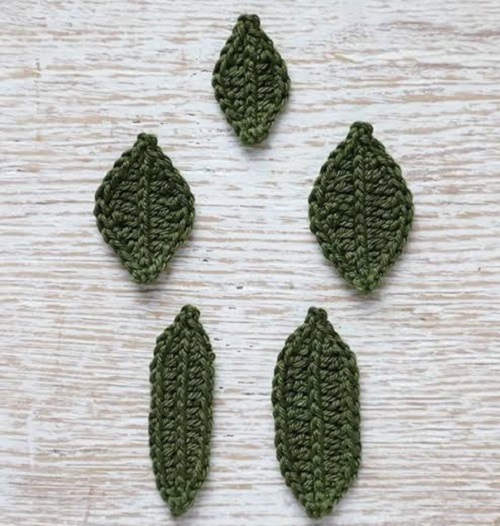
Repeat the leaf pattern until you have enough for your garland.
You don’t have to use the same color for every leaf. Try combining two or three shades of green for a more natural look.
For a fall garland, mix colors such as:
* rust
* burnt orange
* mustard
* brown
* cream
You can also make a few leaves slightly smaller or larger by changing your starting chain. Just remember that changing the chain length will change the proportions of the finished leaf.
Make the Garland String
You can attach the leaves to twine, ribbon, or a crocheted chain.
If you want to crochet the string, make a chain long enough for your display area. Leave extra chains at both ends so you have room to hang it.
For a simple 5-foot garland, make the string slightly longer than 5 feet to allow for the ends and a little drape.
Attach the Leaves
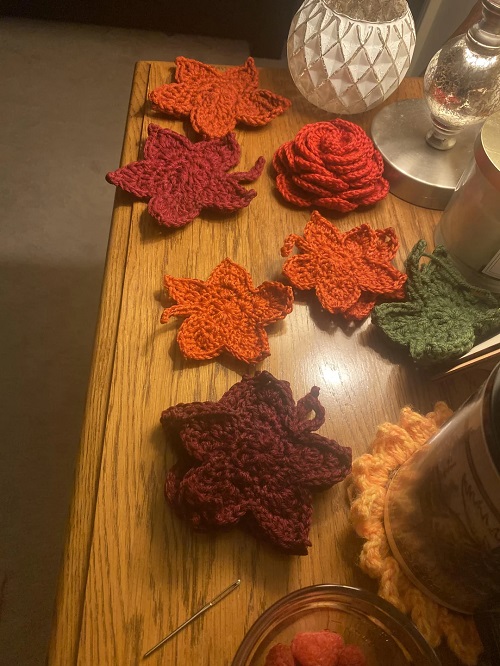
Lay the finished string flat and decide where you want the leaves to go before attaching them.
For a lightly spaced garland, leave about **4–6 inches between leaves**. If you want a fuller look, bring them closer together.
Take the yarn tail from one leaf and thread it onto your yarn needle. Sew the leaf to the string through the base of the leaf, then make a small knot on the back to keep it in place.
Repeat with the rest of the leaves.
If you’re using a crocheted chain instead of twine, you can also attach the leaves directly to the chain with a slip stitch.
Keep the Leaves Facing the Same Way
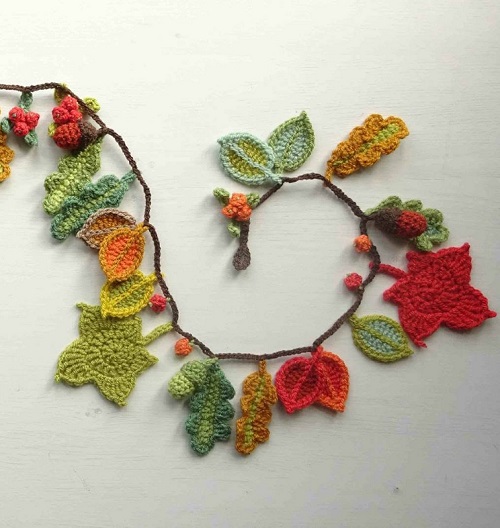
Before securing each leaf, check which side is facing you.
It’s easy to accidentally attach one leaf backward. For a neat, consistent look, make sure all the leaves face the same direction.
For a more relaxed handmade look, turn a few leaves slightly to the side instead.
Finish the Garland
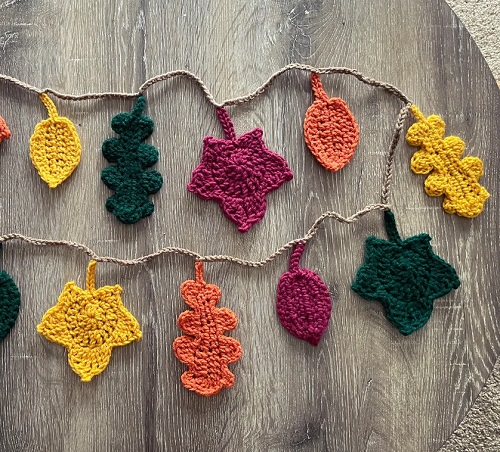
Once all your leaves are attached, weave in any loose ends and trim the excess yarn.
Hang the garland where you want it and adjust the leaves by hand. Spread them out, turn a few slightly, and let the garland settle naturally.
You don’t need every leaf to sit perfectly straight.
Ways to Use Your Crochet Leaf Garland
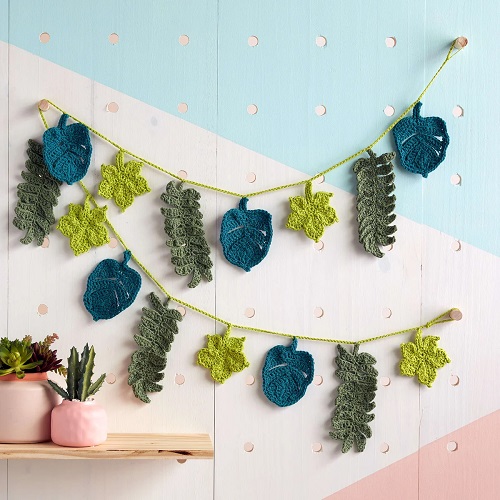
- Drape the garland loosely along a mantel or shelf. A little extra length at the sides gives it a relaxed look.
- Use soft green, cream, or neutral yarn for a simple garland above a crib or on a nursery wall.
- Swap the green yarn for autumn shades. Rust, orange, mustard, and brown work especially well together.
- For evening décor, loosely wrap small fairy lights around the garland. Keep the lights from pulling tightly on the leaves.
- Change the yarn colors to match a baby shower, birthday party, wedding, or seasonal gathering.
A Few Tips Before You Start
- Tight stitches can make the small leaves curl and make them harder to shape.
- Check the size and shape before making the entire batch. If you want larger leaves, change the starting chain or use a larger hook.
- A few additional leaves give you more freedom when arranging the garland.
- Small differences are part of what makes handmade crochet décor look handmade.
- This is a great project for small amounts of yarn that aren’t enough for a larger project.
Once you have the basic leaf figured out, you can make the garland as simple or colorful as you want. A few green leaves on twine give you everyday décor, while warm autumn colors can turn the same basic idea into a seasonal decoration.