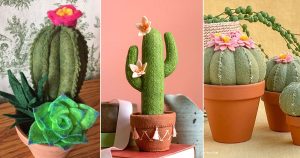
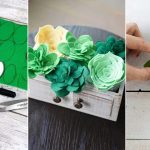
Give your space a handmade touch with this Felt Succulent Tutorial. Follow the simple steps and make a cute plant that needs no watering.
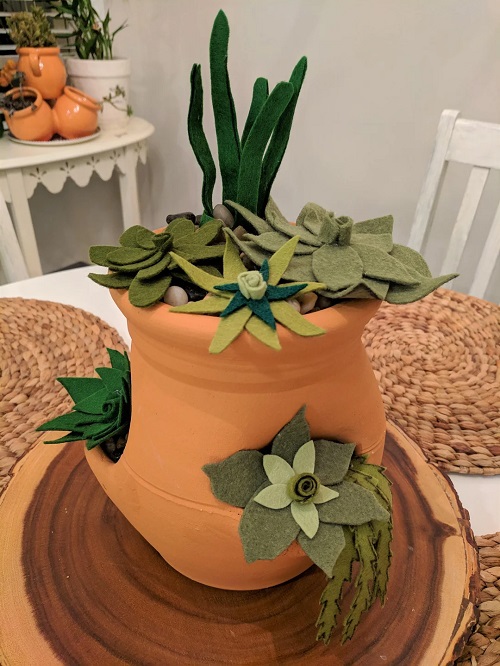
Want a little greenery without the watering and care? This Felt Succulent Tutorial shows you how to make a simple felt plant for your home. It is easy to follow and works well for beginners. Use your favorite felt colors and create a cute succulent for a shelf, desk, or table.
Felt Succulent Tutorial
1. Get all the materials
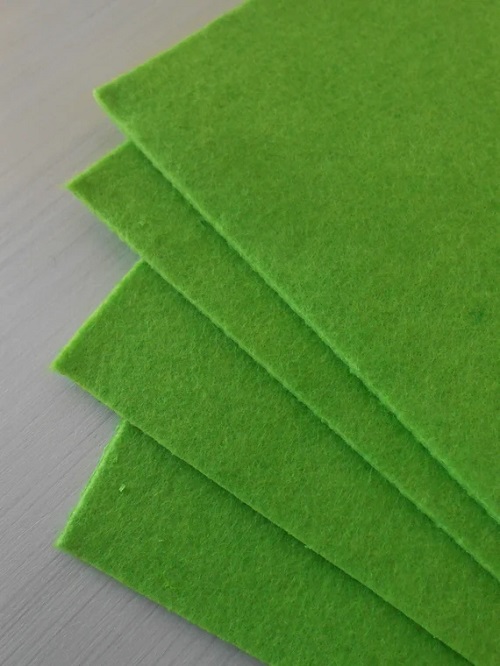
Before you start this wonderful project, you need the essentials to finish it. Firstly, get green felt sheets in one or more shades, then paper and pencil. You will also need a pair of scissors and a hot glue gun with glue sticks. If you require it, also keep a ruler handy; you might need it for accurate measurements. After you have made the plant, you will need a small pot or container for decoration and floral foam or scraps to fill the pot. Decorate it to fit your desk space.
2. Prepare the Leaf Template
Draw several leaf shapes on a piece of paper. Keep the first few small, then gradually make the next ones larger. You can even use a rounded leaf shape with a slightly pointed tip to get the suitable shape you want. Cut out the paper pieces and arrange them from smallest to largest. This will help you see how many layers you want to use before cutting the felt. Also, it will be easier for you.
3. Transfer the Shapes to Felt
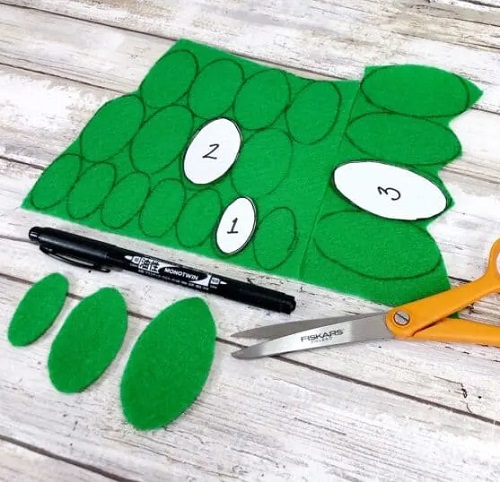
Place each template on the felt and trace around it with a pencil, like a kid learning to write. Carefully cut the shapes with your sharp scissors. For a small succulent, you can begin with four or five layers. For a fuller plant, cut one or two extra pieces from the largest template. Using different shades of green for a few layers can also add depth to the leaves. You can even add glitter at the ends to make it eye-catching.
4. Roll the Smallest Piece
Pick up the smallest felt piece. Put a narrow line of hot glue along one edge, then carefully roll the piece inward. Hold it for a few seconds while the glue sets. Keep the roll fairly tight because the center should look compact, giving it an attractive appearance.
5. Wrap the Next Leaf
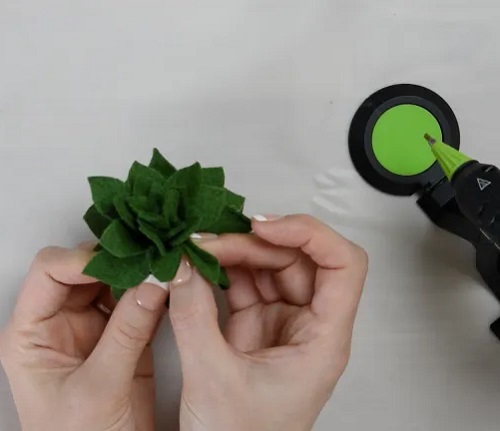
Take the next smallest felt piece and wrap it around the rolled center. Apply a small amount of glue near the base and press it into place. Let the upper part remain loose. You want the leaf to curve away from the middle rather than stick tightly against it.
6. Continue With Larger Leaves
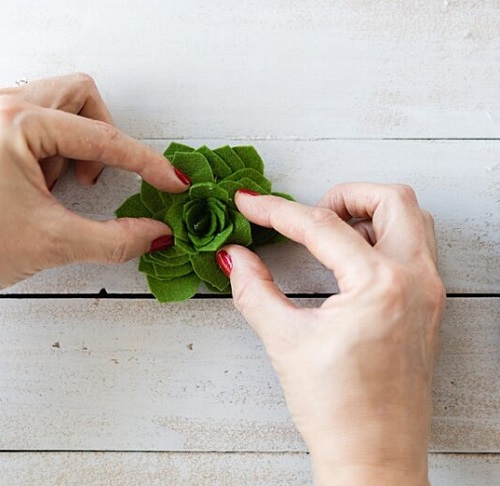
Work through the remaining felt pieces from small to large. Place each new layer around the previous one and secure the lower section with your hot glue gun. As the pieces get larger, allow the tips to sit farther away from the center. This creates the open rosette shape seen in many real succulents.
7. Shape the Outer Leaves
Turn the succulent over and gently pinch the base of each outer layer while the glue is still warm. Don’t do it barehanded; wear gloves while doing this. Hold it briefly until the felt stays in position. Look at your plant from above as you work. Move any leaf that looks too flat or crowded. A little unevenness can actually make the finished piece look more natural.
8. Finish the Base
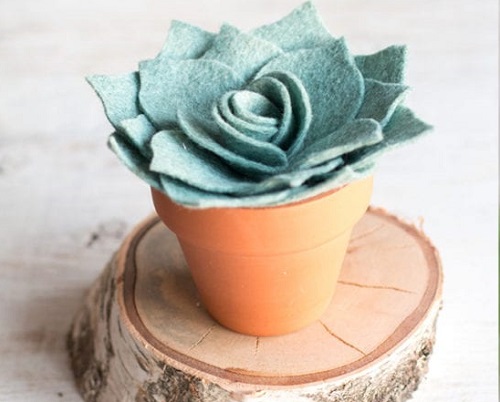
Once all the layers are attached, place a small amount of glue underneath the final layer to secure the base. Hold the succulent upright for a few moments. Let the glue cool completely before moving it. Trim away any visible glue strands with scissors.
9. Display Your DIY
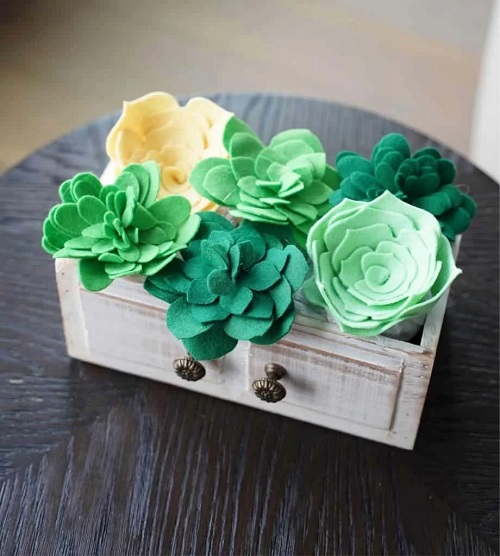
Your felt succulent can now go into a small pot or another decoration. Place a piece of floral foam inside the container and press the base into it. The scraps of felt packed tightly around the bottom can also keep a lightweight plant upright. Try making three or four plants of different sizes and place them together. A small group often looks better than several identical pieces because the different heights make the arrangement less uniform.
Friendly Tips
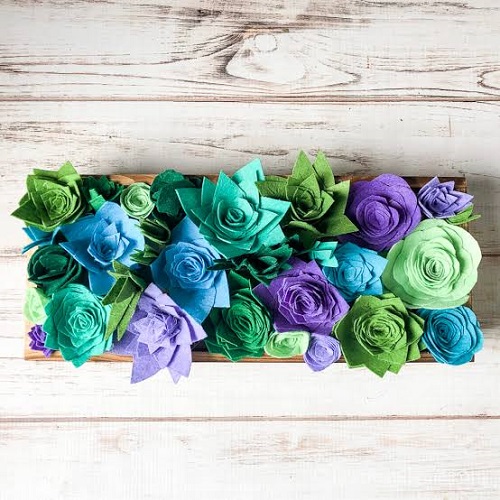
Keep the center layers of your DIY succulent tight and gradually loosen the outer layers. Cut extra-large leaves when you want a wider succulent. Try several shades of green or other colors for a more varied plant collection. Also, check free felt succulent patterns for prettier designs.
Caution to be taken
Always use sharp scissors so the felt leaves have clean edges, and soft felt is easier to shape, while firm felt holds its form better. Use only small amounts of hot glue to prevent messy bumps between the leaves. For that, hold each glued section for a few seconds before moving on. Let the glue cool fully before placing the succulent in a pot or decoration. Keep the hot glue gun away from children and handle the heated tip carefully.