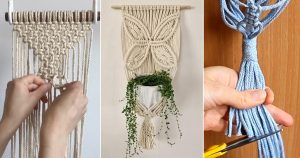
Learn How to Make a Macramé Hanging Plant Shelf with simple knots and a wooden board. Give your plants a stylish new spot to grow and display.
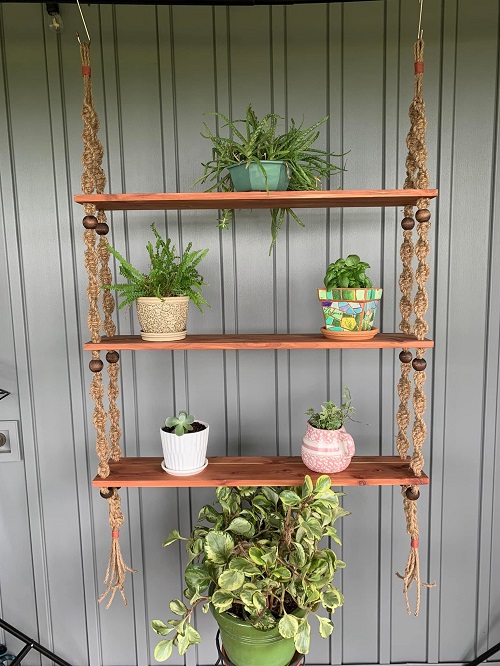

Give a small plant a new spot to grow with this simple macramé hanging shelf. It combines a wooden base with knotted cord, so you get a useful plant holder that also adds some interest to an empty corner.

You don’t need much to make it. A small piece of plywood forms the shelf, while long strands of jute or hemp cord create the hanger. Keep the cord natural for a simple, rustic look, or add a different color to one strand if you want a little contrast.
The finished shelf is best suited to a lightweight plant and pot. Since it hangs from the ceiling, always consider the weight of the pot, plant, and wet soil before you install it.
How to Make a Macramé Hanging Plant Shelf
Materials You’ll Need
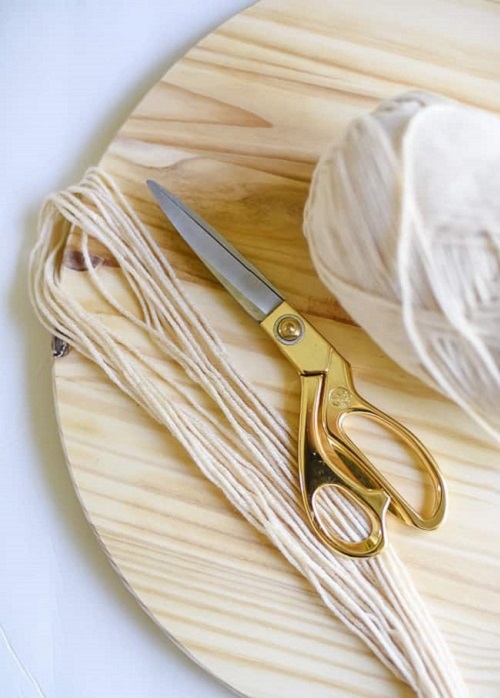
Here is what you’ll need for the project:
Jute or hemp cord
A second cord color, if you want an accent
5-inch plant pot
6-inch square piece of plywood, about ¾ inch thick
Drill
½-inch spade drill bit
5/16-inch timber drill bit
Jigsaw
120-grit sandpaper
Danish oil or another suitable wood finish, optional
Measuring tape
Pencil and compass
The pot needs to fit into the opening in the shelf without falling through. For a 4½-inch opening, choose a 5-inch pot with a rim wider than the opening. The rim should sit on the plywood and support the pot.
**Safety Note:** Don’t rely on the shelf alone to support the weight. The ceiling hook or anchor must be rated for the full weight of the shelf, pot, plant, and wet soil. Check the knots and cord attachments carefully before hanging it.
Step 1: Mark the Opening
Take the 6-inch square piece of plywood and find its center.

Use a compass to draw a circle about 4½ inches across. If you don’t have a compass, you can trace around a round object that is close to the right size.
Try to get the circle centered. A slightly uneven opening can make the pot sit awkwardly later, so it’s worth spending a little extra time on the measuring.
Step 2: Drill Around the Circle
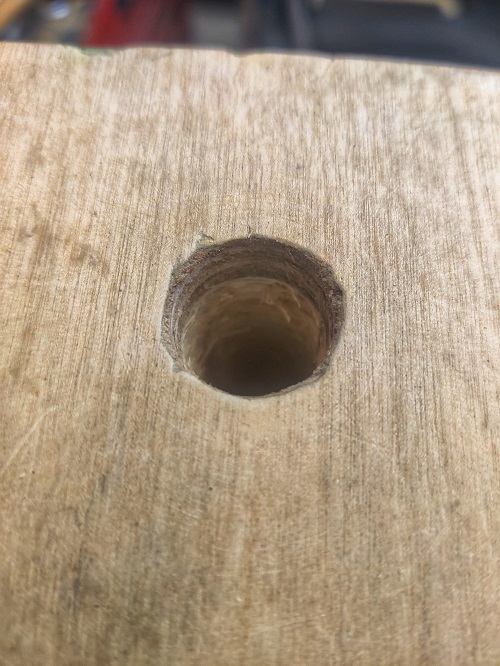

You don’t need to cut the circle out in one go with the jigsaw.
Fit the ½-inch spade bit into your drill and make several holes just inside the circle you marked. The holes will remove some of the wood from the middle and give the jigsaw blade a place to start.
Keep the holes inside the pencil line. You can always remove a little more wood later, but cutting past the line is harder to fix.

Step 3: Cut Out the Center
Put the jigsaw blade into one of the holes and start cutting around the marked circle.
Follow the line as closely as you can. Don’t worry if the edge isn’t perfectly smooth at first. Once the center is out, use the 120-grit sandpaper to smooth the opening and remove any splinters.
The inside edge is easy to overlook, but your cord and pot will both come close to it, so don’t leave any sharp or rough spots behind.

Step 4: Drill the Corner Holes
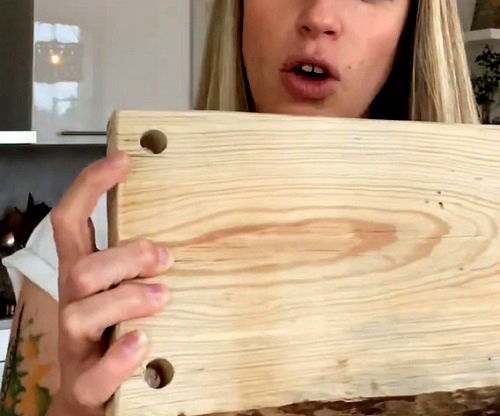
The four corner holes are where the macramé strands will attach to the shelf.
Measure and mark a point near each corner of the plywood. Keep the four points roughly the same distance from the edges so the shelf can hang evenly.
Drill each hole using the 5/16-inch timber drill bit. Leave enough wood around each hole to keep the plywood strong.

Step 5: Sand the Base
Give the entire piece a good sanding before you start working on the macramé.
Smooth the outside edges, the circular opening, and the four holes. Run your fingers lightly over the surface to find any rough areas you may have missed.
If you want to protect or change the color of the plywood, apply Danish oil or another suitable finish. Follow the directions on the product and let the wood dry completely before moving on.

Step 6: Cut the Cord
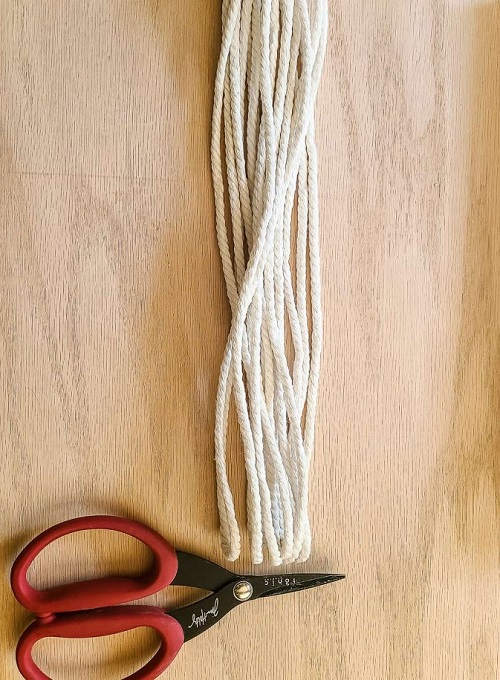
For the hanging part, cut eight pieces of jute or hemp cord, each about 5 meters (16 feet) long.
You can use one contrasting strand instead of one of the natural strands. This small change is enough to add a stripe of color to the finished knotwork.
The cords will look very long when you first cut them. That’s normal. A lot of the length is used up as you make the knots, so don’t be tempted to cut them shorter.
Step 7: Make the Hanging Loop
Fold each of the eight cords in half.
Bring the folded centers together at the top. This forms the loop that will eventually sit on the ceiling hook.
Keep the strands together and check that they are hanging evenly. The top loop needs to be secure because it will carry the weight of the entire shelf.
Step 8: Separate the Strands
Once the eight cords are folded, you’ll have 16 strands.
Separate them into four groups of four. Each group will eventually attach to one corner of the wooden shelf.
It helps to work with one group at a time. Keep the other three groups out of the way so the strands don’t get mixed up while you’re knotting.
Step 9: Start the Spiral Knots
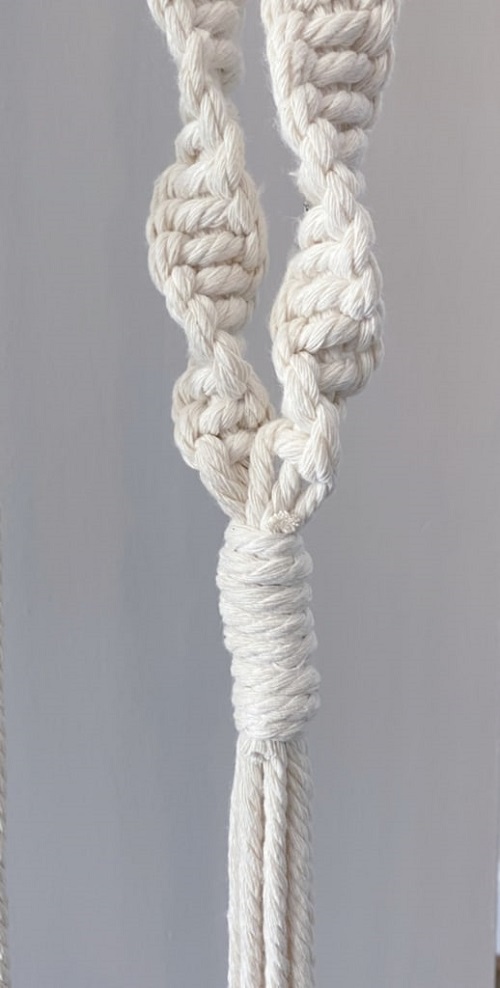
The spiral pattern comes from repeating the same half knot in one direction.
Take one group of four strands. The two middle strands stay in place while the two outer strands do the knotting.
Bring the left outer strand over the two middle strands and then under the right outer strand. Take the right strand behind the middle strands and pull it through the loop on the left.
Pull the knot snug, but don’t yank it tight.
Keep making the same half knot in the same direction. As you work, the knots will naturally begin to twist into a spiral.
Adding a Different Color
If you used a contrasting strand, its position will determine how much of the color you see.
When that strand moves into an outer working position, it will show more clearly in the spiral. You don’t need a complicated color pattern to get a nice effect; one different strand can be enough.
Step 10: Continue the Knotting
Work the first spiral section until it measures about 18 inches.
At this point, rearrange the strands according to the original pattern so that the correct strands become the working cords.
**Important:** The exact strand positions need to be supplied from the original pattern or diagram here. The current instructions don’t identify which strands should switch positions, so this part cannot be followed accurately without that information.
Continue knotting for another 18 inches. Together, the two portions should give you a spiral section of roughly 36 inches.
Repeat the same process for the other three groups.
Step 11: Finish the Lower Ends
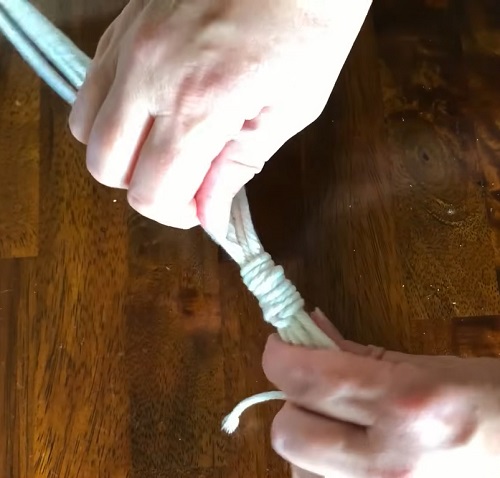
Once the 36-inch spiral portion is complete, leave about 6 inches of straight cord.
Tie a regular knot at the end of this portion. These strands will eventually pass through the holes in the wooden base.
Do the same with all four groups.
Before attaching the shelf, put the four groups side by side and compare their lengths. They don’t need to be measured down to the last millimeter, but they should be close. Uneven lengths can make the shelf tilt once you add the plant.
Step 12: Attach the Wooden Shelf
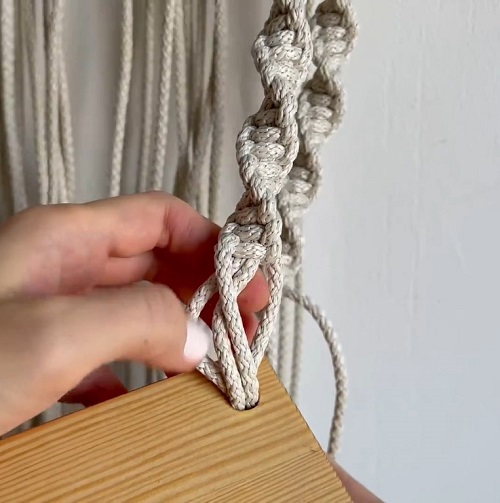
Take one group of four strands and pass all four through one of the corner holes in the plywood.
Repeat this with the other groups, using one hole for each group.
Turn the shelf over. Tie the strands underneath each hole so they stay in place. Pull the cords gently until the knots sit firmly against the underside of the plywood.
Once everything looks right, trim off the extra cord.
Step 13: Test the Shelf
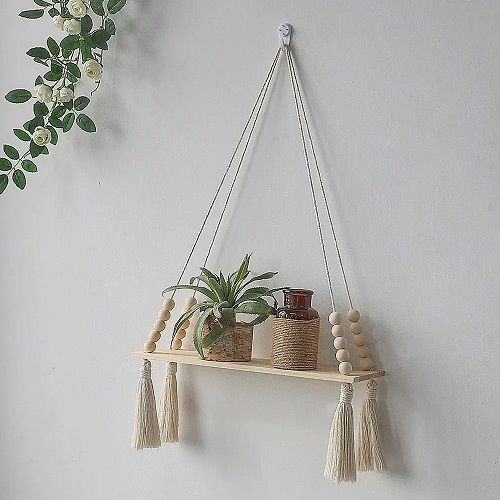
Don’t put your plant on it just yet.
Hang the shelf from a sturdy hook or anchor and look at the wooden base from the side. It should sit reasonably level rather than dropping noticeably toward one corner.
If it tilts, adjust the knots underneath the plywood until the base sits more evenly.
Give each attachment a gentle check as well. It’s much better to find a loose knot now than after you’ve added a plant.
Add Your Plant
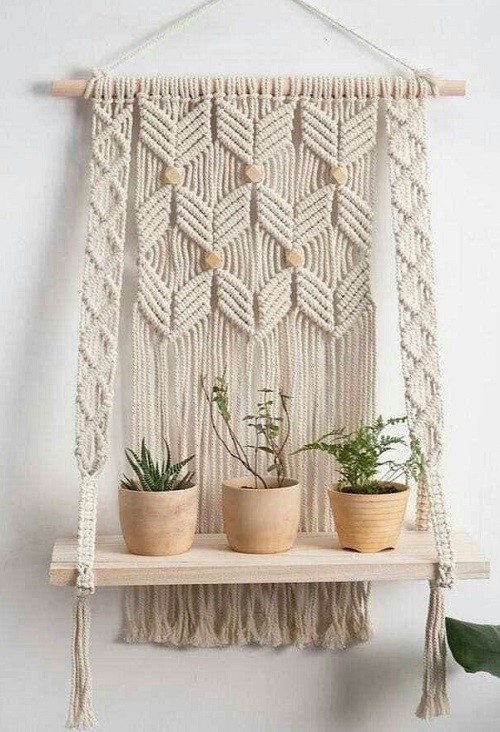
Once the shelf is hanging securely, place your pot into the opening.
The body of the pot should pass through the hole while the rim rests on the plywood. Give it a gentle check to make sure it isn’t wobbling or slipping through.
Keep the total weight in mind. A pot filled with damp soil can be much heavier than it feels when empty, so choose a plant and container that the shelf and ceiling hardware can safely handle.
A trailing houseplant is a nice choice for this type of display. As it grows, the stems can hang over the edge and mix naturally with the macramé.
Change the Look
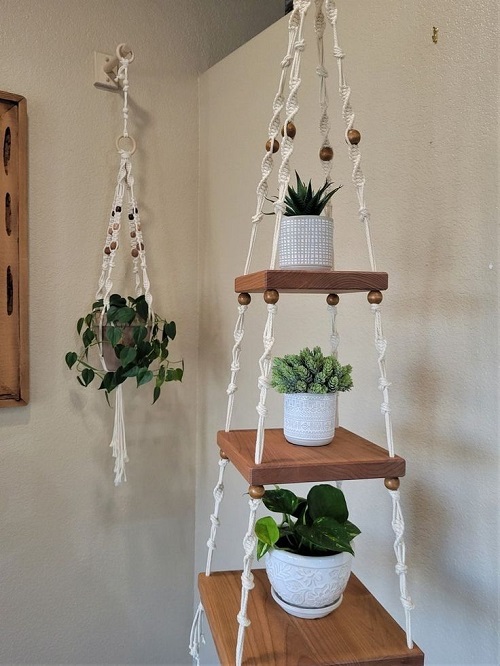
You can easily adjust the materials to suit your room.
Natural jute gives the shelf a rustic appearance. Cotton cord has a softer look and can make the knots stand out more clearly. If you want some color, try replacing one strand with a contrasting shade rather than changing all of the cord.
The plywood can be left natural, treated with Danish oil, or given a darker finish. Even a small change in the wood can make the finished shelf look quite different.
You can also play around with the length of the knotted portion. A longer hanging section gives the shelf a more noticeable presence, while a shorter one keeps the focus on the wooden base and plant.
This project doesn’t require a lot of materials, but the knotting does take some patience. Work slowly, keep the four groups organized, and check the balance before adding any weight. Once everything is secure, you have a simple handmade shelf that gets your plant off the table and into a more interesting spot.