Learn how to stitch a leafy design with this Monstera Leaf Embroidery Tutorial for Beginners. Grab your needle and thread and start creating!
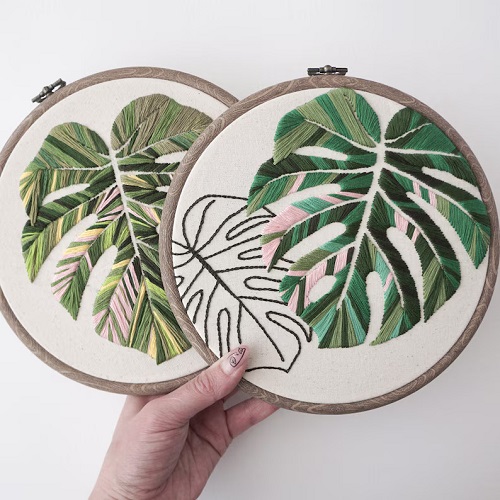
Pick up your needle/ thread and make a simple monstera leaf to display in a small embroidery hoop. This easy Monstera Leaf Embroidery Pattern Tutorial is suitable for beginners too.
You only need a few shades of green, some basic stitches, and a small piece of fabric. The leaf is worked in sections, so you can take your time and focus on one area before moving to the next. Keep it simple with an outline and veins, or fill the leaf with different shades of green for a fuller look.
The finished embroidery can stay in the hoop as a small piece of wall art. You could also use the design on a tote bag, cushion, clothing, or another fabric project.
Project Details
Skill level: Beginner
Time: 1–2 hours
Hoop size: 3 inches
Stitches used: Back stitch, stem stitch, and long and short stitch
What You’ll Need
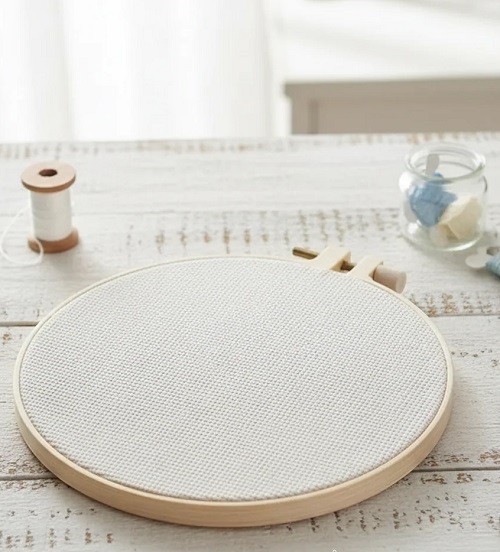
- Embroidery floss in two or three shades of green
- A small amount of white or pale green embroidery floss
- Embroidery needle
- 3-inch embroidery hoop
- Linen, cotton, or another suitable embroidery fabric
- Water-soluble fabric marker or sharp pencil
- Monstera leaf template or stencil
- Small scissors
You don’t need a whole collection of thread colors for this project. Two or three greens are enough. A darker shade works well for the veins, while a lighter green can be added to the filled sections or used for highlights.
For a small hoop, 2 or 3 strands of embroidery floss usually work well. If you want finer lines, use fewer strands. More strands will give you thicker and more noticeable stitches.
Embroidery Abbreviations to Know
If you’ve looked at embroidery patterns before, you’ve probably seen stitch names shortened. Knowing a few common abbreviations will make patterns easier to follow.
**BS** means back stitch. It makes a clean line and is useful for outlining the leaf.
**SS** means stem stitch. It creates a smooth, slightly twisted line and works nicely for the main vein and smaller veins.
**L&S** means long and short stitch. This is a filling stitch. Instead of making every stitch the same length, you mix longer and shorter stitches to cover an area. It also makes it easier to blend different thread colors.
When a pattern says **2 strands** or **3 strands**, it means the number of individual strands you should separate from the embroidery floss before threading your needle.
You don’t have to remember all of these abbreviations before starting. Once you’ve tried each stitch, they’ll make much more sense.
Monstera Leaf Embroidery Pattern Tutorial
Step 1: Transfer the Design
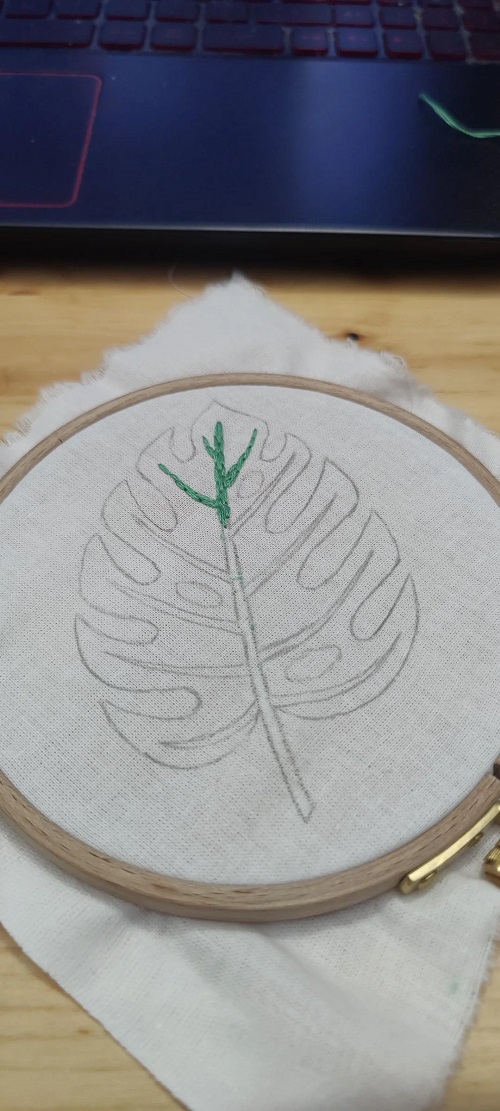
Place your monstera leaf template on the fabric and position it inside the 3-inch hoop. Leave a little room around the design so the leaf doesn’t sit too close to the edge.
Trace the shape lightly with a water-soluble fabric marker or a sharp pencil. There’s no need to press hard. Your stitches will cover the lines later.
If you’re using a water-soluble marker, test it on a scrap of the same fabric first. Some fabrics react differently to marking pens, so it’s worth checking before you start.
Now place the fabric in the hoop. Pull it gently until the surface feels firm and smooth. You want enough tension to keep the fabric steady while you stitch, but don’t pull so hard that the fabric becomes stretched out of shape.
Step 2: Outline the Leaf
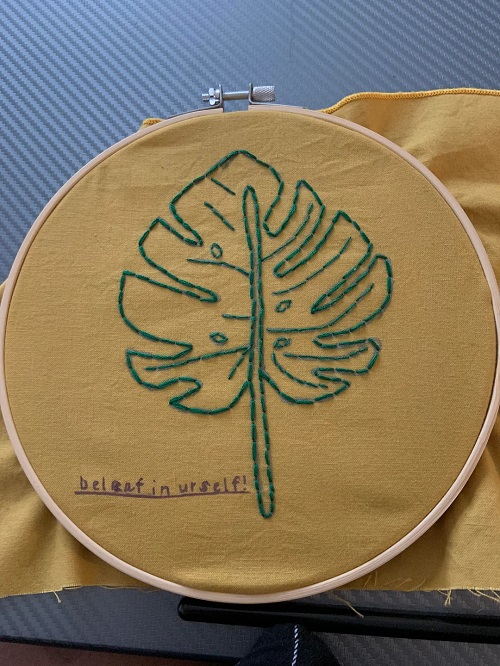
Thread your needle with 2 or 3 strands of green floss. Secure the thread at the back using the method you normally prefer.
Start anywhere on the outer edge and follow the traced line with back stitch.
If you’re unfamiliar with back stitch, bring your needle up from the back of the fabric and make a small stitch. Bring the needle up again a short distance ahead, then take it back down at the end of the previous stitch. Keep repeating this motion around the leaf.
Try to keep your stitches fairly even, but don’t worry if they’re not perfect. Once the whole outline is finished, small differences in stitch length won’t be very noticeable.
Step 3: Work Carefully Around the Curves
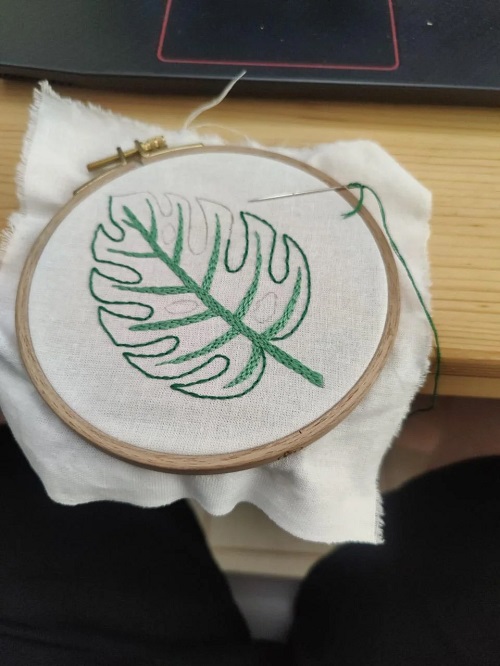
The curves and pointed sections are where you’ll want to slow down a little.
Use shorter back stitches around tight curves. They make it easier to follow the shape without creating sharp corners in places where the design should be smooth.
On wider sections, you can make the stitches slightly longer. You don’t need to measure them. Just adjust the length naturally as you work.
Pay extra attention around the splits in the monstera leaf. The narrow points can be awkward at first, so make a few small stitches rather than trying to cover the area in one long stitch.
Step 4: Stitch the Main Vein
Once the outline is done, move on to the central vein.
Choose a darker green and work the vein with stem stitch. Start near the base of the leaf and follow the line toward the tip.
Stem stitch has a gentle twist to it, which makes it a nice choice for curved plant stems and veins. Keep your stitches fairly small as you follow the curve.
Don’t worry about making the vein perfectly straight. A slight curve will look more natural.
Step 5: Add the Smaller Veins
Now add a few smaller veins branching from the central one.
Use stem stitch again, but make these lines thinner and shorter than the main vein. They don’t need to be perfectly even. In fact, slightly different lengths can make the leaf look more natural.
Follow the direction of the leaf rather than drawing every vein as a straight line. Stop the smaller veins before they reach the outer edge, leaving a little space between the end of each vein and the outline.
You can keep the number of veins low for a simple design or add more if you want the leaf to look detailed.
Step 6: Fill the Leaf With Long and Short Stitch
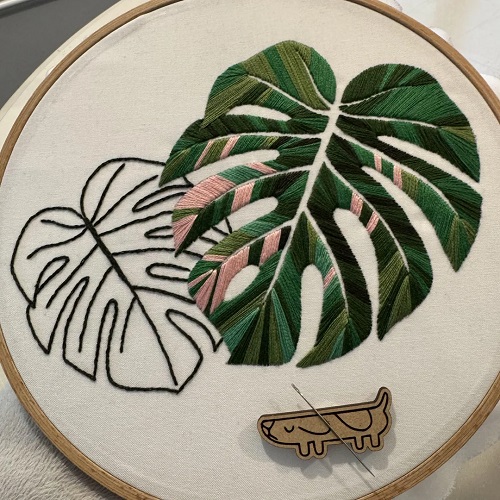
This step is optional. If you like the look of an open outline, you can leave the inside of the leaf empty.
For a fuller design, use long and short stitch to fill some of the larger sections.
Start with a medium green. Work across one section of the leaf, placing the stitches close together. Don’t make every stitch exactly the same length. Mix shorter stitches with longer ones as you move across the area.
When you’re ready to introduce another shade, start the new color close to the previous stitches. Allow the edges to blend rather than creating a hard line between the two colors.
You don’t have to fill every tiny space around the veins. Leaving a little fabric showing can keep the embroidery from looking too heavy, especially in a small hoop.
If long and short stitch is new to you, practice it on a scrap of fabric first. Once you get the feel of the stitch, filling the leaf becomes much easier.
Step 7: Add a Few Highlights
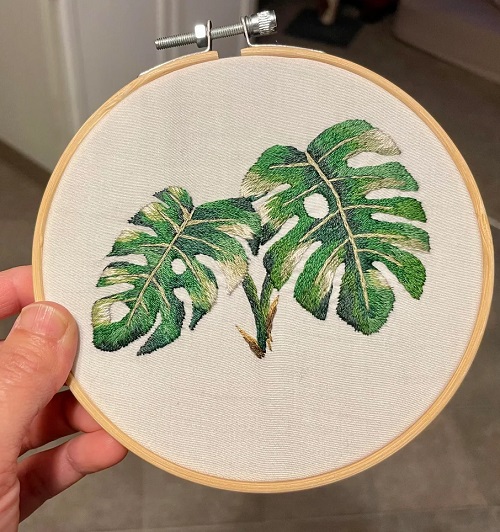
A few light stitches can give the finished leaf a little extra detail.
Use white, pale green, or another light shade and add just a handful of small stitches. Place them along one side of the leaf or near a few of the veins.
Keep this part light. Too many white stitches can overpower the green, especially in a small design.
Of course, you can leave the highlights out altogether. A green-only leaf can look just as nice.
Tips to Make Embroidery Easier
- Long pieces of floss tend to twist and knot while you’re stitching. Cut a manageable length instead. It may mean threading your needle more often, but you’ll spend less time fighting with tangled thread. If your floss starts twisting around itself, let the needle hang for a moment and allow the thread to unwind.
- Your stitches should sit neatly on the surface of the fabric. Pulling them too tightly can cause puckering and make the fabric around the leaf look uneven. A gentle pull is all you need.
- Embroidery floss is made up of several strands twisted together. When you need 2 or 3 strands, separate them carefully rather than pulling several strands apart quickly. This helps reduce tangling and keeps the thread smoother while you stitch.
- No rule says every stitch has to be exactly the same length. Short stitches are easier around curves and small points. Longer stitches can cover straighter areas more quickly. Let the shape of the leaf guide you. The back of your embroidery doesn’t have to look perfect. Still, try not to leave long pieces of thread running from one part of the design to another. This is especially important if you plan to put the embroidery on a bag or piece of clothing, where loose threads can catch on things.
- If this is one of your first embroidery projects, your stitches probably won’t all look the same. That’s completely fine.
Hand embroidery has a handmade quality that you don’t get from machine stitching. Concentrate on keeping the fabric smooth and following your design. The small differences in your stitches are part of the finished piece.
What If You Make a Mistake?
It happens. If one stitch looks wrong, don’t feel like you have to leave it there.
Carefully loosen the stitch and remove it with your needle. If you use scissors, work slowly so you don’t accidentally cut the fabric.
Once the unwanted stitch is out, simply stitch the section again.
It’s usually easier to fix one stitch as soon as you notice it than to leave it and hope it won’t bother you later.
How to Finish Your Monstera Embroidery
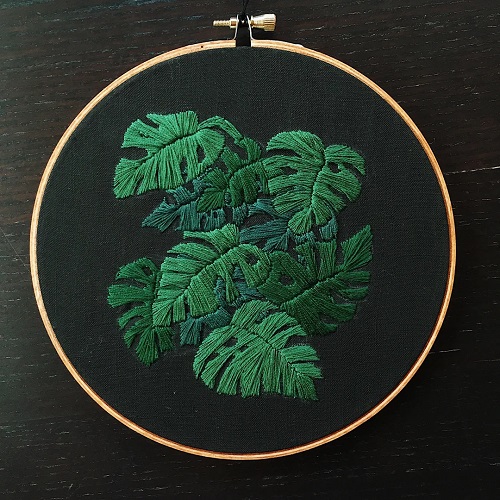
When all the stitching is finished, look over both sides of the hoop and trim any loose thread ends.
If you used a water-soluble marker, remove the marks following the instructions that came with the marker. Test the removal method first if you’re unsure how your fabric will react.
If you used pencil, avoid rubbing the fabric too hard. Aggressive rubbing can disturb the stitches or damage the fabric.
You can leave the finished piece in the hoop and hang it as small wall art. A 3-inch hoop works particularly well as part of a group of small botanical designs.
If you want to use the embroidery on a tote bag, cushion, clothing, or another washable item, check that your fabric and embroidery floss can handle the washing method you’ll be using.
Easy Ways to Change the Design
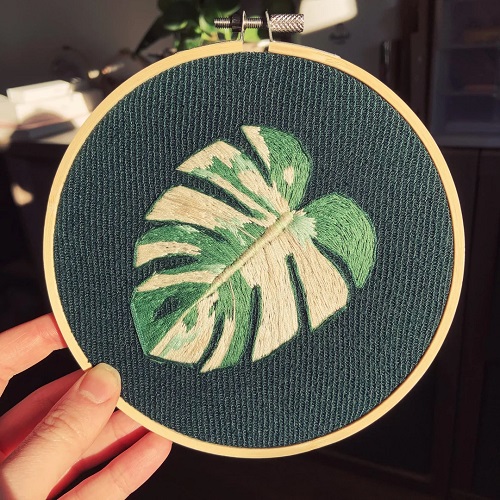
Once you’ve made one monstera leaf, it’s easy to change the look without starting from scratch.
Try enlarging the template and using a bigger hoop for a more noticeable piece. You could also stitch several small leaves together to make a simple botanical arrangement.
For a quick project, use only back stitch for the outline and stem stitch for the veins. There’s no need to fill the leaf.
If you want more color, use three or four shades of green and blend them with long and short stitches. You could even replace the green with colors that match your room or the fabric you’re using.
The same basic template can give you a completely different result just by changing the thread colors, stitch choices, and amount of detail.