Try this crochet aloe vera pattern tutorial to make a realistic plant for your home. Follow the steps and add a touch of green without watering.
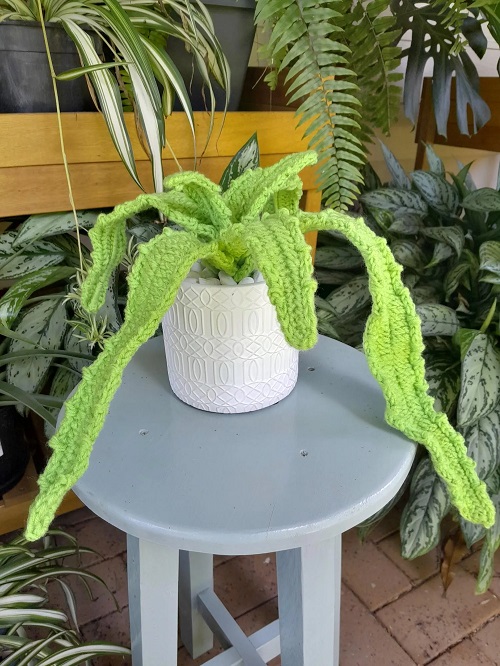
Real aloe vera plants are fairly easy to care for, but a crochet one is even easier. It will stay green all year, needs no sunlight, and looks great in a little pot on a shelf or desk. This Crochet Aloe Vera Pattern tutorial is a nice project if you already know basic crochet stitches. You will make several long leaves, shape them into a small plant, and then place them together in a pot. The finished piece also makes a sweet handmade gift for someone who loves plants.
What You Will Need
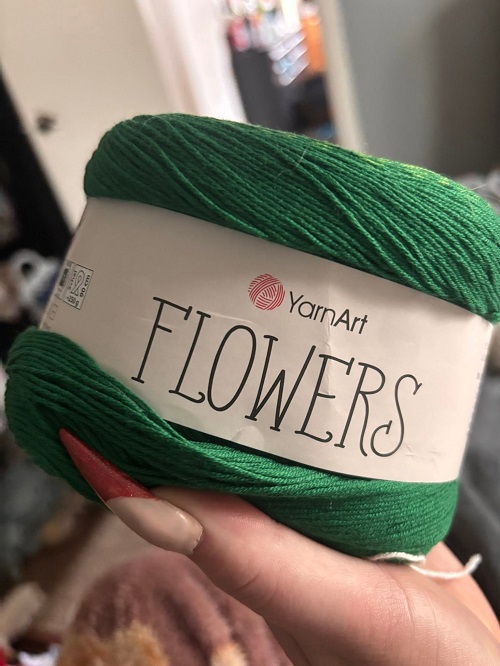
You only need a few supplies to make this crochet plant.
- Use green yarn in the weight you prefer, although a thinner yarn will give you more delicate leaves.
- A 2.5 mm crochet hook works well for a firm fabric.
- You will also need a yarn needle, scissors, a stitch marker, and a small amount of stuffing.
- For the pot, you can use a small ready-made planter. You can also crochet one if you want the whole project to be handmade.
Choose one green shade for a simple look, or use two slightly different greens. Mixing shades can make the leaves look less uniform.
Crochet Skills You Should Know
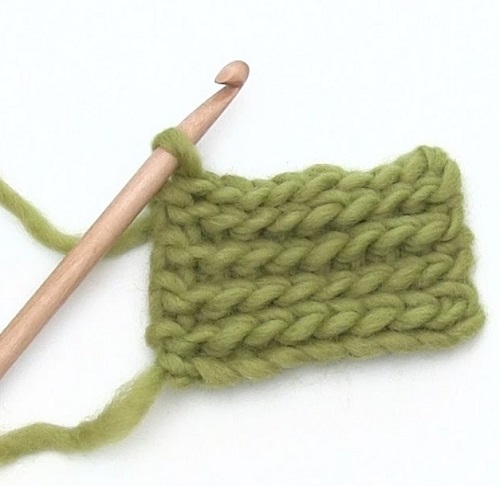
This project does not require a long list of complicated stitches. You should be comfortable making a magic ring and working single crochet stitches.
You will also need to know how to increase. An increase means working two single crochet stitches into the same stitch.
The pattern below uses US crochet terms.
sc: single crochet
inc: increase
sl st: slip stitch
ch: chain
Keep your stitches fairly tight. A firm fabric will help the leaves keep their shape.
Crochet Aloe Vera Pattern Tutorial
1. Make the Aloe Leaves
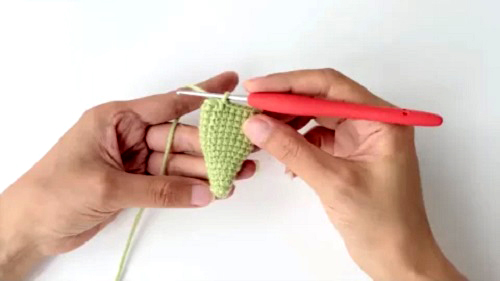
Instead of making one large piece, you will create individual leaves and arrange them at the end. This makes it easier to control the shape of your plant.
Start each leaf with a magic ring. Work 6 single crochet stitches into the ring and tighten it.
For the next round, work 6 single crochet stitches.
On the following round, add two increases evenly around the piece. You should now have 8 stitches.
Work another round of 8 single crochet stitches.
For the next round, increase four times around the leaf. This gives you 12 stitches.
Work two rounds of 12 single crochet stitches.
Now increase six times around the next round to bring the total to 18 stitches.
Continue working single crochet stitches without increasing. As the rounds build up, the piece will start stretching into a long leaf.
Keep working until the leaf reaches the length you like. Fasten off and leave a yarn tail for finishing.
You can make some leaves shorter and some longer rather than making every leaf exactly the same. That small difference helps the finished plant look more natural.
2. Give the Leaves a Pointed Shape
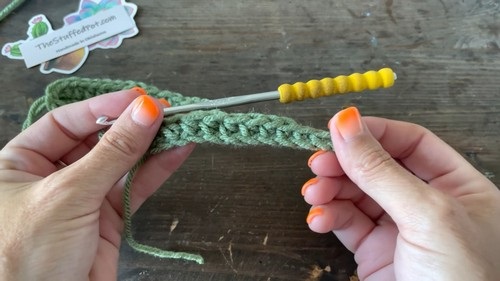
Aloe leaves are not completely flat. They are thicker near the base and taper toward the end.
Your crochet leaf may look more like a tube at first, so use your fingers to shape it gently. Pinch the upper section slightly and smooth the sides.
If the leaf feels too floppy, add a little stuffing. Do not pack it tightly. Too much stuffing can make the leaf look round instead of long and pointed.
You can also leave the tips lightly stuffed while making the bottom section firmer. This gives you more control when arranging the leaves.
3. Make Different Leaf Sizes
You do not have to use one leaf size for the entire plant.
Make a few leaves using the basic instructions above, then make several longer ones by continuing the straight single crochet rounds for a little longer.
For a fuller aloe, you can also make wider leaves by adding another increase round before continuing straight.
This is one place where you can play around with the pattern. A small plant may only need a handful of leaves, while a larger arrangement can use quite a few more.
4. Arrange the Crochet Aloe
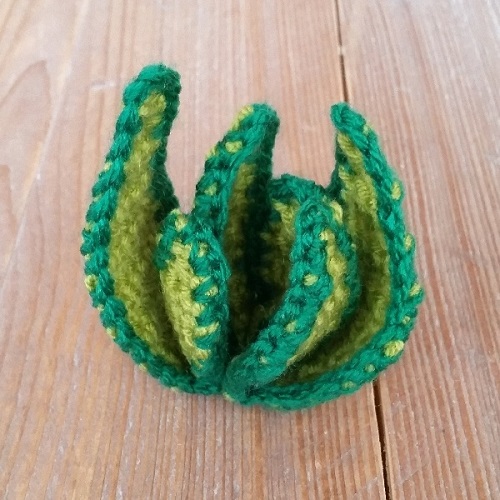
Once all your leaves are finished, lay them out before attaching anything.
Start with the longer leaves in the middle. Place the shorter ones around them. Turn each leaf slightly in a different direction instead of lining them all up evenly.
Take a step back and look at the plant from different sides. If one section looks empty, move a leaf into that space.
This little adjustment makes a big difference. You can have beautifully crocheted leaves, but if they are packed together in one direction, the plant may still look flat.
5. Secure the Leaves
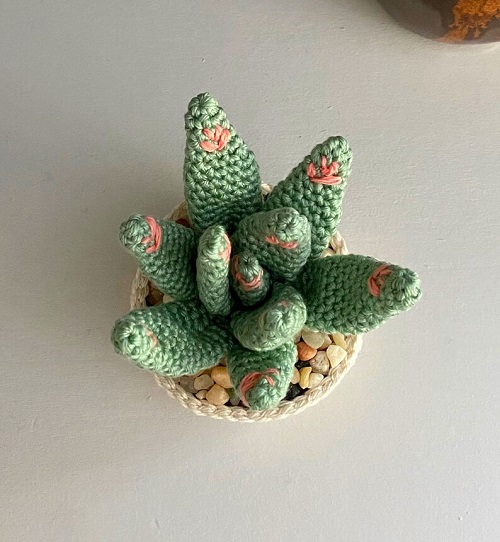
When you are happy with the arrangement, secure the bottom sections together.
You can sew the leaves together with a yarn needle and matching yarn. This takes a little longer, but it gives you a neat finish and lets you adjust the leaves as you work.
Fabric glue is another option if you want a quicker assembly. If you use hot glue, work carefully and keep it around the base rather than spreading it over the visible parts of the leaves.
Let everything set properly before putting the plant into its pot.
6. Put It in a Small Pot
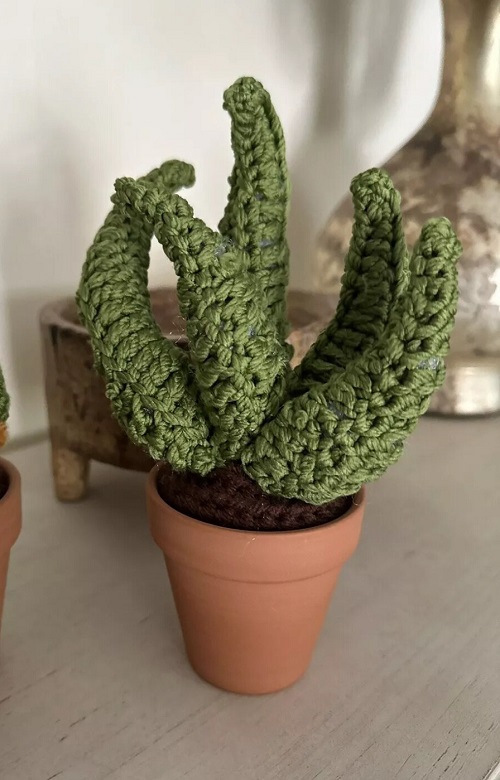
Aloe vera looks best when the leaves sit fairly close together at the base.
You can place your finished crochet plant in a small flowerpot and fill the empty space with stuffing, scrap yarn, or another lightweight material. Cover the top with brown yarn or fabric if you want it to look like soil.
If your pot is deep, add some weight at the bottom first. This will stop the finished plant from tipping over when you move it.
A small ceramic pot gives the project a more finished appearance, but an old container can work just as well. You could even decorate a plain pot yourself.
How to Make the Plant Look More Natural
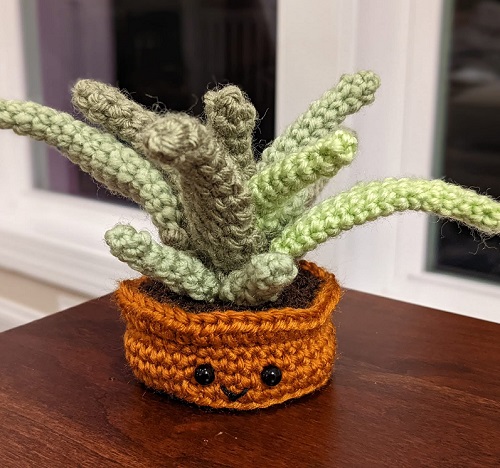
The easiest way to avoid a stiff-looking aloe is to vary the leaves.
Some can stand upright while others lean slightly outward. Bend a few gently toward the sides. Keep the center leaves taller and let the outside leaves spread out.
You can also combine different green yarns. A slightly darker green at the center with lighter leaves around it can add some variation without requiring extra stitches.
Don’t worry about making every leaf identical. Real aloe plants have leaves that vary in size and angle, so a little unevenness actually works in your favor.
Common Mistakes to Avoid
One of the easiest mistakes is crocheting too loosely. Large gaps can show the stuffing and make the leaves difficult to shape.
Another problem is adding too much stuffing. The leaves should have some body, but they do not need to be completely firm.
Pay attention to your increases, too. If you accidentally add an extra stitch, the leaf can become wider than the others. Count your stitches at the end of each increase round and correct the mistake before moving on.
Finally, don’t attach the leaves too quickly. Spend a few minutes arranging them first. Once they are sewn or glued together, changing the shape becomes much harder.
Where to Use Your Crochet Aloe Vera
Your finished aloe does not need to stay in one spot. Put it on a bookshelf, office desk, bedside table, or plant shelf. Since it does not need light, you can also use it in darker corners where a real plant would struggle.