Make a miniature wool plant with this easy needle-felting tutorial. You’ll shape soft wool into a tiny succulent that looks lovely on a shelf, desk, or bedside table.
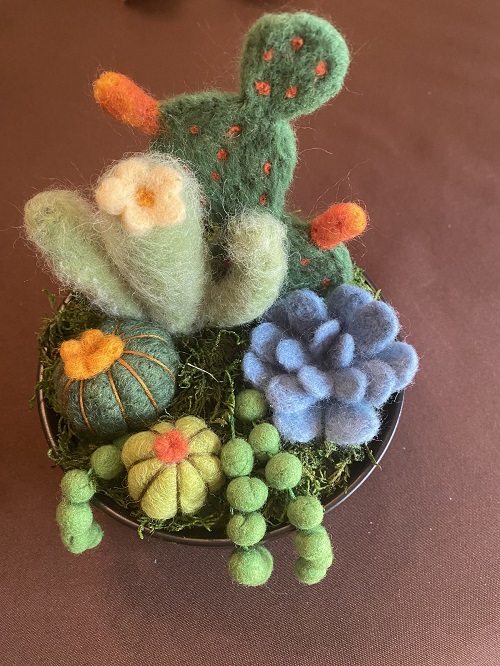
Needle felting is easier than it may look. You only need a few basic supplies and a little patience. As you poke the wool with a barbed needle, the fibers tangle together and become firm. You can then shape the wool into leaves, flowers, animals, and all kinds of small decorative pieces. For this Needle-Felted Plant Tutorial project, you’ll use the same simple technique to make a small succulent, building it up leaf by leaf.

What Is Needle Felting?
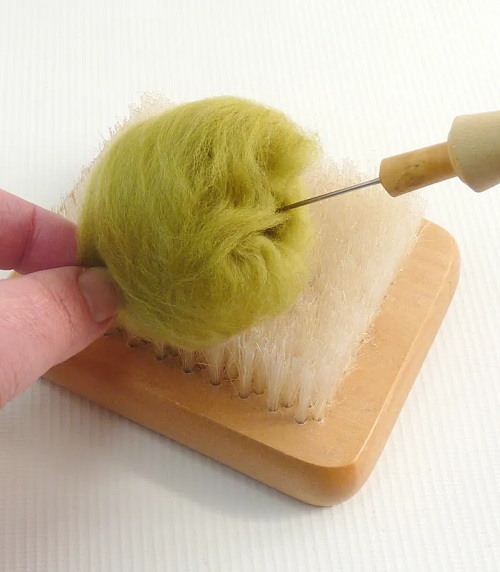
Needle felting is a dry felting technique that uses a special barbed needle to tangle wool fibers together. Wool fibers naturally catch onto each other, and the repeated movement of the needle helps them lock together.
As you continue felting, the loose wool becomes denser and easier to shape. You don’t need water or heat for this method. Just wool, a felting needle, and a protected work surface.
If you’re new to needle felting, start slowly. It takes a little time to get used to how much pressure to use, but the basic technique is quite simple.
What You’ll Need
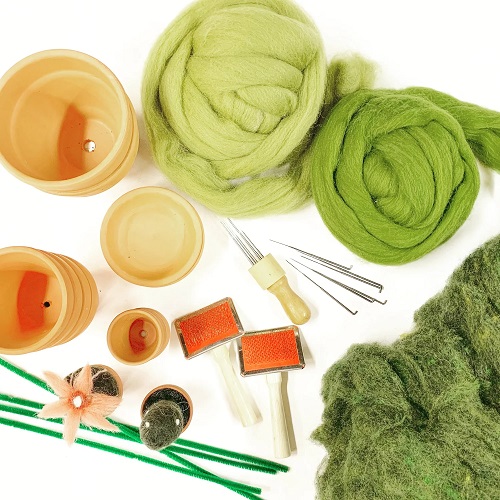
Before you begin, gather everything you need:
Wool roving: Choose green wool for the leaves. You can also keep some brown, tan, or terracotta wool nearby if you want to make a soil base or tiny pot.
Felting needle: A 36 to 40 gauge needle works well for shaping and adding detail. Felting needles are very sharp, so handle them carefully.
Felting mat or foam block: Work on a proper felting surface rather than directly on your table. It protects your work surface and gives the needle somewhere safe to go.
Small scissors: These are useful for trimming stray fibers when you’re finished.
Small plant pot or container: This is optional, but it gives your finished succulent somewhere to sit.
Safety First
Felting needles are extremely sharp. Keep your fingers away from the area you’re working on and always place the wool on a felting mat or foam block.

Try to keep the needle straight as you work. Avoid twisting it or pushing it in at an angle, as this can bend or break the needle.
Needle-Felted Plant Tutorial
Step 1: Decide on the Plant Shape
For your first project, a small succulent is a good choice. Its leaves can be arranged in a simple rosette, so you don’t need to create complicated shapes.
You can use different shades of green if you have them. A little variation between the leaves can make the finished plant look more interesting.

Once you’re comfortable with the technique, you can use the same idea to make other miniature plants, such as a cactus, fern, or trailing plant.
Step 2: Make the Center Base
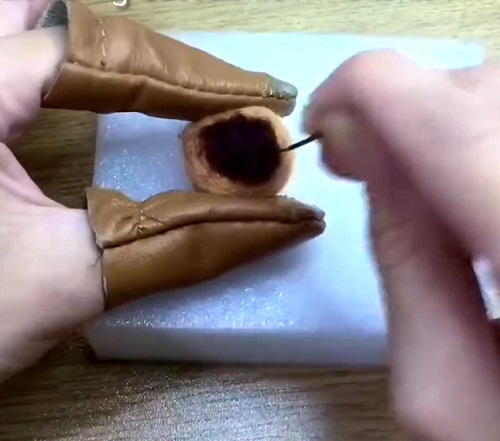
Start by pulling off a small piece of green wool. Roll it loosely between your fingers to form a ball.
Don’t worry about making it neat yet. Place the wool on your felting mat and begin poking it with the needle.

Use short, straight pokes and turn the wool regularly so you work all sides. As you felt it, the wool will become firmer and smaller.
Keep checking the shape as you work. You want a compact, rounded base that will support the leaves.
If the wool feels too loose, keep felting it. It’s much easier to add more wool later than to deal with a base that’s much larger than you intended.

Step 3: Make the Leaves
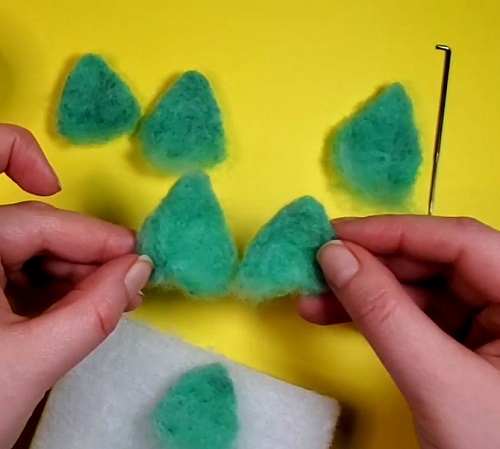
Pull off a small piece of green wool for the first leaf. Roll it gently between your fingers and then flatten it slightly.
Shape it into a small teardrop. The pointed end will sit closer to the center of the plant, while the wider end will form the outer part of the leaf.
For a small succulent, the lower leaves can be around 1 to 1½ inches long. The leaves toward the center can be smaller.

Place the first leaf against the rounded base. Hold it in position with one hand while using the needle to poke through the leaf where it meets the base.
Work along the area where the two pieces touch so the fibers become tangled together. You don’t need to felt the entire leaf flat.
Leave the outer part of the leaf softer so you can shape it later.
Step 4: Add More Leaves
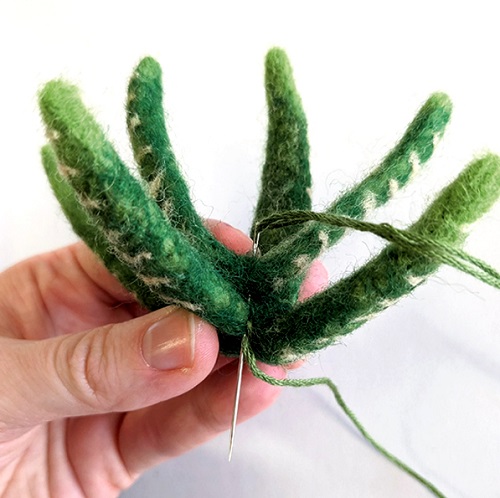
Make several more leaves and attach them around the base.
Start with the larger leaves around the outside. Overlap each leaf slightly with the one before it. As you move toward the center, use smaller leaves and place them a little more upright.
Don’t worry if the leaves aren’t identical. In fact, slightly different sizes and shapes will make the succulent look more natural.
Keep turning the plant as you work so the leaves are spread evenly around it.
If a leaf feels loose, add a few more controlled pokes where it meets the base.
Step 5: Build the Center
Once the outer leaves are in place, start adding smaller leaves toward the middle.
These leaves should sit closer together and point slightly upward. You can make the center more compact by gently felting the bottom portion of each new leaf into the wool underneath.
Take your time here. The center is what gives the succulent its layered appearance, so there’s no need to rush through it.
If the plant starts looking too bulky, stop adding wool and spend some time shaping what you already have.
Step 6: Shape and Refine the Plant
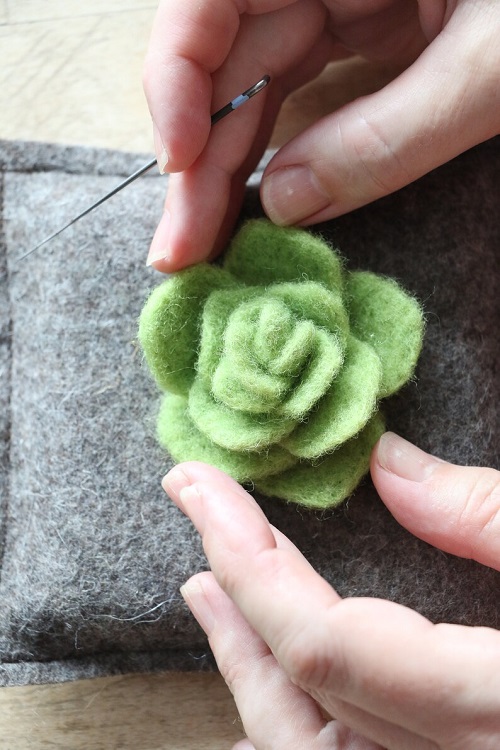
Now take a close look at your finished succulent.
Check for leaves that look too thick, areas that are still very loose, or parts of the plant that need a little more shaping.
Use a few light pokes to firm up loose areas. You can also gently bend or position the leaves with your fingers before securing them further.
If some fibers are sticking out, trim them carefully with your small scissors. Avoid cutting deeply into the felted wool.
Don’t try to make every leaf perfectly smooth. A little variation gives the plant a more handmade appearance.
Step 7: Place It in a Tiny Pot
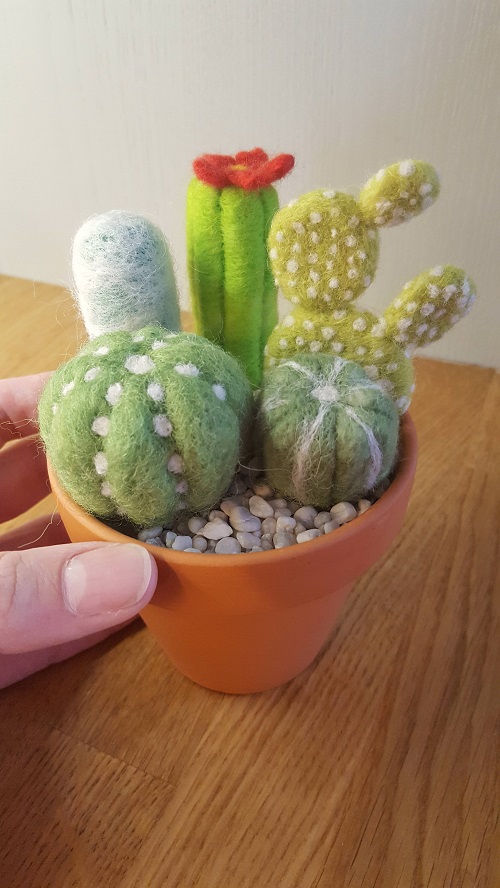
Once you’re happy with the shape, place the felted succulent in a small pot or container.
If there’s a gap around the base, add a little brown or tan wool to create the look of soil. You can felt the wool lightly around the bottom of the plant so it stays in place.
A snug pot should be enough to hold a small felted plant. If yours moves around too much, you can use a tiny amount of craft glue on the bottom to secure it.
Tips for Better Results
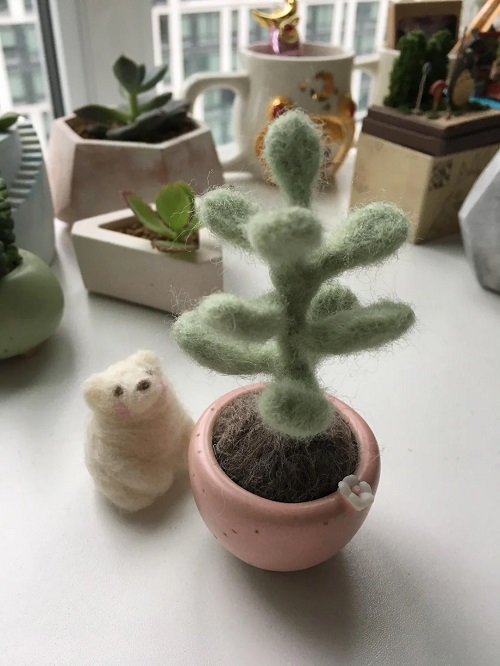
Start with small amounts of wool. You can always add more, but removing a large amount of felted wool is much harder.
Keep the needle moving in and out rather than twisting it. Straight, controlled pokes give you better control and help protect the needle.
Try mixing shades of green. Even a small difference between the leaves can give the succulent more depth.
Don’t felt every part of the leaf equally. Keep the outer edges softer while firming up the section that attaches to the plant.
Most importantly, don’t worry about making the first one perfect. Needle felting takes a little practice, and you’ll get a better feel for the wool after making a few pieces.
Make a Little Wool Plant Collection
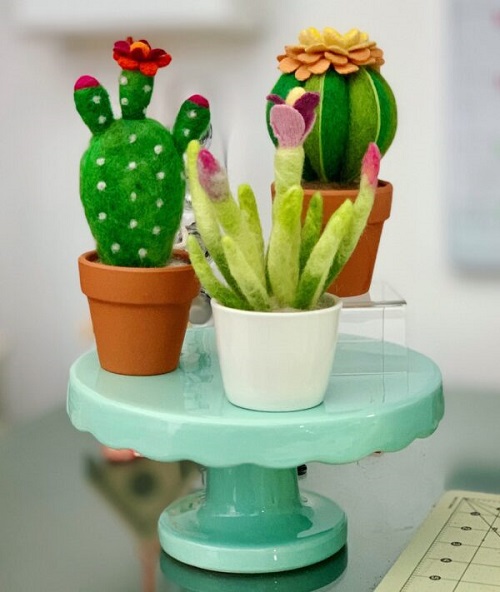
Once you’ve made one succulent, you may want to try a few different shapes and sizes. Make one with pale green leaves, another with darker green wool, or create a tiny cactus to sit beside it.
The nice thing about felted plants is that they don’t need sunlight, water, or regular care. A small collection can brighten up a desk, shelf, or windowsill without taking up much space.
And because each plant is shaped by hand, yours doesn’t have to look exactly like anyone else’s. That’s part of the fun of making it yourself.