
Want to add small floral details to your stitching? Learn How to Embroider Tiny Flowers with easy steps and simple stitches.
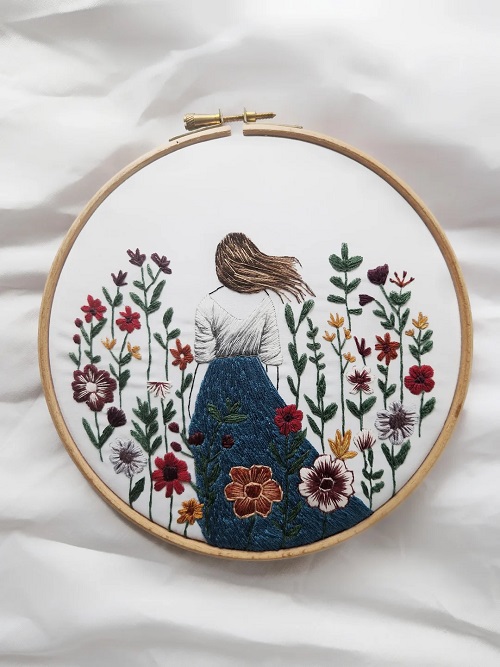
Flowers are a popular choice in embroidery, and tiny flowers make lovely additions to many projects. These three small flower designs are easy to enjoy and look cute in any pattern. The whole flower cluster shown above measures less than 1 inch across.

You can use tiny flowers to fill empty spaces in larger floral embroidery designs. They also look nice on covered buttons, shirt cuffs, and collars. You can even use them to make small pieces of stitched jewelry or create your own little embroidered garden.

What You’ll Need
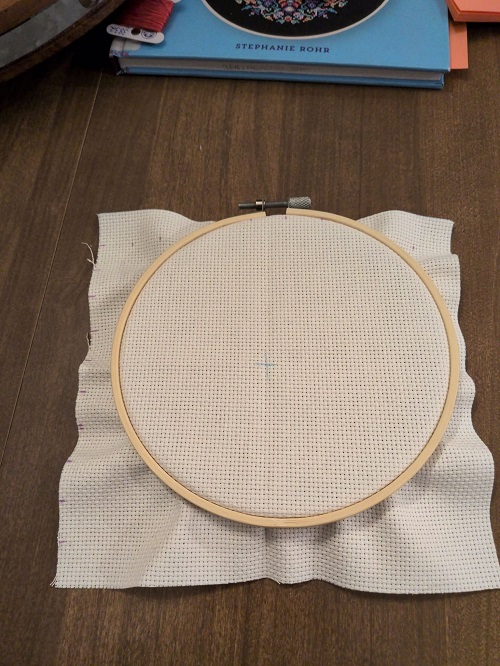
- Embroidery hoop
- Embroidery needles
- Various colored embroidery floss
- 1/4 to 1/2 yard Needlework fabric, white cotton, other woven cloth, or a plain white handkerchief
How to Embroider Tiny Flowers
Instructions
How to Make a Tiny Daffodil
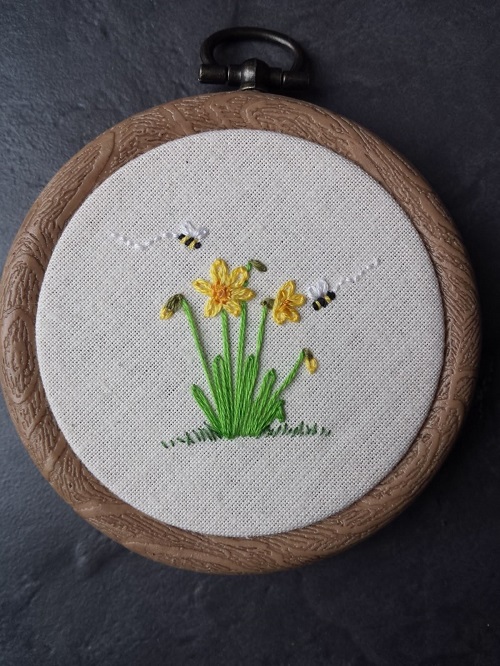
Make the Center
1. Choose two colors for your daffodil.
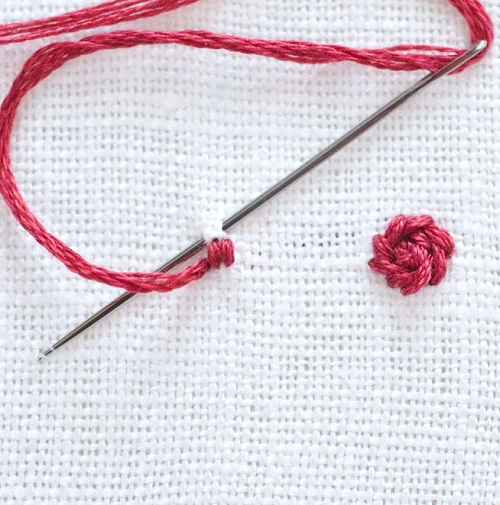
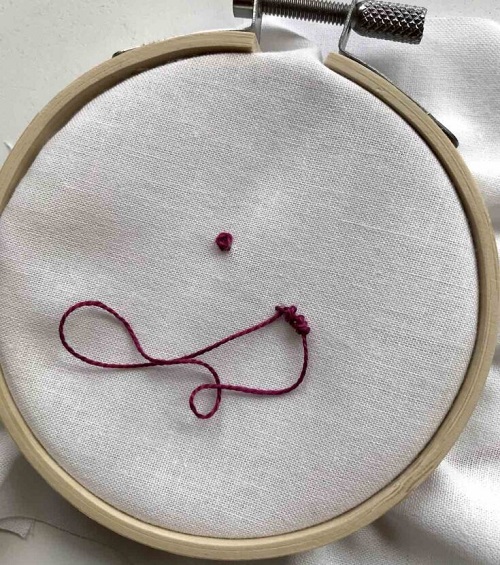
2. Start by making a French knot in the center of the flower.
3. Use the darker color to create a loose French knot.
To keep the knot slightly loose, don’t wrap the thread too tightly around the needle as you pull it through the fabric.
Stitch a Petal
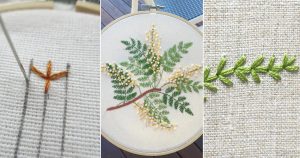
1. Use three straight stitches to make each petal.
2. Make the middle stitch the longest.
3. Add two shorter stitches on either side of the middle stitch to form a triangle shape.
Create More Petals
Repeat the same steps to make five or six petals around the center. This will complete your daffodil.
How to Make a Tiny Rose
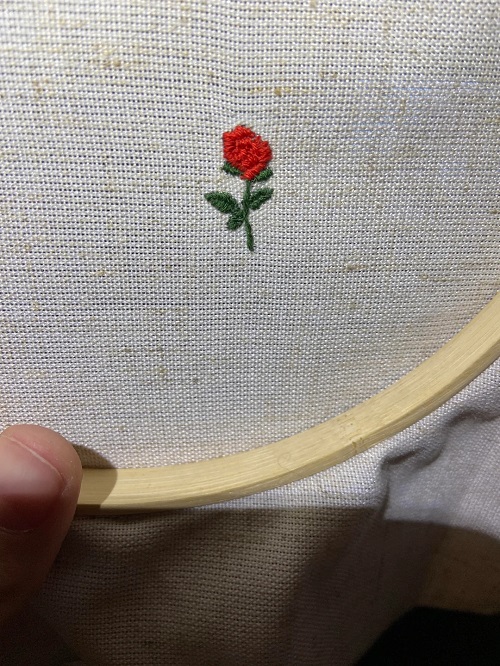
Make the Center
Make two small, parallel straight stitches to form the center of the flower. You can use a different color for the rose center to make it stand out.
Form the Petals
1. Start stitching around the center using a tiny stem stitch. Work in a circle to form the first layer of petals.

2. Keep stitching around the circle until the flower reaches your preferred size.
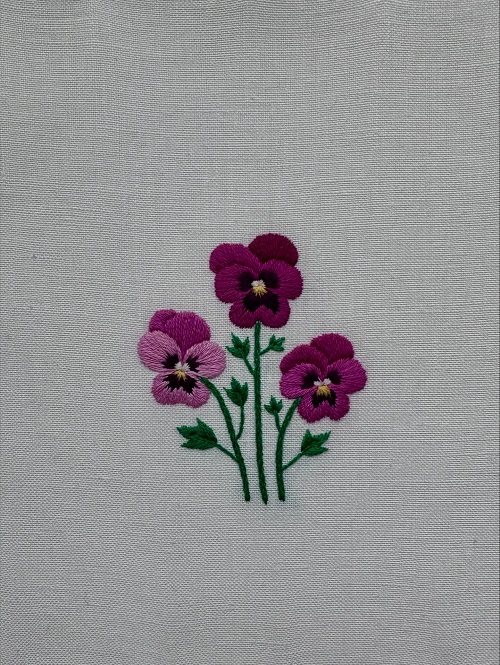
How to Make a Tiny Pansy or Iris
Stitch the Lower Petals
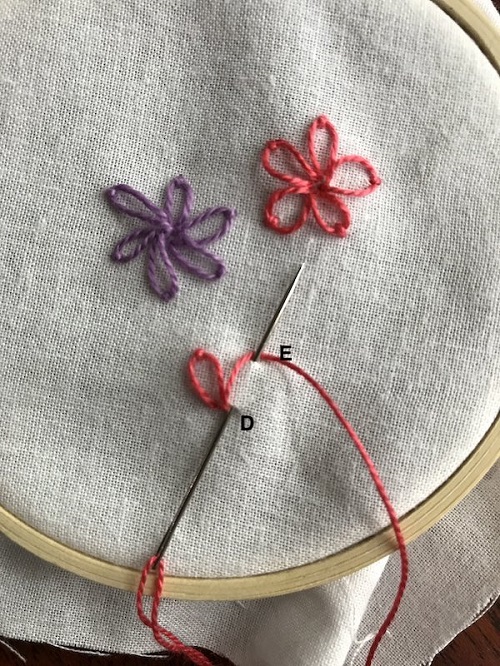
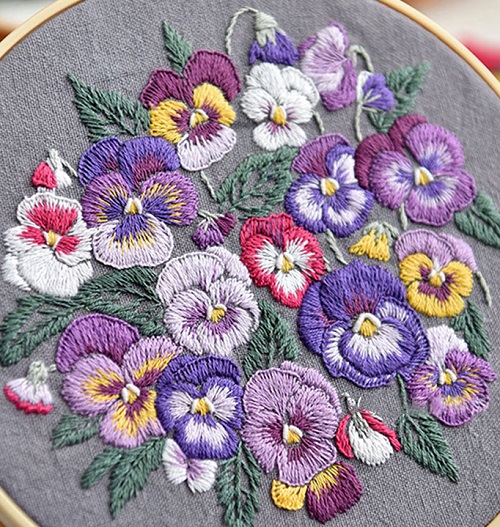
Choose one or two colors for your flower. Start by making the lower petals with two or three detached chain stitches.
1. To begin the upper petals, bring your needle up through the center of the three lower petals.
2. Make one chain stitch on the far left side.
3. Instead of stitching down the top of the petal to secure it, bring your needle back down through the center of the lower petals.
Bring it up again next to the partial chain stitch, keeping the yarn under the needle. This changes the stitch into a blanket stitch. Continue using this stitch to form the upper fan of petals.
A wider fan gives the flower a pansy-like shape, while a narrower fan makes it look more like an iris.
Common Mistakes When Embroidering Tiny Flowers
Tiny flowers need small, neat stitches to keep their shape. Even a little mistake can make the petals look uneven or crowded. Watch out for these common problems as you work on your flowers.
1. Making the Stitches Too Long
Long stitches can make tiny petals look messy. They may also stick out from the flower and lose their shape. Keep your stitches short and adjust their length to match the size of the flower.
2. Pulling the Thread Too Tight
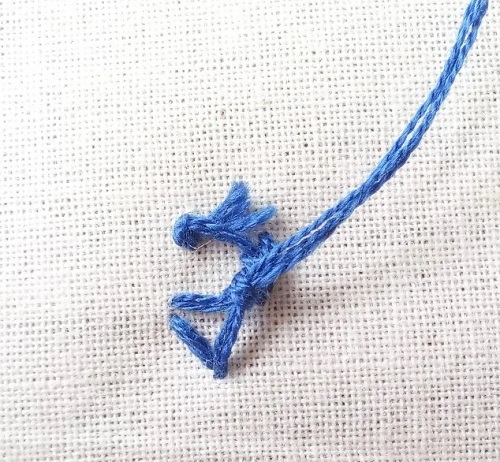
Pulling the embroidery floss too tightly can cause the fabric to pucker. This is especially noticeable when you make French knots or small chain stitches. Keep a little slack in the thread so the stitches sit neatly on the fabric.
3. Making the Petals Uneven
Uneven petals can make your flower look unbalanced. This often happens when you use different stitch lengths or leave too much space between the petals. Follow a similar size and spacing for each petal to keep the flower shape even.
4. Using Too Many Strands of Floss
Thick stitches can cover the small details of tiny flowers. If you use too many strands, the petals may look bulky and the center can become difficult to see. Use fewer strands of embroidery floss to keep the design neat and clear.
5. Crowding the Flower Center
Adding too many stitches around the center can make the flower look crowded. This is common when you stitch daffodil petals or build the layers of a tiny rose. Leave enough room around the center so each petal remains easy to see.
6. Not Securing the Stitches Properly
Loose French knots, chain stitches, or stem stitches can come undone while you handle the fabric. Secure the thread at the back before moving to another part of the design. Avoid making large knots that show through the fabric.
7. Choosing the Wrong Stitch for the Petals
Each flower needs a slightly different stitch to create its shape. Straight stitches work well for daffodil petals, while tiny stem stitches help form rose petals. For pansies and irises, use detached chain stitches and blanket stitches to create the lower and upper petals. Using the wrong stitch can change the flower’s shape and make it harder to recognize.