
Learn How to Work the Fern Stitch in Hand Embroidery with easy steps. Follow this simple guide to add pretty leaf designs to your projects.
Add leaf patterns and small branches to your embroidery projects with the fern stitch. When you learn How to Work the Fern Stitch in Hand Embroidery, you can create neat, branching designs with simple stitches. Use this technique to make flower stems, leaves, and other nature-inspired details.
Using Fern Stitch
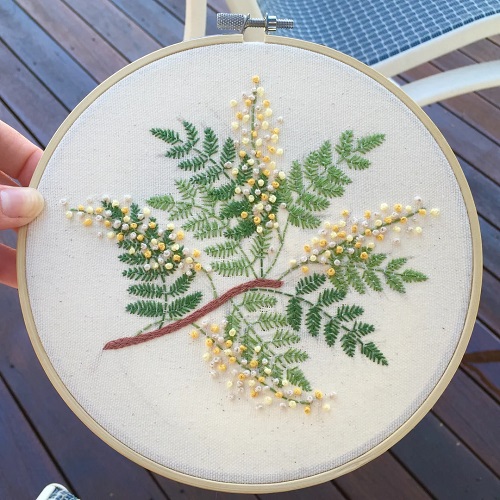

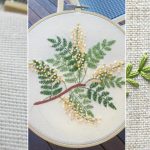
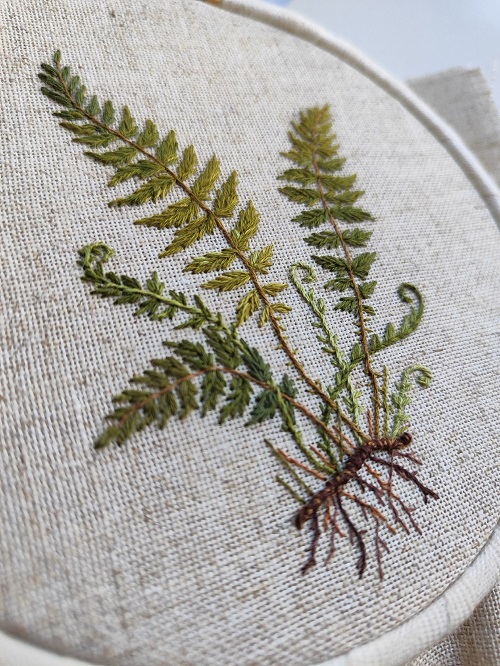
The fern stitch is useful for making different types of leaves and greenery. You can use it for tree branches, evergreen sprigs, and to fill spaces between embroidered flowers.

Work this stitch along the middle of a leaf to create its veins or use it to decorate a feather. You can also add small details to change its look. Use French knots to make berries on evergreen branches or add straight stitches to look like pine needles. Detached chain stitches can also be added to make tiny flower buds.
If you are making a floral embroidery design with satin-stitched or felt flowers, add fern stitches to create different types of greenery.
You can also give your fern stitch more depth by wrapping or weaving the center line with thread, just as you would with a backstitch. For a fuller design, overlap several fern stitch lines or work multiple rows together to fill an area.
What You’ll Need
- Needle
- Fabric
- Embroidery floss
How to Work the Fern Stitch in Hand Embroidery
Choose the Right Embroidery Floss
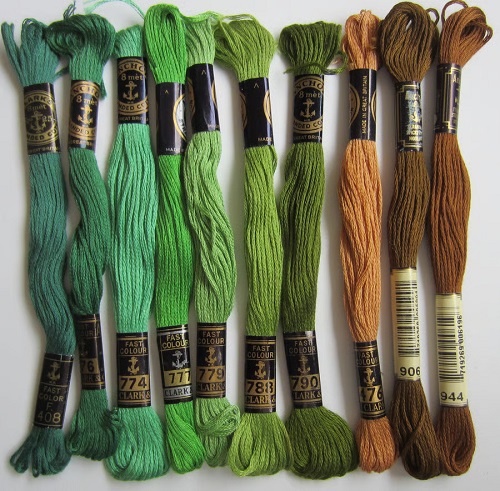
Embroidery floss is a good choice for fern stitch because you can separate it into strands to control the thickness of your work. Most embroidery floss comes with six strands twisted together. You can use two or three strands for a fine fern stitch or more strands if you want thicker branches.
Fewer strands create small stitches that work well for tiny leaves and flower stems. More strands make the stitches stand out, which is useful for larger designs.
Choose a thread color that matches your embroidery project. Green shades work well for leaves and branches, while brown is useful for stems. You can also use different colors for decorative designs.

Prepare Your Fabric Before Stitching
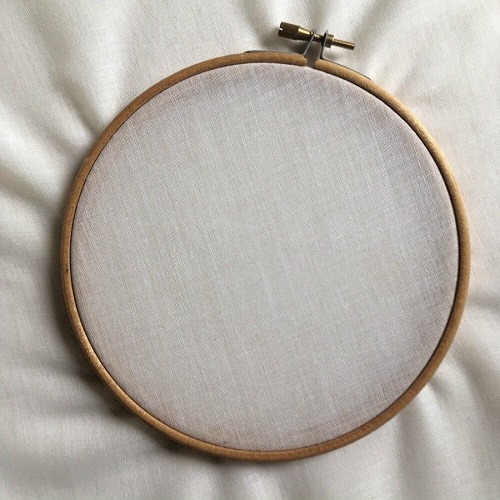
Before starting, make sure your fabric is clean, smooth, and free of wrinkles. Place it in an embroidery hoop and tighten the fabric so it stays in place while you work. The fabric should feel firm but should not stretch out of shape.
Use a washable fabric marker or an embroidery pencil to draw your design. Mark the main line where you want the fern stitch to run. You can also add small guide lines on both sides to help you keep the stitches at a similar angle.

If you are making a curved branch or leafy design, draw the curve lightly before you begin. This gives you a clear path to follow and helps you plan where each group of three stitches should go.
Test your marking tool on a small piece of the same fabric first to make sure the marks come off easily.
How to Work the Fern Stitch in Hand Embroidery
Make the First Diagonal Stitch
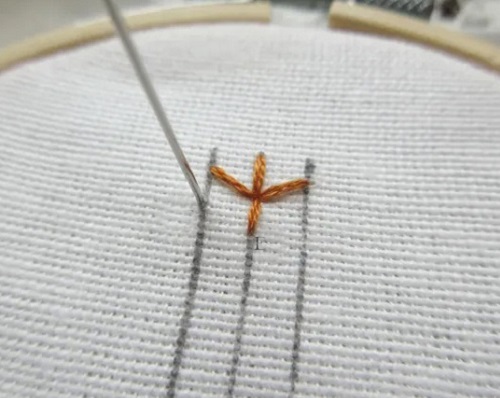
To start the fern stitch along a horizontal line, bring your needle up at the upper-left point (point 1). Insert it at the lower-right point (point 2) to make a diagonal stitch.

Make the Second and Third Stitches
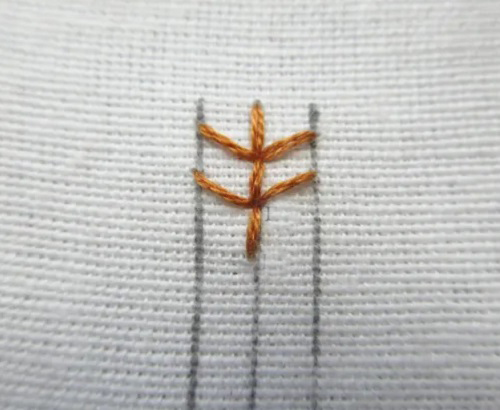
Bring your needle up at point 3, just to the left of point 2. Insert it back into the same hole at point 2. Next, bring your needle up at the lower-left point (point 4) and take it down through point 2 again. You should now have three stitches meeting at the same point.
Continue to the End of the Row
Repeat these three stitches along the marked line on your fabric. Continue until you reach the end of the row.
Keep the Stitches Neat and Even
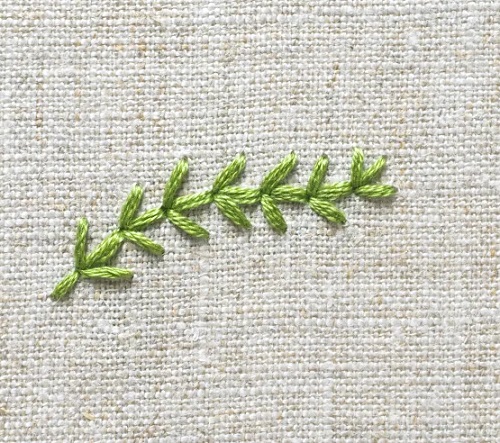
The way you handle the thread makes a difference to the finished fern stitch. Pull the thread gently after each stitch. If you pull too hard, the fabric may gather around the stitch, and the design will lose its open shape.
Keep the three stitches in each group close enough to meet neatly at the same ending point. Leave enough space between the groups so the fern pattern remains clear. If the stitches are too close together, the design can look crowded.
Check the back of your fabric from time to time. Long loops of thread can catch on your needle or other stitches as you work. Keep the thread flat and avoid pulling it across large areas of the fabric.
Work Fern Stitch Along Curved Lines
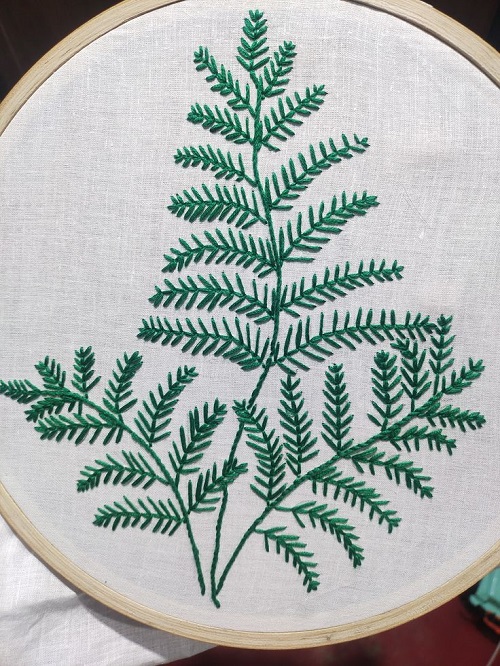
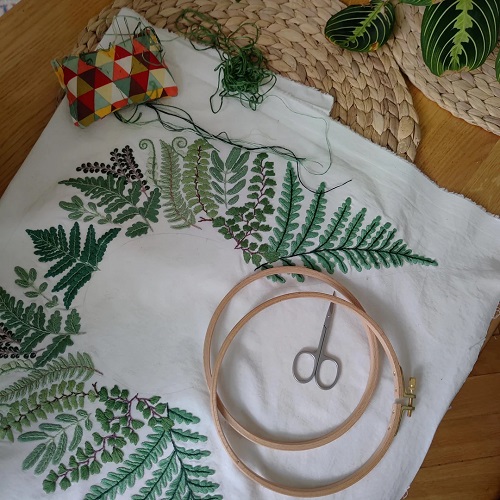
Fern stitch works well on both straight and curved lines. When making a curved branch, adjust the angle of the side stitches as you move along the design. This helps the stitches follow the shape of the branch instead of making the pattern look stiff.
For a gentle curve, small changes in the angle are usually enough. For a tighter curve, make the stitches slightly shorter so they follow the line more easily. You can also change the spacing between the groups to keep the design balanced.
If you are making a large branch, work along the main stem first. Then add the smaller branches and leaves. This helps you keep the direction of the design consistent.
How to Secure the Thread
When you finish a row of fern stitches, secure the thread on the back of your fabric. Pass your needle under a few existing stitches and pull the thread through gently. You can pass it under the same stitches again to make sure it stays in place.
Avoid making large knots because they can create bumps on the back of your embroidery. If you are working with delicate fabric, keep the thread ends short and secure them carefully.
If you need to start a new length of floss, bring the needle up close to your previous stitches. This helps you continue the pattern without leaving a noticeable gap. Keep the new thread at the same tension as the earlier stitches.
Tips for Fern Stitch
If you find it difficult to keep the three stitches evenly spaced, start with the center stitch first. Then add the two diagonal stitches on either side.
For a neat and even fern stitch, mark a center line and two guide lines on your fabric, one on each side. These lines will help you keep the stitches in place. Once you get used to the stitch, you may not need the extra guides.
Your fern stitch does not have to look perfectly even. Slight changes in the length and angle of the side stitches can make the leaves look more natural. If you are stitching along a curved line, adjust the angle of each stitch to follow the curve.
You can also change the length, spacing, and angle of the stitches to create different looks. Make some stitches longer or more pointed for a playful design.
Common Fern Stitch Problems and How to Fix Them
The stitches look too crowded: This usually happens when the three stitches in each group are too close together, or the groups are placed too near each other. Leave a little more space between the groups so the open pattern remains visible.
The fabric starts to pucker: You may be pulling the thread too tightly. Loosen your tension and make sure the fabric is held firmly in the hoop. The stitches should sit on the surface without pulling the fabric inward.
The three stitches do not meet neatly: Check that you are inserting your needle into the same ending hole for all three stitches. If the stitches end in slightly different places, the fern shape may look untidy.
The leaves look uneven: Look at the length and angle of each side stitch. They do not have to be exactly the same, but large differences can make the pattern look unbalanced. Use your guide marks to keep the shape consistent.
The thread keeps twisting: Stop stitching occasionally and let your needle hang freely so the thread can untwist. This helps prevent knots and keeps the stitches smooth.
Try Different Fern Stitch Designs
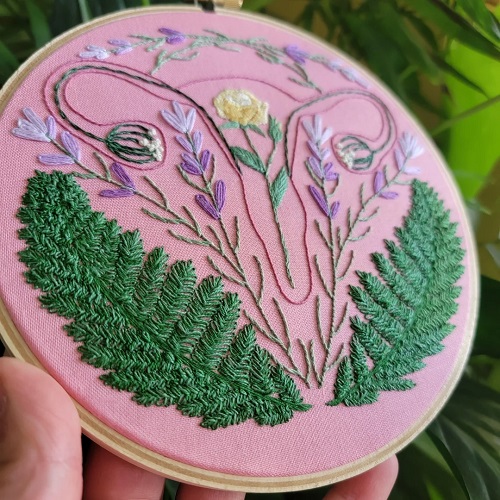
Once you are comfortable with the basic fern stitch, you can change the pattern to suit different embroidery projects. For a small leaf design, use shorter stitches and finer thread. For larger branches, use longer stitches and thicker floss to make the foliage more noticeable.
You can also stitch several fern stitch rows next to each other to create a fuller leafy pattern. Leave small gaps between the rows if you want an open design. If you want a denser look, bring the rows closer together.
Another idea is to use two shades of green in the same design. Use a darker shade for the main branch and a lighter one for the smaller stitches. This adds some variation without changing the basic stitch.
Fern stitch also works well with other embroidery stitches. Combine it with lazy daisy stitches for leaves, French knots for small flowers, or straight stitches for thin stems. These combinations are useful when making garden scenes, floral borders, and nature-inspired embroidery.