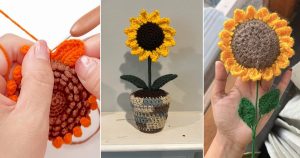
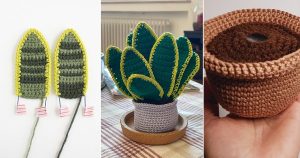
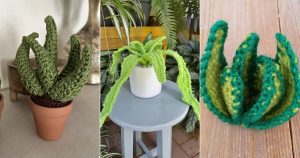
Want to add a handmade touch to a plain planter? This Crochet Flower Pot Cover Pattern Tutorial is an easy way to dress up a simple pot without buying a new one.
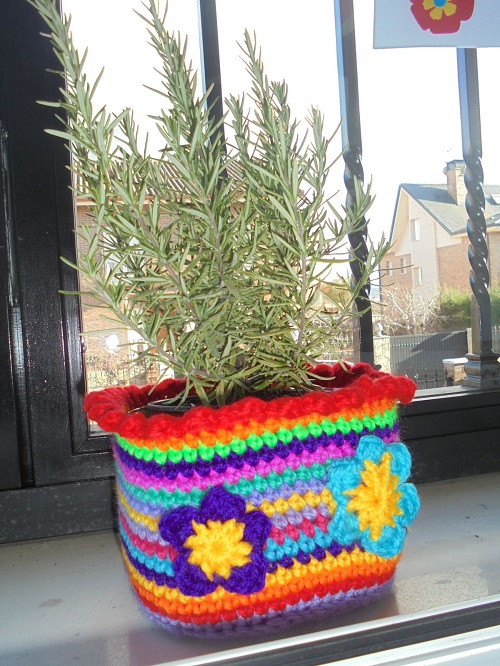
If you have some cotton yarn left over from another project, this is a good way to use it to make a Crochet Flower Pot Cover pattern. It is worked from the bottom up, so you can check it against your planter as you go and adjust the size when needed. The basic design uses simple crochet stitches, making it a nice project even if you are still getting comfortable with crochet.
The finished cover slips over a nursery pot or planter and adds a soft texture around the outside. Just remember that it is meant to cover the pot, not replace a drainage tray.
Crochet Flower Pot Cover Pattern
Skill Level
Beginner
Finished Size
The pattern below works well for a small planter. Because flower pots come in many shapes and sizes, the base is easy to adjust. Stop increasing when the crocheted circle is close to the diameter of the bottom of your pot.
Materials
- Worsted-weight cotton yarn
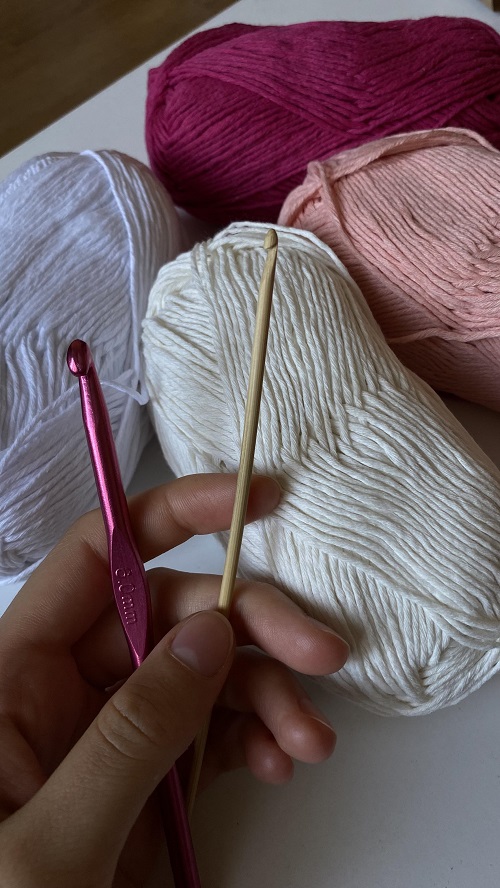
- 4 mm crochet hook
- Yarn needle
- Scissors
- Measuring tape
- Flower pot or planter for checking the size
Cotton yarn is a good choice because it has enough structure to hold the shape of the cover. If you use thicker or thinner yarn, you may need to change the hook size and number of rounds.
Crochet Terminology
This pattern uses US crochet terms.
Abbreviations
ch – chain
sl st – slip stitch
sc – single crochet
dc – double crochet
inc – increase
st – stitch
Pattern Notes
The cover has three simple parts: the flat base, the sides, and the finished top edge.
You’ll start by crocheting a small circle. Increase around the circle until it is wide enough to sit under your planter. From there, stop increasing and work straight rounds to build the sides.
The exact number of rounds will depend on your pot. That’s one of the nice things about this design—you don’t have to force a fixed number of rounds onto a pot that is a different size.
Crochet Flower Pot Cover Pattern Tutorial
Before You Start: Measure Your Pot
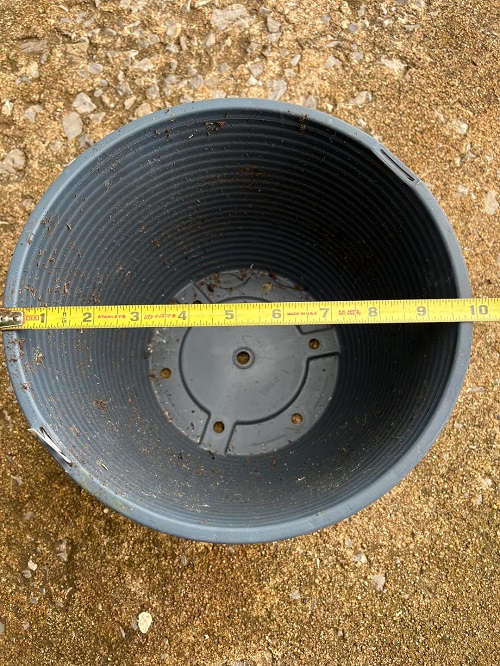
Measure around the widest part of the pot and measure its height from the bottom to the point where you want the crochet cover to stop.
You don’t need to make the cover exactly the same height as the pot. Leaving a little of the planter visible at the top can actually make the finished piece look cleaner.
Keep the pot nearby while you crochet. You’ll use it as your guide rather than relying only on measurements.
Crochet the Base
The base is worked in double crochet rounds.
Round 1
Make a slip knot and ch 4. Join with a sl st to form a ring.
Ch 2, which counts as the first dc. Work 11 dc into the ring.
Join with a sl st to the top of the beginning ch-2.
Total: 12 stitches
Round 2
Ch 2.
Work 2 dc in each stitch around.
Join with a sl st to the top of the beginning ch-2.
Total: 24 stitches
Round 3
Ch 2.
Dc in the next stitch, 2 dc in the following stitch.
Repeat from * around.
Join with a sl st to the beginning ch-2.
Total: 36 stitches
Round 4
Ch 2.
Dc in each of the next 2 stitches, 2 dc in the following stitch.
Repeat around.
Join with a sl st to the beginning ch-2.
Total: 48 stitches
Round 5
Ch 2.
Dc in each of the next 3 stitches, 2 dc in the following stitch.
Repeat around.
Join with a sl st to the beginning ch-2.
Total: 60 stitches
At this point, place the base against the bottom of your planter. If it is still noticeably smaller than the pot, continue with another increase round.
For the next round, work one more regular dc between each increase. Keep following this pattern until the crocheted circle is approximately the same diameter as the bottom of the planter.
Don’t worry if the number of rounds differs from someone else’s project. The size of the pot, yarn, hook, and your crochet tension can all change the final measurements.
Check the Shape of the Base
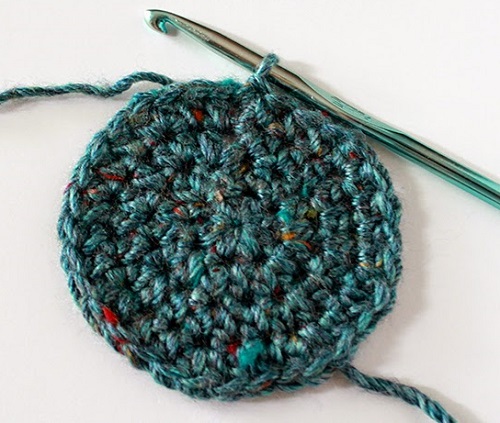
Lay the crocheted circle on a flat surface.
It should lie mostly flat. If the edge starts to ruffle, you’re probably adding increases too quickly. If the circle begins to curl upward like a bowl, you may need more increases.
This is a good time to make adjustments. Once you start building the sides, changing the shape becomes more difficult.
Crochet the Sides
Once the base is wide enough, stop increasing.
Next Round
Ch 2 and work 1 dc in every stitch around.
Join with a sl st to the beginning ch-2.
Continue the Sides
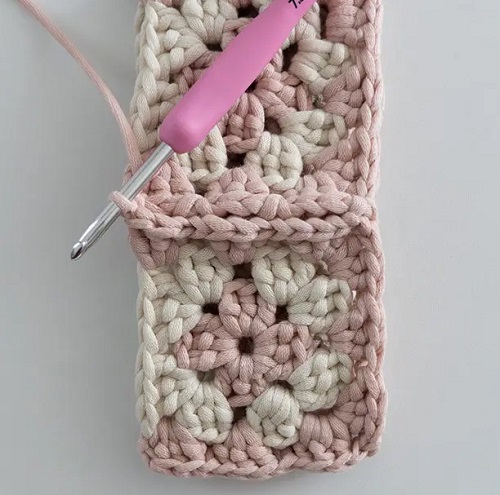
Repeat the same round until the cover reaches the height you want.
Every few rounds, slip the cover over your planter to check it. It should sit comfortably around the pot without stretching too tightly.
If your planter has a wider rim near the top, check that area carefully. You may need a little extra room so the cover doesn’t catch when you slide it on or off.
For a shorter cover, simply work fewer rounds. For a taller one, continue until you’re happy with the height.
Finish the Top Edge
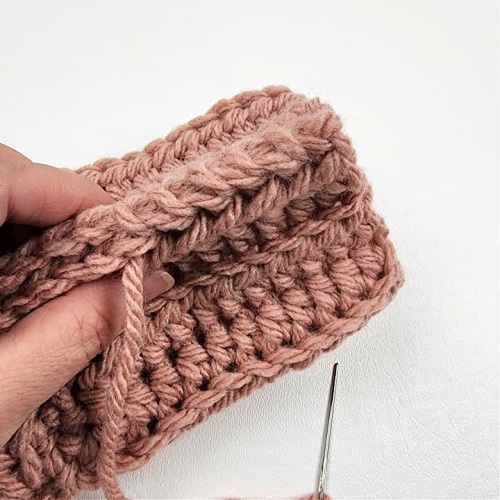
Once the sides are tall enough, add a simple single crochet border.
Ch 1, then work 1 sc in every stitch around.
Join with a sl st to the first sc.
The single crochet edge gives the opening a firmer finish and helps it look more polished.
Fasten off, leaving a yarn tail for weaving in.
Weave In the Ends
Thread the yarn needle and weave the loose tail through several stitches on the wrong side of the work.
Go back through a few stitches in the opposite direction before trimming the excess. This helps keep the end secure.
Do the same with the yarn tail from the beginning.
Turn the cover right side out and check the edge for any loose ends.
Try It on Your Planter
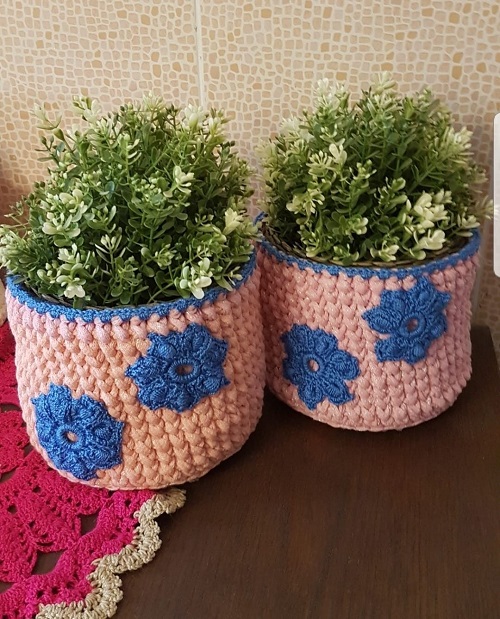
Now slide the finished cover over the pot.
Check that the bottom sits flat and that the sides aren’t pulling too tightly. If the cover feels a little loose, that’s usually fine as long as it stays in place.
If it is much too tight, don’t force it over the pot. Remove a few rounds and adjust the base before trying again.
A handmade cover doesn’t need to fit perfectly like a manufactured sleeve. A little ease makes it easier to remove when you need to water or clean the planter.
Simple Ways to Change the Look
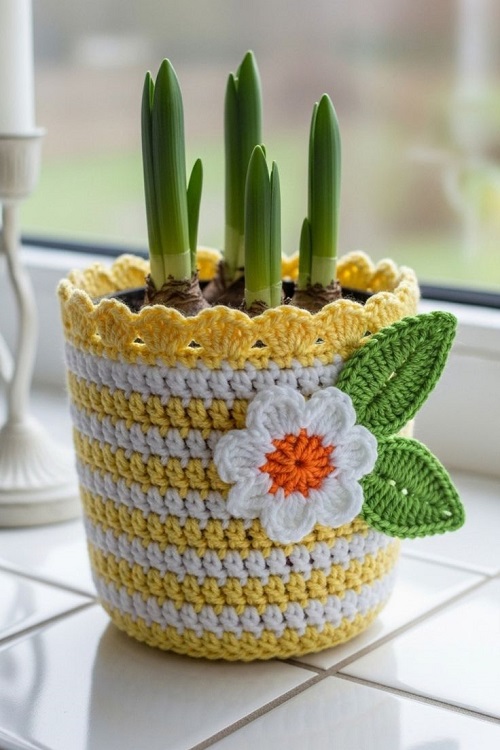
The easiest way to change this project is to play with the yarn.
A single neutral shade can give you a simple look that works with almost any planter. You could also use two colors and switch yarn for the final border.
If you want more texture, try a thicker yarn or a slightly different stitch for the straight rounds. Just make a small test section first because changing the stitch can affect the size.
You can also make several covers in different colors and switch them around with the seasons.
A Few Helpful Tips
- Keep the tension even. Uneven tension can make the base look wavy or cause the sides to flare.
- Check the base before moving on. It is much easier to correct the circle while you’re still increasing.
- Don’t make the cover too tight. You want to be able to remove it from the planter without stretching the crochet.
- Use a saucer. The crochet cover should not sit in standing water. If water drains from the planter, let it collect in a saucer underneath.
- Take the cover off if it gets wet. Cotton can hold moisture, so allow the cover to dry completely before putting it back on the pot.
How to Use Your Crochet Flower Pot Cover
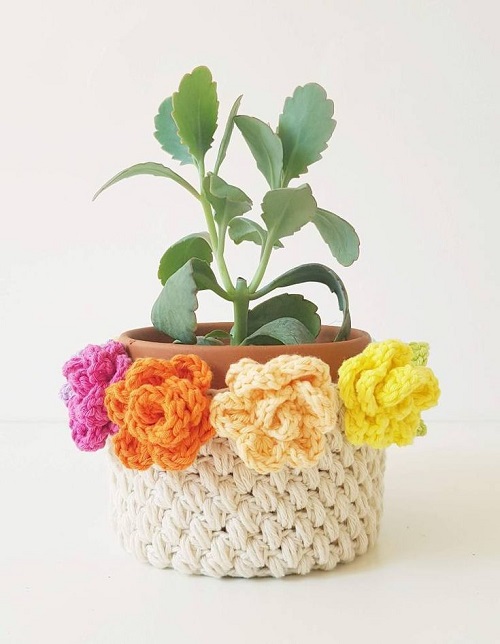
The finished cover can make a basic nursery pot look much more put together. Try it around a small houseplant on a shelf, desk, windowsill, or plant stand.
You can also make a few in different colors to coordinate with your room. If you’re making handmade gifts, pair a crochet cover with a small plant and you’ve got a simple gift that feels personal without being difficult to make.