Try this Crochet Lavender Plant Step-by-Step Tutorial and make a pretty handmade lavender pot for your home, desk, or a thoughtful gift.
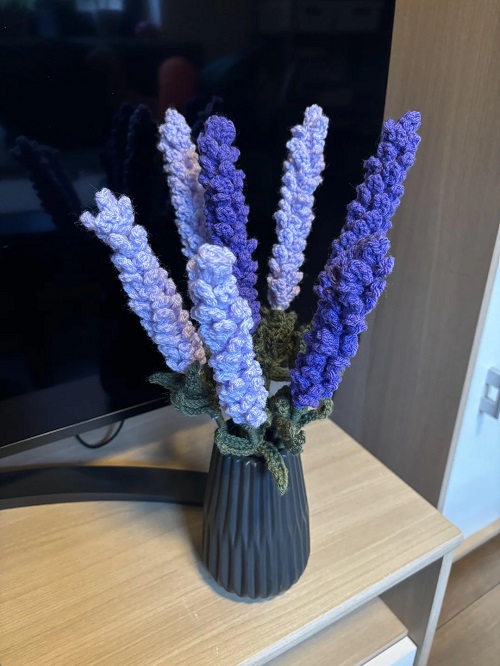
Check out this Crochet Lavender Plant Tutorial, which you could make on the weekend. This pattern will shape the purple flower section, cover the stem, assemble the pieces, and arrange several stems. It is a fun project for handmade home decor, gifts, craft displays, and small floral arrangements. Gather your yarn, hook, floral wire, and a few basic supplies to crochet a pretty lavender plant. Take your time with the wrapping and assembly, and you will have a neat little lavender bunch ready for display.
Crochet Lavender Plant Step-by-Step Tutorial
What You Will Need
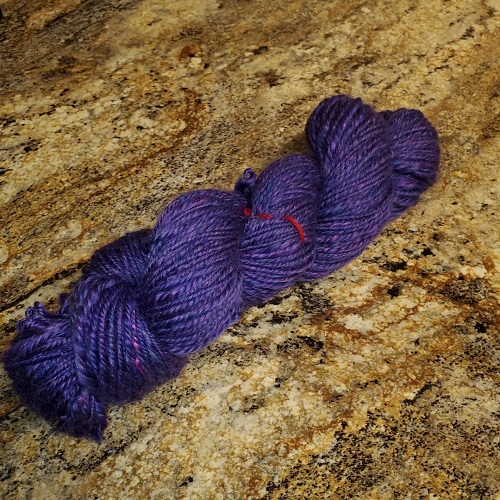
To make these pretty lavender plants, you should have
- medium-weight yarn in purple or lilac for the flowers and green yarn for the stems.
- A 4 mm crochet hook will work well with the yarn weight used for this style of flower.
- You will also need 16-gauge floral wire,
- a pair of pliers, a hot glue gun, and hot glue.
Keep a yarn needle nearby for tidying those loose ends.
Crochet Abbreviations You Should Know
The pattern uses US crochet terms.
ch: chain
sl st: slip stitch
dc: double crochet
mr: magic ring
dc inc: double crochet increase
How to Crochet a Lavender Plant
1. Make the Foundation Chain
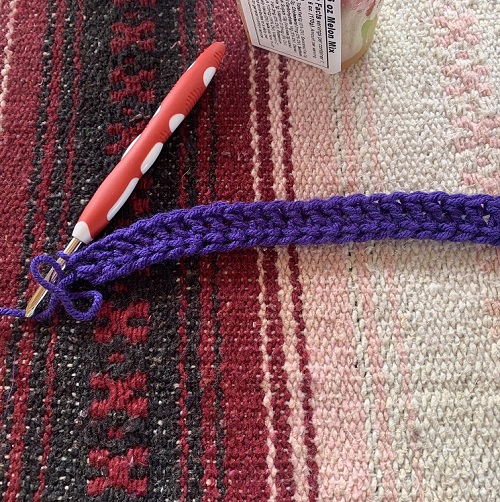
Start with your purple yarn and leave a short tail for securing the work later.
First, chain 30 stitches. Try to keep the chain relaxed rather than pulling each stitch tightly.
The loose chain will make the flower easier to shape around the stem.
2. Start the First Petal Loop
Skip the first two chains from your hook.
Work a slip stitch into the third chain.
This small loop will form the beginning of the lavender flower texture.
3. Form the Next Loop and Secure It
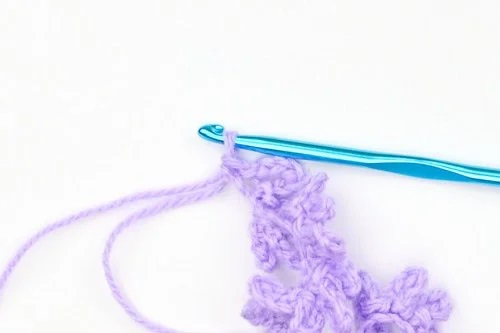
Chain 4. Keep these four chains loose so they can sit upright once the flower is wrapped.
Slip stitch into the next chain of your original foundation chain.
You will now see one small petal-like loop along the base chain.
4. Continue Along the Chain
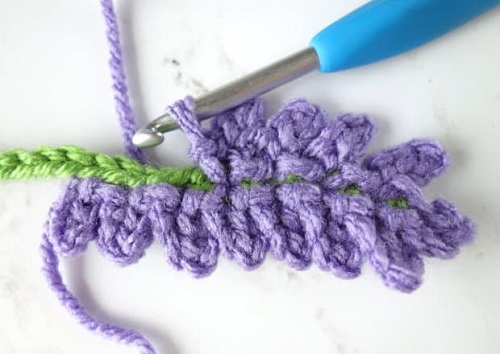
Repeat the four-chain section followed by a slip stitch into the next foundation-chain stitch.
Continue the same pattern until you reach the end. You will see a row of small loops running along one side of the foundation chain.
These loops form the flower head once you wrap the strip around the stem. Fasten off and leave a yarn tail for assembly.
5. Prepare the Crochet Lavender Stem
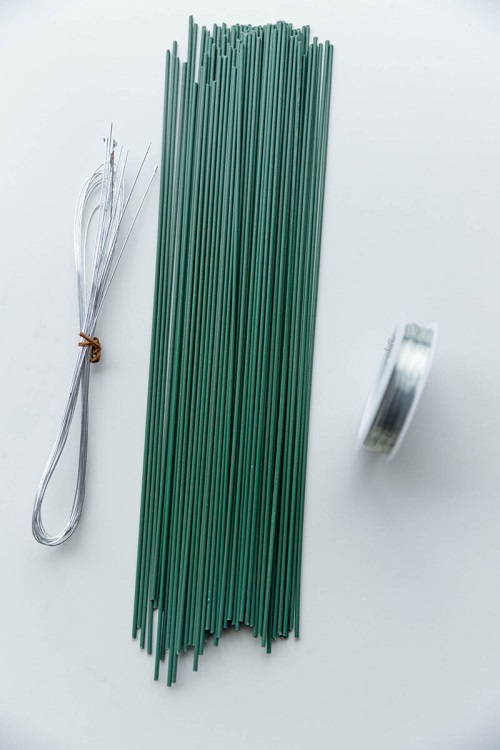
Cut a piece of 16-gauge floral wire to your preferred length.
For a small lavender stem, around 6 to 7 inches works nicely.
Use pliers to cut the wire safely and bend any sharp end slightly inward.
Place a tiny amount of hot glue near one end of the wire.
Start wrapping the green yarn around the glued section while the glue is still warm enough to hold the yarn. Keep wrapping the yarn down the wire.
Try to keep the strands close together so the metal does not show through.
When you reach the other end, place another small drop of glue and secure the yarn. Let the glue set before moving on to the flower section.
6. Attach the Lavender Flower to the Stem
Put a very small amount of hot glue near the top of the finished stem.
Take the purple crochet strip and position the side without the loose tails against the top of the wire.
Begin winding the strip around the stem in a gentle spiral. As you wrap, keep the little loops facing outward.
You may need to loosen the strip slightly with your fingers so the loops sit evenly instead of bunching together.
Continue winding until you reach the bottom of the flower section.
Keep the spiral fairly close so there are no large gaps between the purple rows.
Place a small amount of glue near the bottom of the flower. Wrap the remaining yarn tail around the base and secure it.
Trim the excess yarn once the glue has cooled and your first crochet lavender stem is completed.
7. Make More Lavender Stems
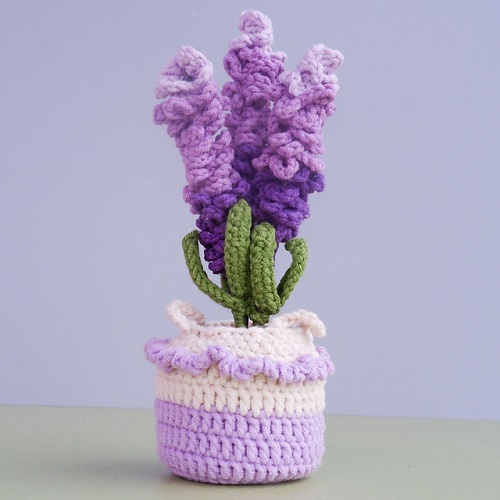
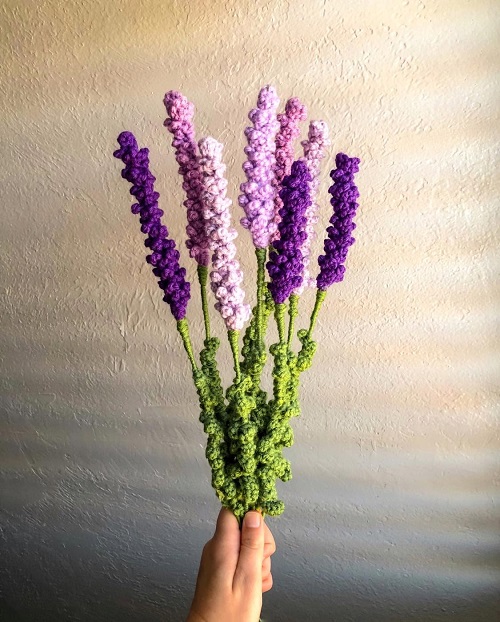
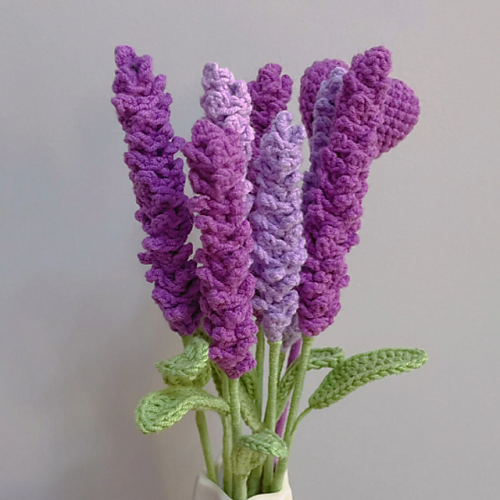
Repeat the same process for as many stems as you want. Using two or three shades of purple can give the bunch more variation.
Make several stems with similar lengths if you want to keep them in a vase. For a more relaxed arrangement, vary the stem lengths slightly so the flowers sit at different heights.
Things to Note while working
Keep your foundation chains loose. This makes the small loops easier to shape and prevents the flower strip from becoming too rigid.
Wrap the green yarn tightly enough to cover the floral wire, but do not pull so hard that the yarn becomes thin or uneven. You can leave green floral wire uncovered when you want a quicker project. Green wire already blends fairly well with the finished flower.
Change the flower size by adjusting the starting chain. A longer chain produces a longer flower section, while a shorter chain gives you a smaller sprig.
Different yarn weights will change the finished size. Thicker yarn gives a larger flower, while thinner yarn produces a smaller and more delicate stem. Adjust your hook size along with the yarn so your stitches remain comfortable to work.
Helpful Tips
- Use only a tiny amount of hot glue during assembly. Too much glue can spread through the yarn and leave a visible hard spot. Be careful when handling the glue gun. The glue and metal tip become very hot, so keep your fingers away from freshly glued sections.
- If you are new to crochet flowers, practice the 30-chain flower section once before working with the wire. It helps you get comfortable with the tension.
- Keep the finished lavender away from direct heat. The hot glue and acrylic yarn can soften or deform under high temperatures.
- For a fuller display, place several lavender stems in a narrow vase rather than spreading them too far apart. The small flower loops look best when they sit close together along the upper part of each stem.