Watch a simple strand of yarn turn into a blooming flower. Follow the steps and learn how to crochet a tulip flower pattern.
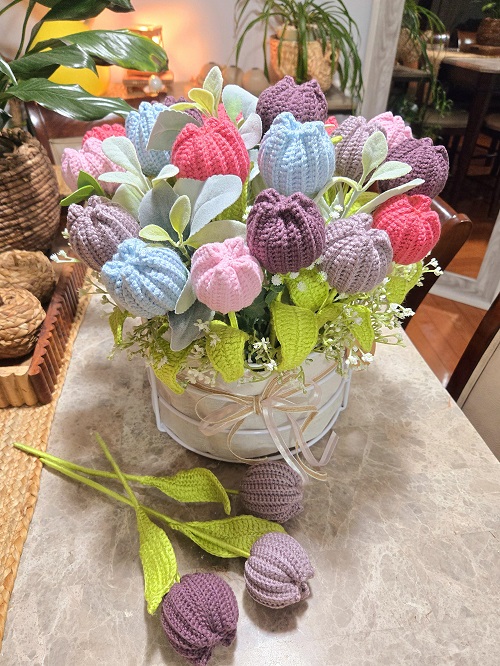
This crochet tulip is especially fun because the petals can be shaped with wire, so you get some control over how open or closed the flower looks. There are a few pieces to make, but none of them are especially complicated. You’ll crochet three small petals, three larger petals, a leaf, and six stamens. Once those are ready, they are joined together on a flower rod to make the finished tulip.
Pick whatever tulip color you like. You don’t have to stick to the usual red or pink.
How to Crochet Tulip Flower Pattern
Supplies
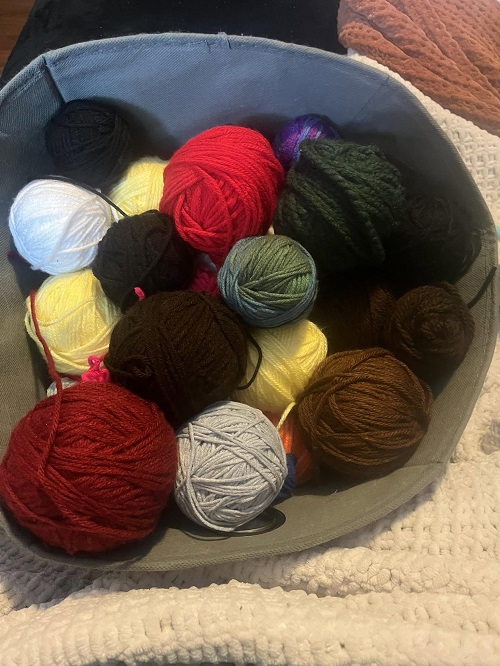
Get these things together before you start:
* Yarn for the tulip petals
* Green lace- or fingering-weight yarn for the leaf and stem
* 2 mm or 2.5 mm crochet hook
* Flower rod, about 16 inches (40 cm) long and 2 mm in diameter
* Iron wire for the petals and leaf
* Six short pieces of iron wire for the stamens
* Stitch marker
* Scissors
* Hot-melt adhesive
The wire is important here. It gives the petals enough support to be shaped after you’ve finished crocheting them.
Finished Size
The completed tulip is approximately 16 inches (40 cm) long. Yours may be slightly different depending on the stem length and how you shape the flower.
Abbreviations
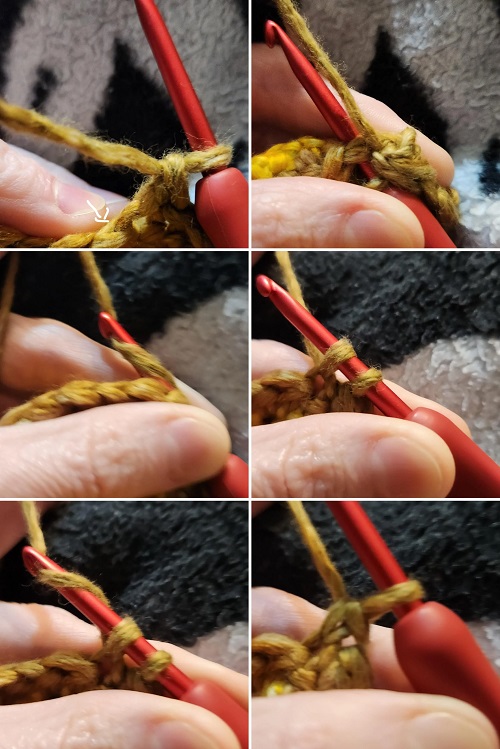
This pattern uses US crochet terms.
* **sc** – single crochet
* **hdc** – half double crochet
* **dc** – double crochet
* **sl st** – slip stitch
* **ch** – chain
* **st** – stitch
Crochet Tulip Instructions
It makes things easier if you finish all the crocheted pieces before you start sewing them together. Keep the yarn tails from the petals too. You’ll need those when it’s time to put the flower together.
Small Petals
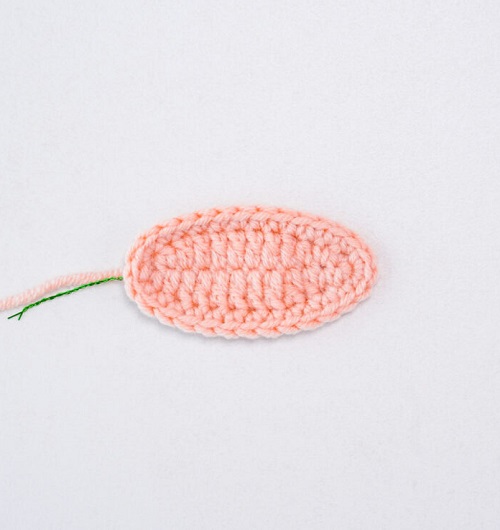
Start with the three smaller petals. These will sit around the flower center.
You’ll need **3**.
First Row
Chain 13.
Starting in the second chain from the hook, crochet:
**1 sc, 1 hdc, 7 dc, 1 hdc, 1 sc.**
Work **3 sc into the last foundation-chain stitch** to turn around the end.
On the other side of the chain, work:
**1 sc, 1 hdc, 7 dc, 1 hdc, 1 sc, 1 sl st.**
Chain 1 to finish.
It should look like a small, stretched-out petal at this point.
Second Row
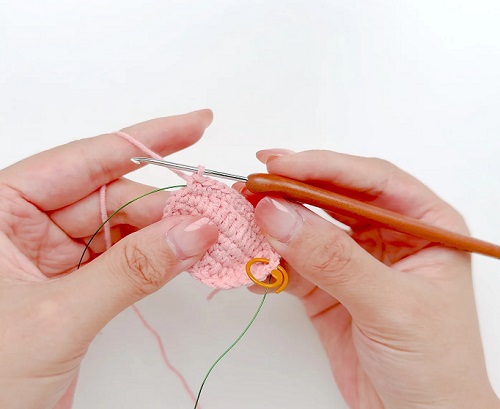
Take the iron wire and place it along the outside edge of the petal. You’ll crochet over it, so keep it close to your stitches as you go.
Work:
**12 sc, 3 sc in the last stitch.**
Continue around the other side:
**11 sc, 2 sc in the next stitch.**
Before you finish, check the edge and make sure the wire is covered. If there is extra wire sticking out, trim it or bend the end inward.
Fasten off, leaving a long tail.
Give the petal a slight bend with your fingers. There’s no need to get the final shape right just yet.
Make two more petals the same way.
Large Petals
The large petals go around the small ones. They are a little wider and help give the tulip its fuller shape.
Make **3**.
First Row
Chain 13.
Starting in the second chain from the hook:
**11 sc, 3 sc in the last stitch.**
Continue along the other side:
**10 sc, 2 sc in the next stitch, 1 sl st.**
Chain 1 to finish.
Second Row
Work:
**2 sc in the next stitch, 1 hdc, 8 dc, 1 hdc, 1 sc, 3 sc in the last stitch.**
Continue around the other side:
**1 sc, 1 hdc, 8 dc, 1 hdc, 2 sc, 1 sl st.**
Chain 1 to finish.
The double crochet stitches through the middle make this petal taller and help it develop its curved shape.
Third Row
Place the iron wire along the outer edge.
Work over it as you crochet:
**14 sc, 3 sc in the last stitch.**
Continue along the other side:
**13 sc, 2 sc in the next stitch, 1 sl st.**
Trim any excess wire when you’re finished, or bend the ends inward so they are safely tucked away.
Fasten off and leave a long tail for sewing.
Make the other two large petals.
The Tulip Leaf
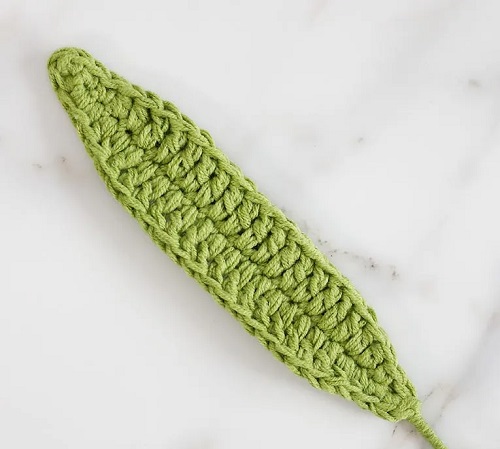
The leaf is quite long compared with the petals, which is what gives the finished flower that familiar tulip shape.
Chain 30.
Place the iron wire alongside the foundation chain, leaving a little extra wire at both ends. Crochet over the wire as you work.
Starting in the second chain from the hook, work:
**2 sc, 3 hdc, 18 dc, 3 hdc, 2 sc.**
Work **3 sc in the last chain** to turn around the end.
Continue on the other side:
**2 sc, 3 hdc, 18 dc, 3 hdc, 2 sc, 1 sl st.**
Fasten off, leaving a long tail.
Bend the exposed wire ends inward so they aren’t sticking out. Leave the final shaping until the leaf is attached to the stem.
Making the Stamens
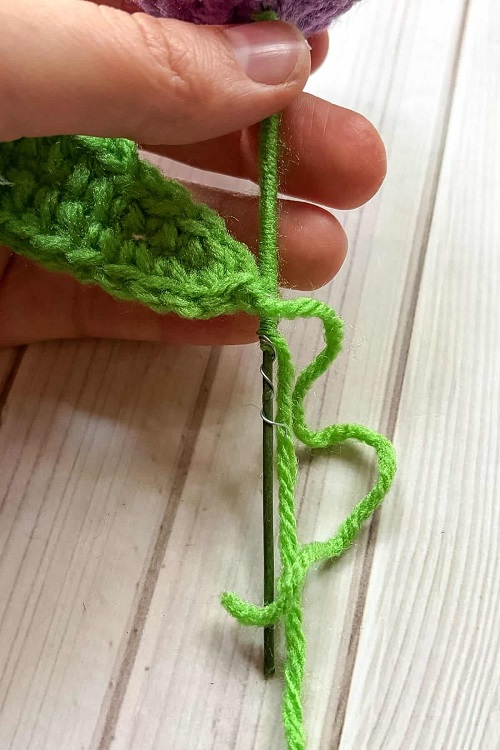
There are six stamens in the middle of the flower.
Cut six short pieces of iron wire. Try to keep them close to the same length.
Take one piece and wrap a little yarn around its center. Fold the wire in half so the wrapped yarn sits at the bend. Twist the two ends together underneath the wrapped section.
Do this with the remaining five pieces.
Keep the twisted wire underneath each one long enough to secure all six together later.
If the yarn starts to loosen, a tiny dab of hot-melt adhesive will help hold it in place. Let it cool before you continue.
Putting the Flower Together
This is the part where the separate bits finally start looking like a tulip.
1. Start with the Stamens
Bring all six stamens together, keeping their wrapped centers in the middle.
Twist the lower wire ends together so they stay as one group.
2. Sew on the Small Petals
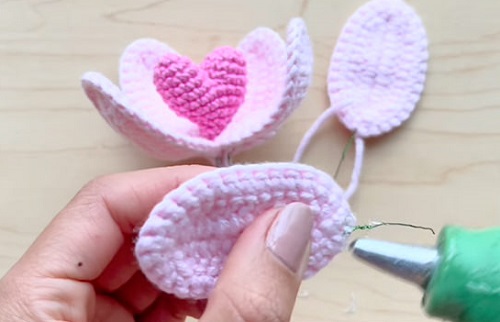
Arrange the three small petals around the stamens.
They should sit slightly over one another rather than leaving large gaps between them. Bring the bottoms together beneath the flower center and sew them with the yarn tails.
Don’t worry about getting the shape perfect on the first try. You can move the petals around while you’re working.
3. Add the Large Petals
Place the three large petals around the smaller petals.
A simple way to space them is to put each large petal between two small ones. Sew the bases together.
Before pulling the stitches tight, have a look at the flower from the top. If one petal is sitting awkwardly, this is the easiest time to move it.
4. Put the Flower on the Stem
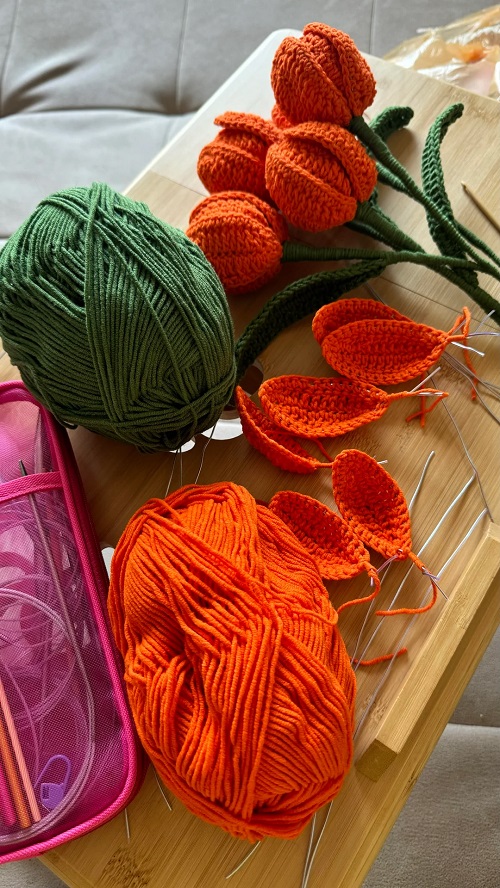
Take the twisted wire underneath the stamens and place it against the top of the flower rod.
Hold the flower in place and start wrapping green yarn around its base. Work your way down over the top section of the rod, covering the wire as you go.
Keep the wrapping firm enough that the flower doesn’t move around.
If you need a little adhesive to hold the yarn, use only a small amount. Too much can leave a noticeable lump around the base.
5. Add the Leaf
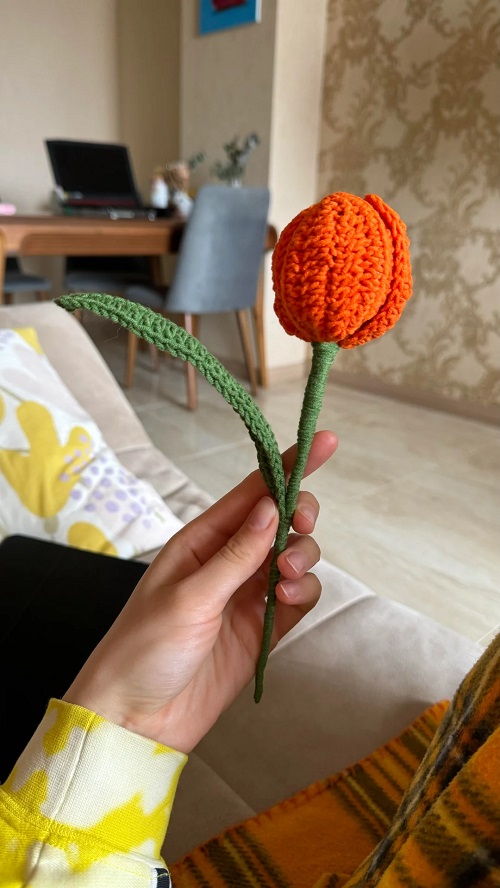
Decide where you’d like the leaf to sit.
Hold it against the stem and sew the base to the stem with its long yarn tail. Wrap the remaining yarn around the stem to tidy up the join.
The wire inside the leaf lets you change its angle. Bend it gently until it sits the way you want.
Give the Tulip Its Shape
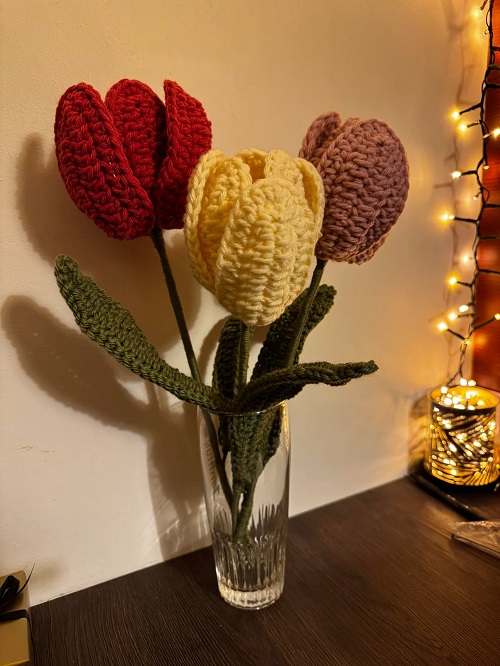
Don’t be surprised if the flower looks a bit flat after you’ve finished sewing it together. The wire is there so you can change that.
Start with the small petals. Curve them slightly toward the stamens, then work on the larger petals around them.
You can open the flower up or bring the petals closer together. If one petal is sticking out more than the others, just bend it back into place.
The stamens should still show in the middle. Spread them apart a little if they’ve become bunched together.
The leaf is easy to adjust too. A gentle curve usually looks better than a sharp bend.
Take your time with this part. A few small changes can completely change the look of the finished flower.
Turn Your Tulips Into a Bouquet

One tulip is cute, but several together make a much fuller display.
Try making each flower a different shade, or keep them all in one color if you prefer a simpler look. Pink, red, yellow, purple, and white would all work nicely.
You can also vary the stem lengths. They don’t need to line up perfectly in the vase.
Before arranging them, give each flower a quick check. Make sure the petals are secure, the stamens are still in the center, and the leaf hasn’t come loose.
Then put your handmade tulips in a vase and arrange them however you like.
And that’s really the best part of crochet flowers. Once they’re finished, you don’t need to remember to water them or move them toward a sunny window. If a petal gets knocked out of shape, bend the wire and fix it in a few seconds.