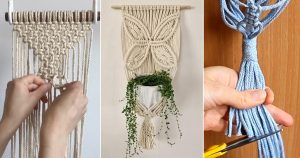
Give your plants a cozy new spot! This Macrame Plant Hanger Pattern Tutorial shows you how to create a stylish holder using simple knots.
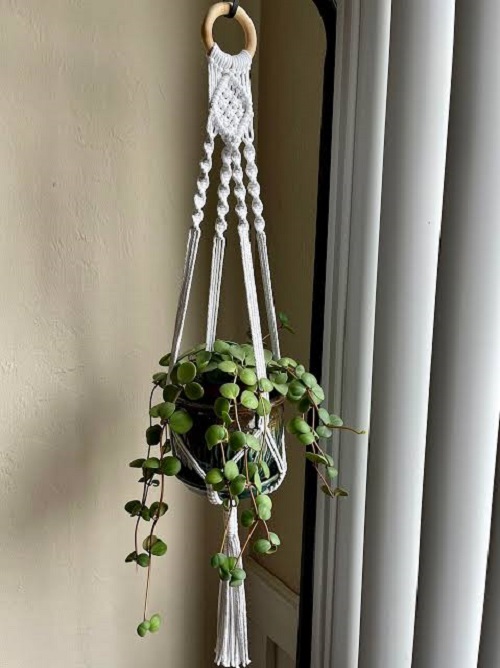
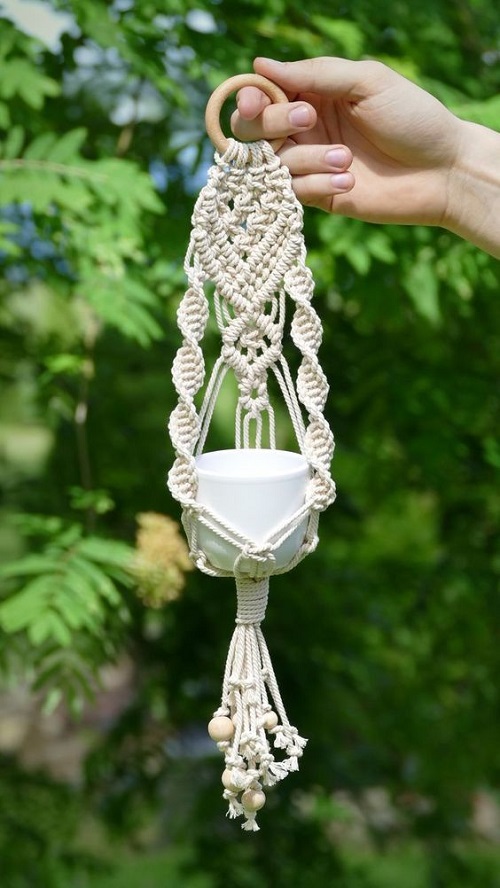
Give a small plant a new spot to live with this simple macrame plant hanger. You don’t need a huge amount of cord or a long list of complicated knots, which makes this a nice project to try if you’re still getting used to macrame.
The finished hanger works well for a small pot, succulent, herb, or trailing plant. Hang it near a window, from a wall hook, or from the ceiling when you want to bring a little greenery into a space without using another shelf.
Natural cotton cord keeps the look simple, but you can easily change things around. Try a different cord color, add a wooden bead, or pair the hanger with a terracotta pot.
Small Macrame Plant Hanger Tutorial
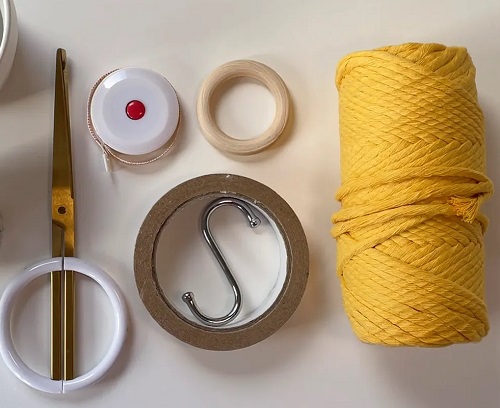
What You’ll Need
- 3 mm to 4 mm cotton macrame cord
- A small plant pot, about 3 to 5 inches wide
- Scissors
- Measuring tape or ruler
- A metal or wooden ring
- Optional wooden bead
- Optional S-hook or wall hook
How Much Cord Do You Need?
Cut 8 pieces of cord, each about 5 feet long. This gives you 40 feet of cord altogether.
If this is one of your first macrame projects, it doesn’t hurt to have some extra cord nearby. Once you start tying knots, you’ll notice how quickly the length disappears.
You can also cut the cords longer if you’re making a taller hanger or using a bigger pot.
Macrame Knots Used
You’ll use three basic knots for this project.
- The lark’s head knot attaches the cords to the ring.
- The square knot creates most of the pattern around the pot.
- The gathering knot brings all the cords together underneath the pot.
The square knot is the main one to practice before you begin. Once you get the hand movement down, the rest of the hanger comes together fairly quickly.
Step 1: Cut the Cords
Cut 8 pieces of cord, each 5 feet long.
Lay all of them together and straighten the ends. They don’t need to be perfectly lined up, but keeping them roughly even will make the first step easier.
If you’re worried about running short, add a few extra inches to each piece. You can always trim the fringe later.
Step 2: Attach the Cords to the Ring
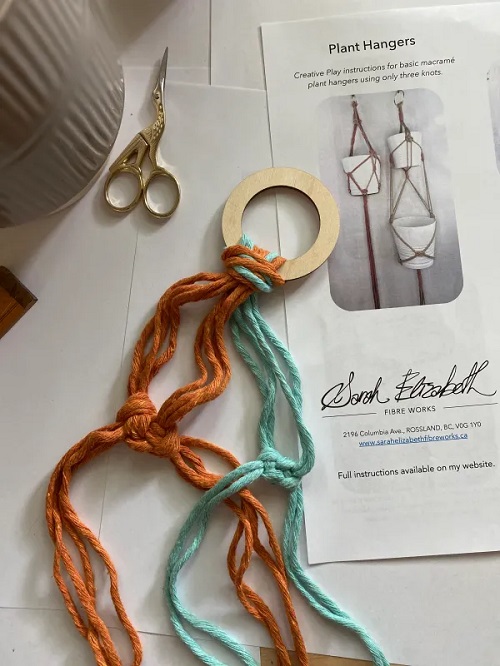
Fold each cord in half.
Take one folded cord and place the loop over the ring. Bring the loop underneath the ring, then pull the two loose ends through it.
Gently pull the ends to secure the lark’s head knot.
Do the same with the other 7 cords. Once they’re all attached, you’ll have 16 strands hanging from the ring.
Don’t worry about getting everything perfectly arranged just yet. Straighten the cords before you start the next row.
Step 3: Make the First Row of Square Knots
Separate the 16 strands into four groups of four.
Take the first group and make a square knot.
To make the knot, take the left working cord and lay it across the two middle cords. Bring the right working cord over the end of the left cord, then pass it behind the two middle cords and through the loop on the left.
Pull the working cords gently to tighten the first half.
Now work the other side in reverse. Bring the right working cord across the middle cords, take the left working cord behind them, and pull it through the loop on the right.
Tighten the two sides evenly.
Make the same knot with each of the remaining three groups.
Try to keep the knots at about the same height. They don’t have to be exact, especially on your first attempt.
Step 4: Connect the Sections
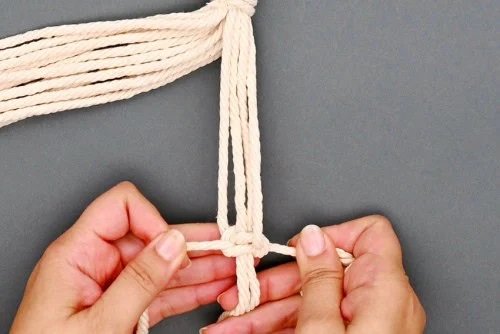
Now the separate groups need to be joined together.
Take two cords from one group and two from the group beside it. Tie these four cords into a square knot.
Continue around the hanger, joining each section to the next.
As you do this, you’ll notice open spaces beginning to form between the knots. These spaces will eventually sit around the plant pot.
Don’t pull the knots as tightly as you can yet. Leaving them a little loose makes it easier to fix the spacing later.
Step 5: Add Another Row
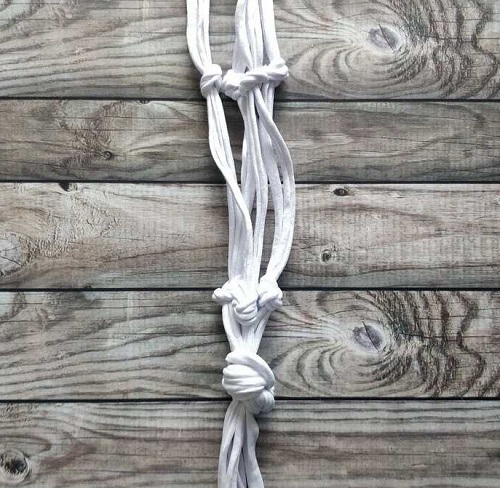
Keep working with square knots for another row.
For a small plant hanger, two or three rows will usually be enough. You don’t have to follow a fixed number if your pot is a little different from the one you’re using as a guide.
Put the empty pot into the hanger every so often.
The cords should sit around the sides of the pot and leave enough room for it to settle into the bottom. You don’t want such a wide opening that the pot could slip through.
Step 6: Check the Pot Fit
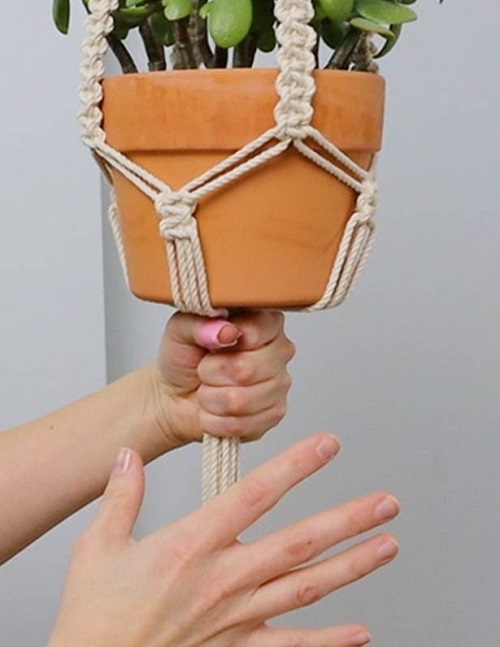
Before finishing the bottom, stop and check the fit.
Place the empty pot inside the hanger and carefully lift it by the ring.
Look at the way the cords hold the pot. Is it sitting straight? Does the bottom feel supported? Are the openings too loose or too tight?
Now is the easiest time to fix anything.
If the pot sits too low, adjust the knot spacing. If it feels cramped, loosen the nearby knots a little.
Take a few minutes here. A small adjustment can make the finished hanger look much better.
Step 7: Gather the Cords
Once the pot fits properly, remove it and bring all the cords together underneath the basket.
Run your fingers through the strands and separate any that have become crossed or tangled.
Hold the cords together in one bundle. This section will form the bottom support for the pot.
Step 8: Make the Gathering Knot
Take a separate piece of cord about 18 to 20 inches long.
Make a small loop near one end and hold it against the gathered cords. Keep the loop pointing downward.
Take the longer end and wrap it around the entire bundle several times. Keep each wrap close to the previous one so the knot looks neat.
When you’ve made enough wraps, pass the working end through the small loop.
Pull the short end at the top of the knot. As you do this, the loop will be pulled underneath the wraps and hold everything in place.
Trim the loose ends once the knot feels secure.
It doesn’t need to look perfectly uniform. The important thing is that the gathering knot holds all the cords together.
Step 9: Add a Bead
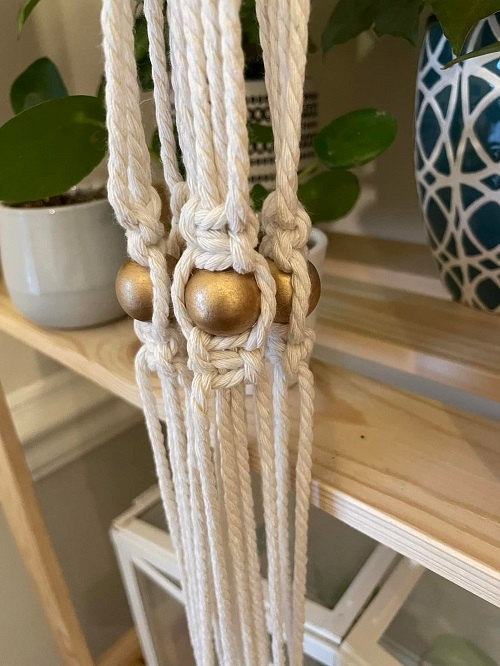
A bead isn’t necessary, but it can make the bottom more interesting.
If your wooden bead has a large enough hole, thread a few of the loose cords through it and slide the bead up beneath the gathering knot.
Leave the cords below it loose for a casual fringe, or trim them shorter for a cleaner finish.
You can skip the bead completely if you prefer a simple design.
Step 10: Trim the Ends
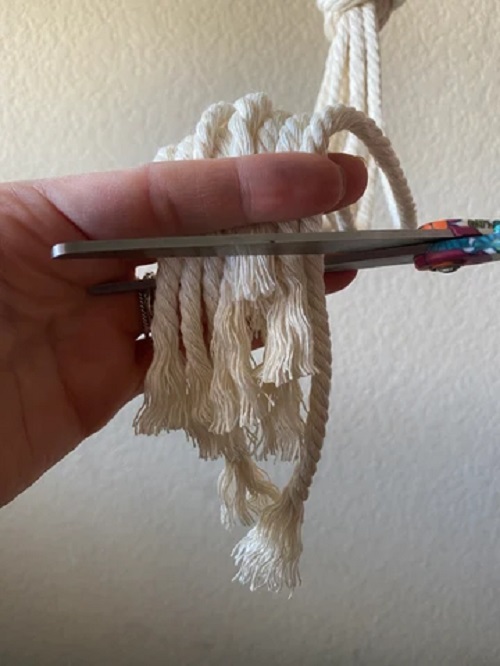
Straighten the loose cords and decide how much fringe you want.
About 4 to 6 inches works nicely for a small hanger.
Cut the ends evenly with sharp scissors.
You can leave cotton cord twisted for a cleaner finish. If you’d rather have fluffy fringe, separate the strands gently with your fingers.
Add Your Plant
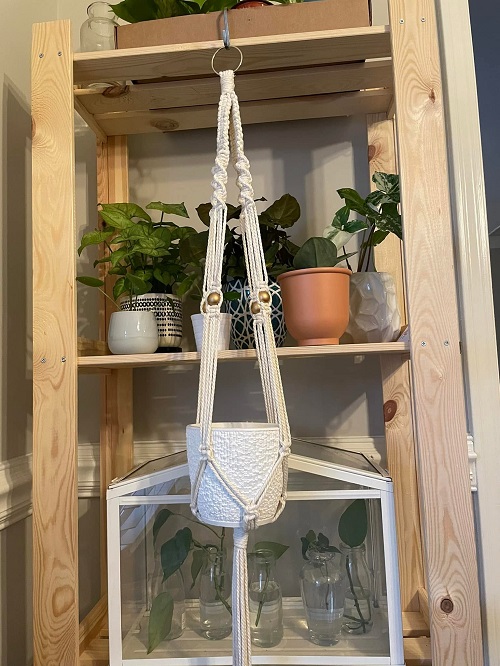
Place the empty pot in the hanger once more before adding your plant.
Lift it carefully and make sure the bottom knot is holding and the pot stays level.
For a small hanger, choose a lightweight pot and plant. A small succulent, herb, or trailing plant can work well.
Remember that the weight increases once you add soil and water. The hook or other support needs to be strong enough to handle the complete weight, not just the empty pot.
Keep the Knots Even
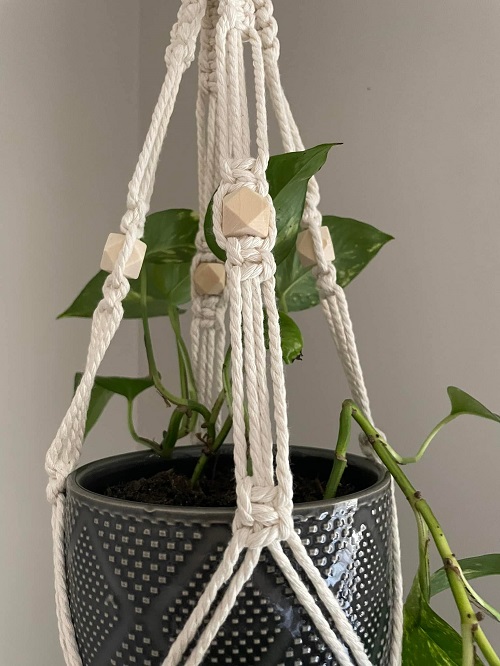
You don’t need to measure every knot with a ruler.
Instead, compare the sections as you work. If one side looks noticeably longer than another, stop and straighten it before adding more knots.
Loose knots are easier to move, so don’t tighten everything fully until you’re happy with the overall shape.
Ways to Customize Your Macrame Plant Hanger
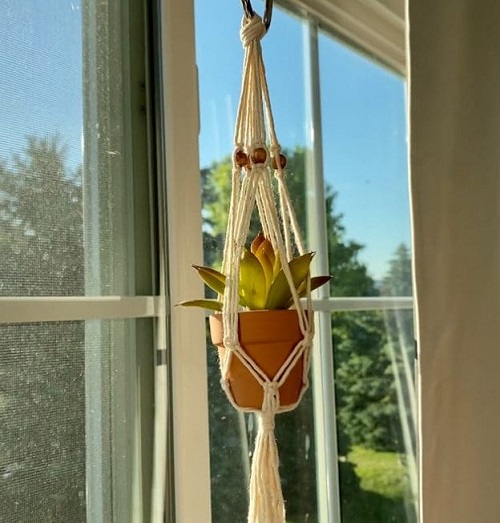
Natural cotton cord gives you a simple look that works with almost any pot.
For something a little different, use colored cord or add a wooden bead below the basket. A painted wooden ring can also change the look without changing the basic pattern.
You could make two or three hangers in different lengths and place them together near a bright window. They don’t need to match exactly.
A small terracotta pot with natural cord gives the hanger a rustic feel. For a more modern look, use one solid cord color and keep the design free of extra decorations.
You can also make the hanger longer if you want the plant to sit farther down from the ceiling or wall.
A Few Tips Before You Start
- Keep some extra cord available. It is much easier to trim excess cord than to deal with a piece that is too short.
- Practice the square knot before starting the actual hanger if you’re new to macrame.
- Don’t make the knots extremely tight while you’re still arranging the sections. You may need to move them around to get the pot sitting properly.
- Always test the hanger with the empty pot before adding the plant.
- For a small hanger, a lightweight pot is the safest choice unless the hanger and mounting point have been designed to carry more weight.
Once you’ve made one, you can easily change the cord color, length, bead, or pot and make another version. The basic pattern stays the same, but the finished hanger can look completely different.