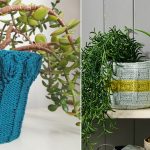
Want a handmade touch for your plants? Learn how to make a Knitted Plant Pot Cover with an easy, beginner-friendly pattern.
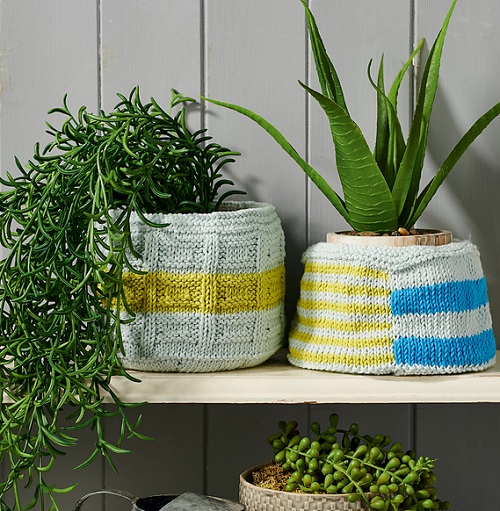
If you have a plain plant pot that looks a little boring, a knitted cover is an easy way to give it a fresh look. This Knitted Plant Pot Cover tutorial is a simple project where you can use leftover yarn, try basic stitches, and make the cover fit your pot.
Supplies

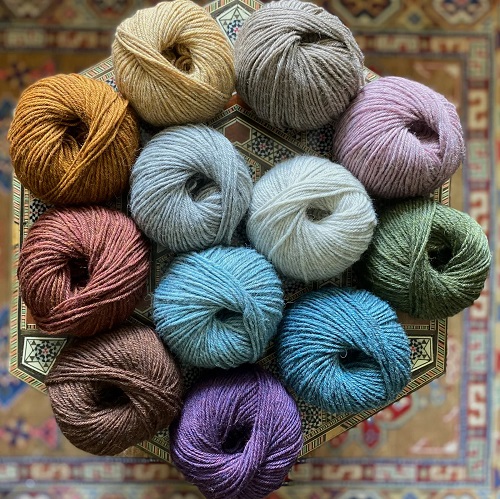

For a basic plant pot cover, you will need:
* Worsted-weight yarn
* 4.5 mm knitting needles
* Yarn needle
* Small scissors
* Measuring tape
* Stitch marker, optional
* Plant pot for measuring
A 50 g ball of worsted yarn will usually be enough for a small cover, although a larger pot will need more. Cotton, cotton-blend, acrylic, or washable wool-blend yarn can be used.
For a plant project, washable yarn is a sensible choice. Soil gets everywhere, and sooner or later the cover will probably need cleaning.
How to Make a Knitted Plant Pot Cover
Before You Cast On
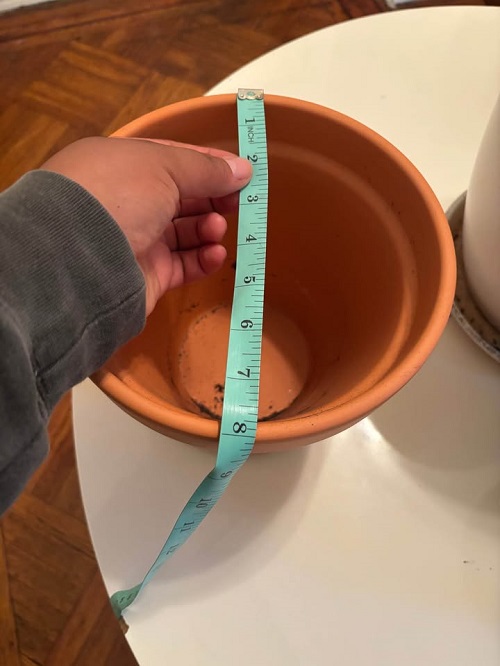
Measure around the widest part of the pot. Then measure how high you want the knitted cover to be.
Also measure the bottom if the pot is tapered. There is no point making a cover that fits the top nicely but hangs loose around the bottom.

You do not have to cover the entire pot. A cover that comes halfway up can look quite nice too, particularly when the pot itself has an interesting shape.
Check Your Gauge
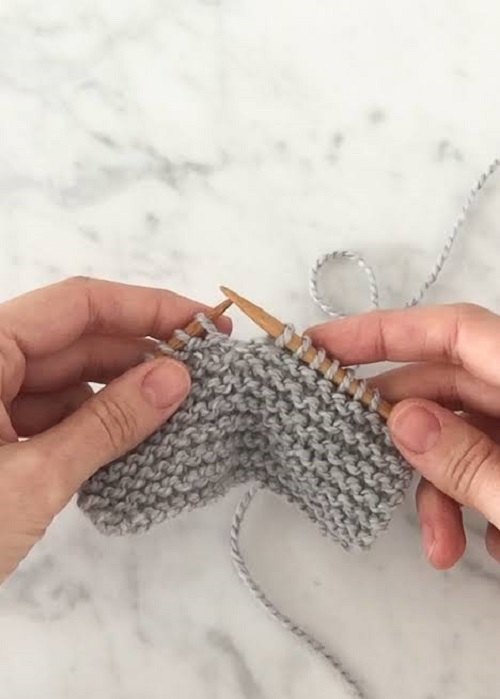
Make a small swatch with your chosen yarn and needles.
You are mainly checking how many stitches you get across an inch. For example, if you have 20 stitches across 4 inches, that gives you 5 stitches per inch.

Now multiply that number by the pot’s circumference.
So, for a pot measuring 16 inches around:
5 × 16 = 80 stitches.

That gives you a starting point of 80 stitches.
You may need to adjust the number slightly depending on how stretchy your knitting is. The cover should have enough give to slide over the pot, but it should not be stretched so hard that the stitches look distorted.
Knit the Cover
Cast on your stitches and start with garter stitch if you want to keep things easy.

Just knit every row.
There is something nice about using garter stitch for a project like this. The little ridges give the cover some texture without requiring you to keep track of a complicated pattern.
Keep knitting until you reach the height you want.

You can hold the knitting against the pot while you work. This is more useful than relying only on the row count because the amount of yarn and your tension can change the finished height.
Add Some Color
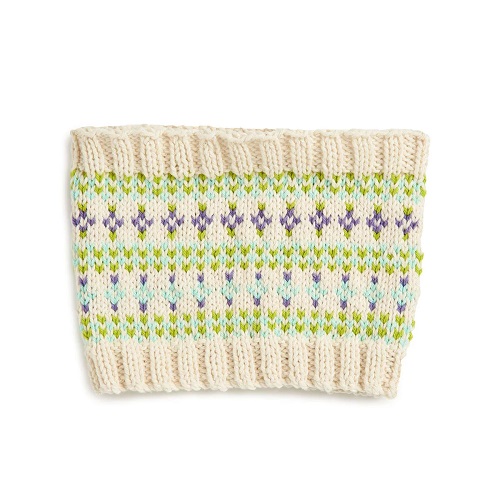
This is also a good project for using small leftover balls of yarn.
You could knit the cover in one color, change colors every few rows, or make just the top section a different shade.

Cream, olive, sage, brown, beige, and terracotta shades work particularly well with green plants, but there is no reason you have to stick to natural colors. A brighter shade can make the pot more noticeable.
If you change colors, leave the yarn tails long enough to weave in later. You will have a few extra ends to deal with, but that is easier than trying to hide very short ends.
For a Tapered Pot
A straight-sided pot can be covered with a simple rectangle.
If your pot narrows toward the bottom, you can shape the knitting with a few decreases.
You don’t need to decrease every row. Work a decrease at intervals and then hold the piece around the pot to see how it is fitting.
This is one part of the project where trying it against the actual pot is more useful than following a strict row count.
If the cover is still too wide at the bottom, add another decrease row. If it starts looking too tight, stop decreasing.
Finish the Knitting
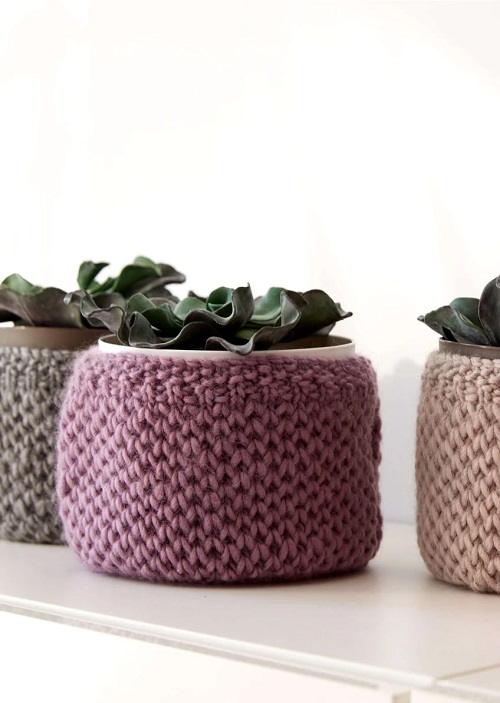
Once the cover reaches the height you want, bind off.
Keep the bind-off loose. You want the edge to have some flexibility when the cover is put onto the pot.
Leave a yarn tail long enough to sew the side seam. Around 10 inches is usually plenty for a small cover.
Lay the knitting flat, bring the two short ends together, and sew them with a yarn needle.
A mattress stitch gives a tidy seam, but you can use a whip stitch if that is what you normally use for knitted pieces. There is no need to pull the seam tight. A little flexibility makes the cover easier to put on.
Weave in the remaining yarn end and trim it.
Try It on the Pot
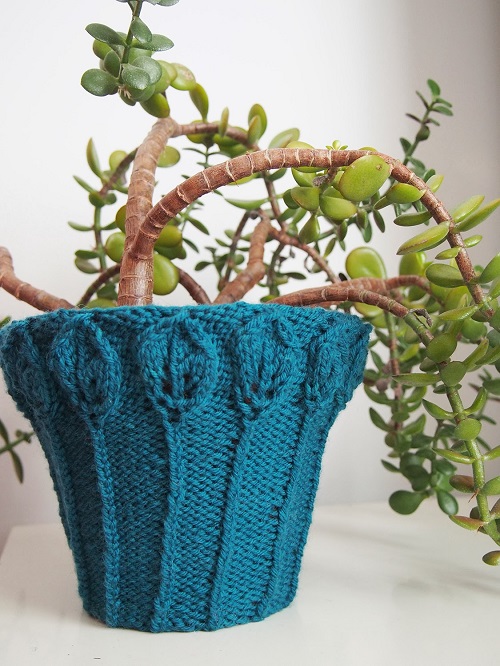
Slide the cover over the pot and straighten the fabric.
If you have made a tapered cover, check that the narrower section sits toward the bottom.
A little looseness is fine. In fact, prefer a cover you can remove easily. You may need to take it off when cleaning the pot or when water gets onto the knitting.
If the cover is too loose, don’t try to fix it with a knot around the pot. Make a note of the measurement and reduce the circumference when you make the next one.
A Simple Ribbed Edge
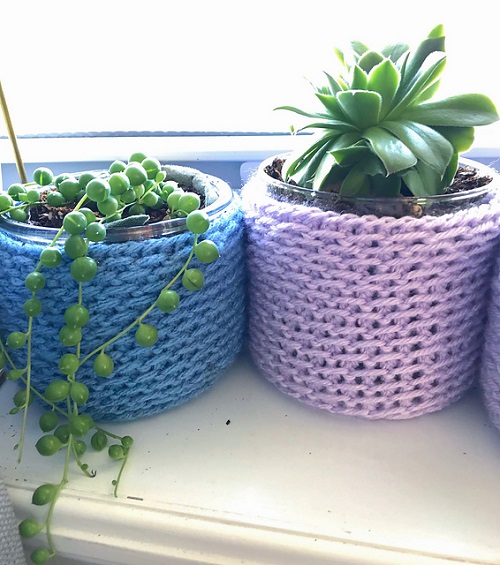
You can add a small ribbed section if you want the top of the cover to grip the pot a little better.
For 1×1 ribbing, alternate one knit and one purl stitch across the row. A few rows are enough to give the edge some stretch.
You can use the same idea at the bottom, although it is not essential.
If you are new to knitting, finish your first cover without adding anything extra. Once you know how the basic cover fits, you can try different borders on the next one.
Keep the Cover Dry
One thing to watch for with any knitted plant cover is water.
The knitted piece should only cover the outside of the pot. Do not put it underneath the pot where it could block the drainage holes.
If water runs onto the knitting, take the cover off and let it dry. This is especially important with wool, which can hold moisture for quite a while.
A washable cotton or acrylic yarn makes life easier if you know the pot is going to be watered frequently.
Make Another One
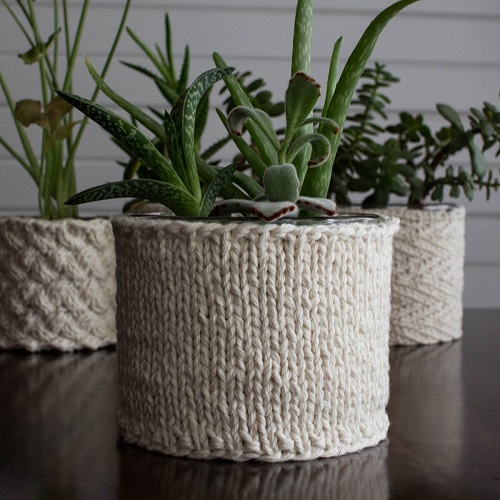
Once you get the first cover fitted properly, keep the measurements somewhere.
Write down the pot circumference, the height of the cover, the yarn you used, and your approximate stitch count. You can use those notes when making another one instead of starting from scratch.
You can then change the colors or stitch pattern while keeping the same basic size.
A plant pot cover is small enough to finish in an afternoon, and it is a useful project when you have yarn left over but do not have enough for a larger piece.