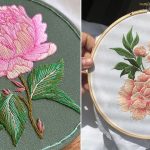

Bring your floral design to life with this Embroidered Peony Flower Tutorial. Pick your favorite thread shades and follow the steps to make your own peony.
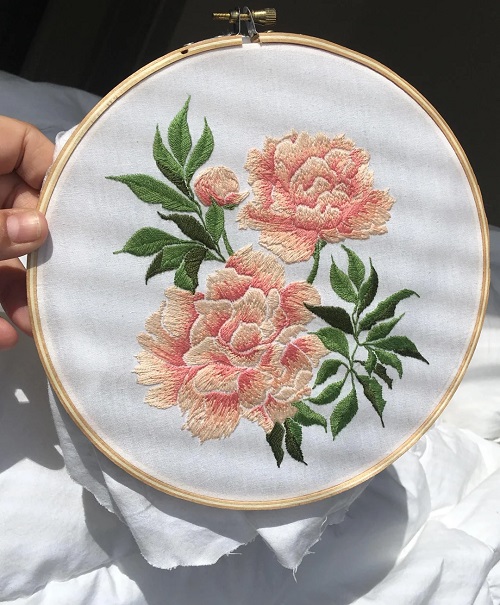
Bring a floral design to life with a few simple embroidery stitches and colorful threads. This Embroidered Peony Flower Tutorial will guide you through each step, from choosing your supplies to stitching the petals and leaves. Follow the instructions to create a lovely peony you can add to your handmade projects.
Embroidered Peony Flower Tutorial
Materials You Will Need
- Cotton embroidery fabric
- 6-inch embroidery hoop
- Three or four shades of pink embroidery floss
- Dark pink or burgundy embroidery floss
- Green embroidery floss
- Embroidery needle, size 7 or 8
- Small embroidery scissors
- Water-soluble fabric pen or transfer pencil
- A peony flower pattern

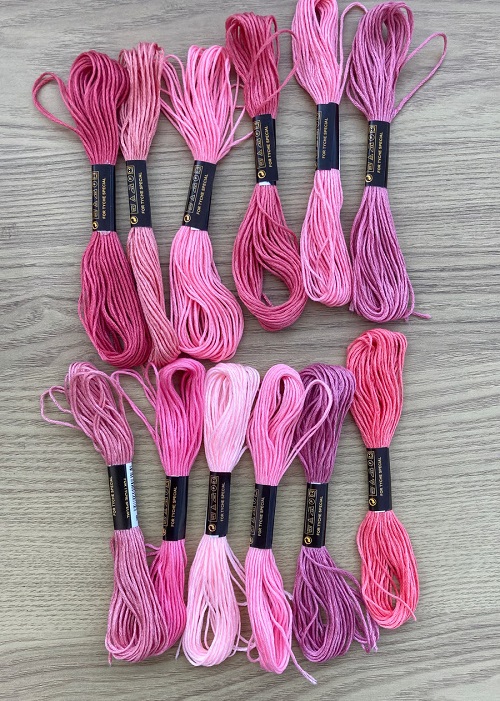
You can use three shades of pink for a flower like this. A pale shade works well for the outer petals, a medium pink fills the middle, and a darker shade adds detail near the center. Use red, white, or cream too. Pick colors that look good together rather than worrying about following a particular color scheme.

Stitches You Will Need
You only need a handful of stitches for this design. If you already know satin stitch and French knots, you’re halfway there.
Satin Stitch: This is useful for filling the petals. Make straight stitches close together until the fabric underneath is covered. Keep the stitches within the outline of each petal.
Long and Short Stitch: Use this when you want to mix two shades of pink. The stitches should vary in length and sit close to one another. This creates a softer change in color.
Stem Stitch: You’ll use this for the stem and small branches. It works well on curved lines and gives them a slightly raised finish.
Fishbone Stitch: This is a good stitch for the leaves. It fills the leaf while leaving a clear line down the middle.
French Knots: Make a few French knots in the center of the peony. They add small raised details and help give the flower some texture.
How to Embroider a Peony Flower
Step 1: Get the Fabric Ready
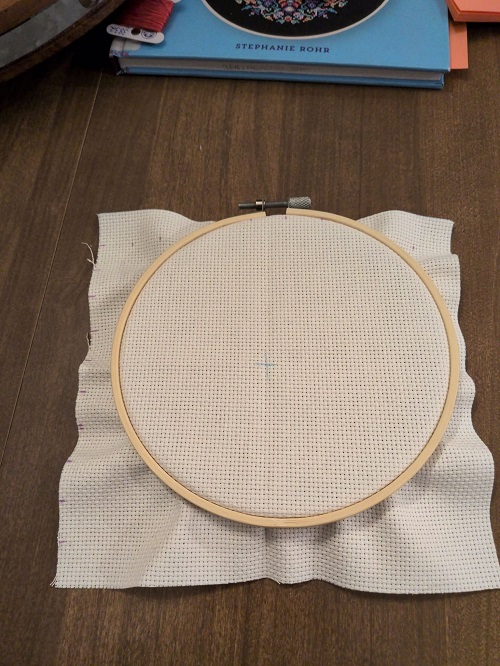

Cut a piece of cotton fabric that gives you enough room to work around the flower. Place it in your embroidery hoop and tighten it until the fabric feels firm. It should not sag when you stitch, but avoid pulling it so tightly that it stretches out of shape.
Draw your peony onto the fabric using a water-soluble pen. Start with a small center, then draw a few short petals around it. Add another layer of wider petals and finish with larger ones around the outside. Draw the stem and leaves underneath.
Don’t spend too much time making the drawing perfect. Peony petals have uneven edges, so your design can have a few differences in size and shape.
Step 2: Embroider the Center
Thread your needle with dark pink or burgundy floss. Take two strands if you want the details to stay small.
Make a few French knots in the middle of the flower. To make one, bring the needle up through the fabric and wrap the thread around it once or twice. Insert the needle close to the point where it came out, then pull the thread through slowly.
Add a couple of tiny straight stitches if you want to fill a little more space. Leave room around the center for the first row of petals. You don’t want the knots to cover the whole area.
Step 3: Work on the Inner Petals
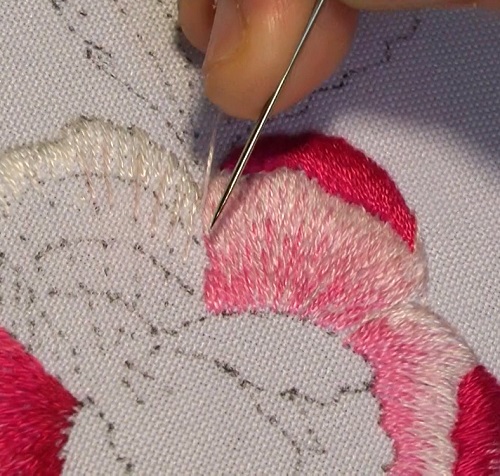
Choose a medium shade of pink and start with the petals closest to the center. These are usually smaller, so satin stitch is a good option.
Work each petal separately, placing the stitches close together. Follow the curve of the outline instead of making every stitch run in exactly the same direction.
You can add a few darker stitches near the bottom of some petals. Use a lighter pink towards the tips. Don’t worry about giving every petal the same color pattern. Small differences will help the flower look less flat.
Step 4: Fill the Next Layer
Move to the larger petals around the center. Use medium pink for most of this section, then bring in a lighter shade where you want the petals to look brighter.
Long and short stitch works well here because you can blend the two colors without creating a sharp line between them. Keep an eye on the shape of each petal as you work. Some will curve outwards, while others may sit partly behind the petals you have already stitched.
You can leave a little space between overlapping petals. This makes it easier to see where one petal ends and the next begins.
Step 5: Stitch the Outer Petals
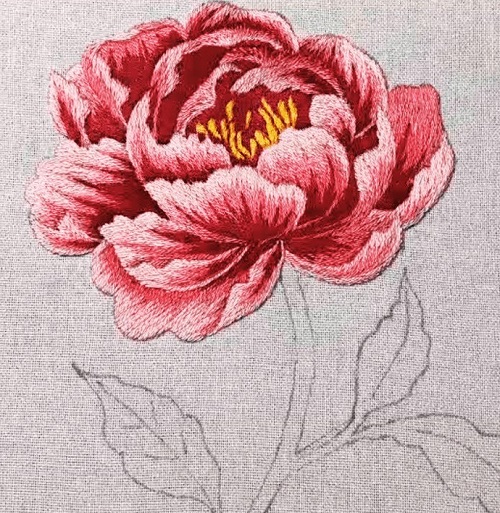
For the outside layer, choose a lighter pink, cream, or white thread. These petals are generally wider and more open than the ones near the center.
Fill them with satin stitch or long and short stitch. Start near the base and work towards the outer edge, changing the direction of your stitches to follow the shape.
Look at the flower as a whole while you work. If the outer petals are beginning to look too crowded, leave a few small gaps between them. You can also add a little dark pink near the base of selected petals to show where they fold.
Step 6: Add a Few Petal Details
Once the main petals are finished, take a moment to look over the flower. You may notice a few areas that need more definition.
Use one or two strands of dark pink floss to add short straight stitches near the base of some petals. A few fine lines can help separate the layers.
You don’t need to outline every petal. Too many dark lines can make the flower look drawn rather than embroidered. Add details only where they help the shape stand out.
Step 7: Embroider the Leaves
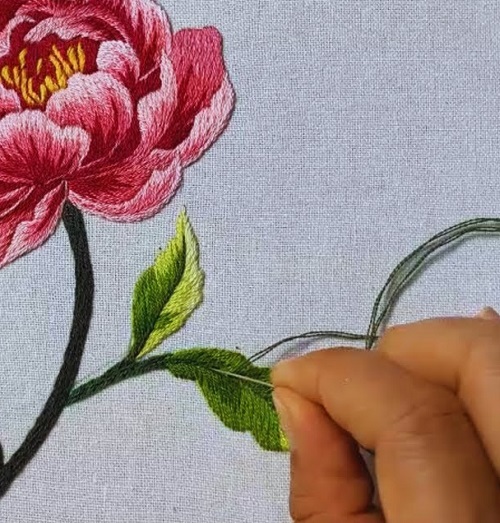
Now it’s time to add the leaves. Use two shades of green if you have them. The lighter shade can fill most of the leaf, while the darker shade adds definition.
Fishbone stitch is useful for this part. Bring your needle up at the base of the leaf and make a small stitch along its center. Work angled stitches on alternate sides of this line, moving towards the tip.
Keep the stitches close enough to cover the fabric. If your leaves are very small, satin stitch may be easier to manage. Add a few darker stitches along the center if you want to show the veins.
Step 8: Add the Stem
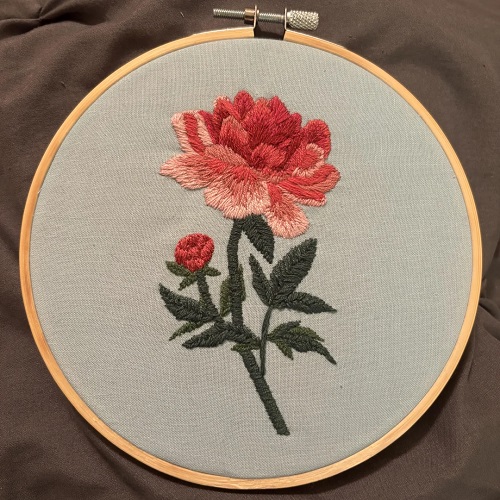
Use dark green floss and stem stitch to follow the curved line you drew earlier.
Keep the stitches short, especially around bends. Long stitches can look uneven when the stem changes direction. If your pattern has small branches, add those after finishing the main stem.
Step 9: Finish Your Work
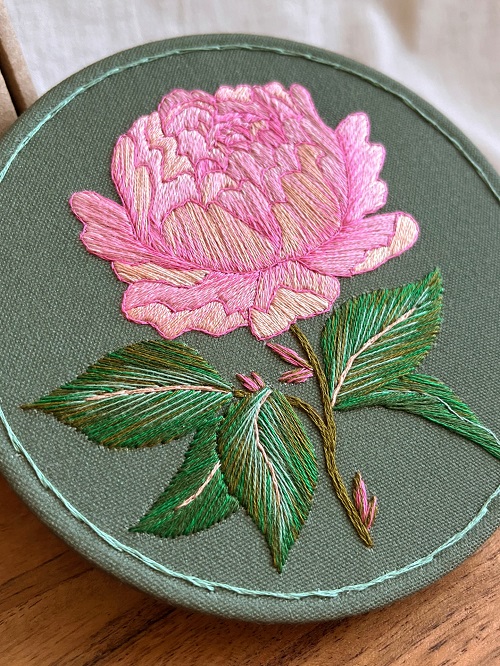
Turn the fabric over and check the back. Secure any loose thread ends with a few small stitches, then trim away the extra floss.
Take the fabric out of the hoop and remove the transfer marks according to the instructions for your pen. Check that your embroidery threads are colorfast before washing the fabric.
If the fabric has creases, place a clean cloth over the back of the embroidery and press gently with an iron. Avoid pressing directly on the French knots, as they can lose their raised shape.
Your peony is finished. You can leave it in the hoop or use the embroidered fabric for another craft project.
A Few Things That Help
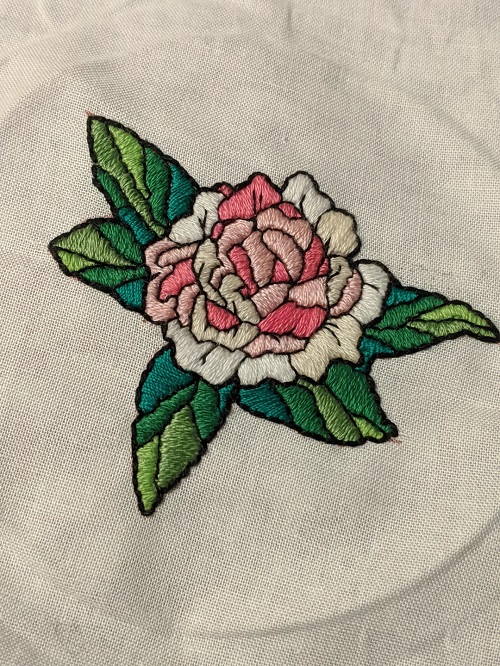
Choose your colors first: Lay the pink threads beside one another before stitching. This makes it easier to see which shades work well together.
Use fewer strands for small details: Two strands are usually enough for the center and smaller petals. You can use three strands for larger areas.
Don’t rush the petals: Work on one petal at a time. It is easier to keep the shape neat when you don’t hurry through the layers.
Check the fabric as you go: If it starts to wrinkle, loosen the hoop and adjust the fabric before continuing.
Don’t fill every gap: A few spaces between petals help the different layers stand out.
Common Problems When Embroidering Peonies
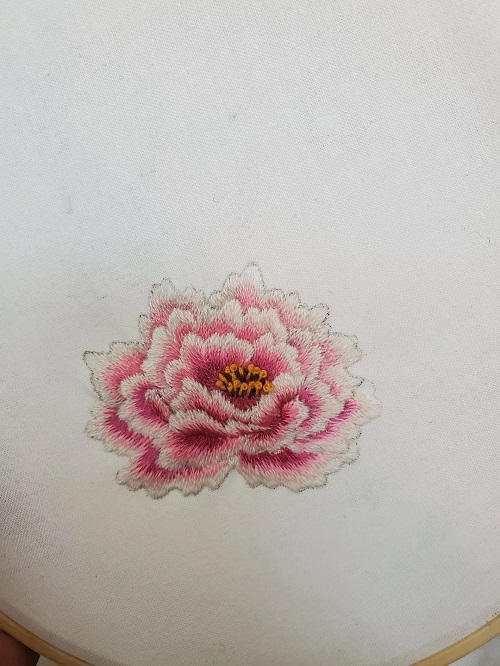
The Flower Looks Flat: This often happens when you use the same shade throughout. Add a darker color near the center and lighter shades around the outside to give the petals more definition.
- You may be pulling the thread too tightly. Ease the tension and make sure the fabric sits properly in the hoop.
- Try changing their size and stitch direction. Peony petals naturally overlap, so they don’t need to look like matching shapes.
- A large number of French knots can hide the smaller petals. Remove a few if needed and leave some breathing room around the center.
- Secure the thread before moving to another part of the flower. Avoid carrying long strands across the back of the fabric.
What Can You Make With Your Peony Embroidery?
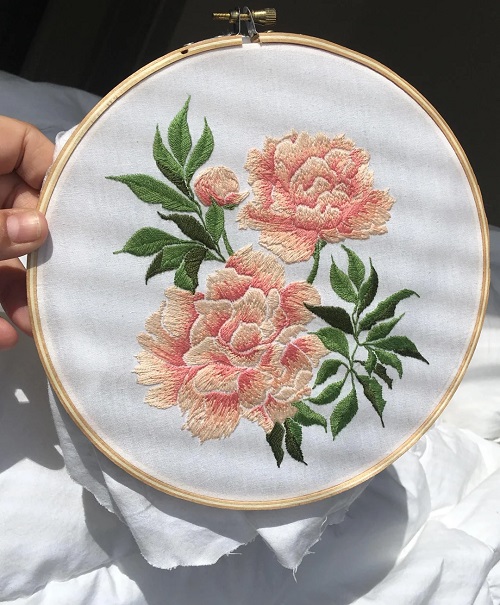
A finished peony looks lovely in an embroidery hoop, but you can use it for other projects too. Add it to a tote bag, cushion cover, table runner, or fabric pouch. You could also stitch a smaller version onto a handkerchief or the pocket of a shirt.
If you want to make a larger floral design, add a few buds and leaves around the main flower. You can even embroider two or three peonies together in different shades.