Who says roses have to wilt? Learn how to crochet a rose, and you can enjoy it for years without worrying about fallen petals or watering.
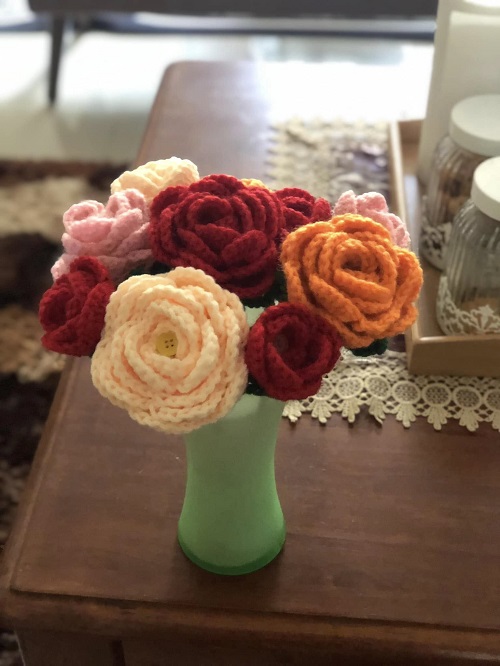
This crochet rose is made from a simple strip of crocheted petals. Once the strip is finished, you roll it up, shape the petals, and sew the base to hold everything together. The process is easier than it may look, especially once you get the hang of the shell stitches.
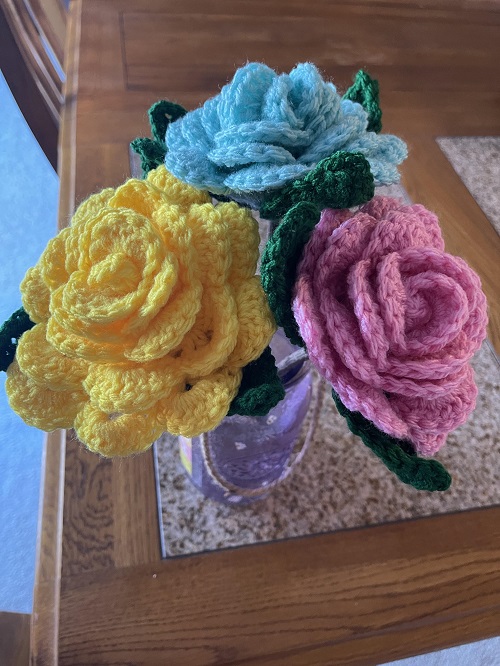
You can make your rose in a classic red, soft pink, cream, yellow, or any color that works with your décor. Make one for a small handmade gift, or crochet several and arrange them in a little bouquet.
How to Crochet a Rose Flower
1. What You Need
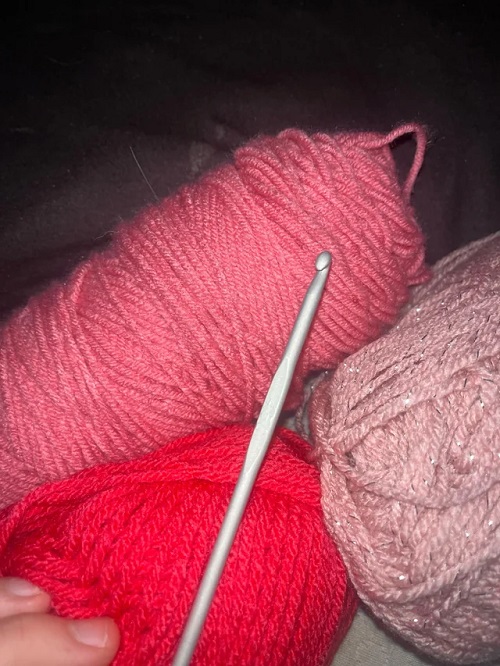
Gather everything before you start so you don’t have to stop halfway through the flower.
* 2.5–3.5 mm crochet hook
* Cotton yarn in your chosen rose color
* Green cotton yarn for the sepal and leaves
* Yarn needle
* Small scissors
* 18-gauge floral wire
* Green floral tape
Cotton yarn works particularly well here because it has enough structure to keep the petals from becoming too floppy.
If you want a softer-looking rose, you can also experiment with another yarn type. Just keep in mind that the finished flower may hold its shape a little differently.
2. Stitches and Abbreviations
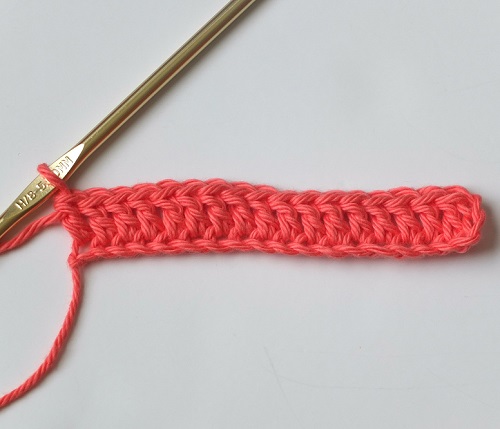
You’ll use only a few basic stitches for the rose:
* **sc** – single crochet
* **ch** – chain
* **dc** – double crochet
* **sk** – skip
* **sl st** – slip stitch
* **5-dc shell** – 5 double crochets worked into the same space
If you already know your basic crochet stitches, there’s nothing particularly difficult here. The shell stitch is what gives the strip its rounded petal edge.
3. Make the Foundation Chain
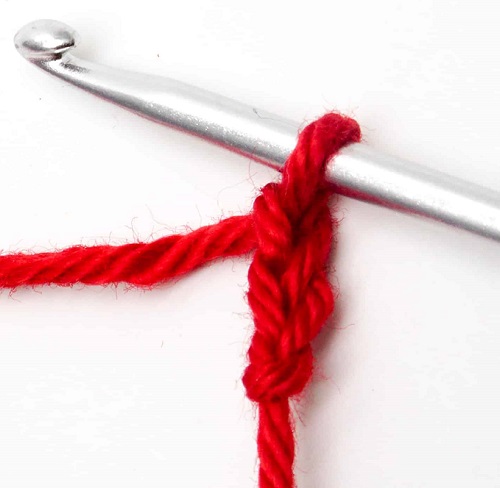
Start with a slip knot and chain 40.
This chain forms the length of your rose strip, so it has a direct effect on the finished flower. A longer strip will give you more petals and a fuller rose, while a shorter one will make a smaller bloom.
For this pattern, stick with 40 chains for your first flower. Once you’ve made one and know how the strip rolls up, you can experiment with the size.
4. Create the Base for the Petals
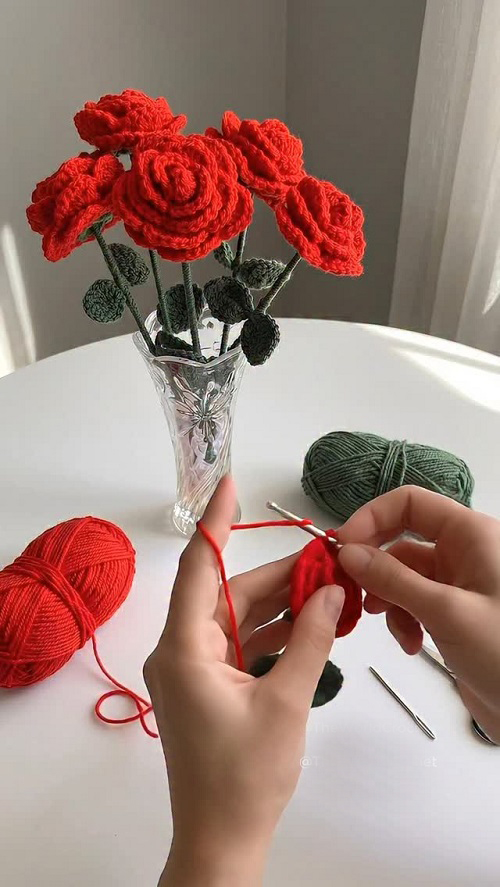
Turn your work.
Skip the first 3 chains, then work 1 double crochet into the next chain. Chain 1, skip the next chain, and work 1 double crochet into the following chain.
Keep repeating this pattern across the foundation chain:
**dc, ch 1, skip 1**
These little chain spaces are what you’ll use for the petals in the next row, so try to keep them fairly even as you work.
When you reach the end, finish the row according to the same pattern and make sure your last stitches are worked into the correct spaces.
At this stage, your piece won’t look anything like a rose. That’s completely normal. You’re just creating the base that the petals will grow from.
5. Create the Rose Petals
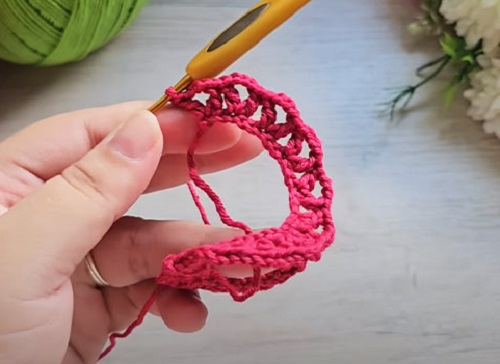
Now the flower starts to look more interesting.
Turn your work and begin working into the chain-1 spaces from the previous row. Work a slip stitch into the first chain-1 space, then work **5 double crochets into the next chain-1 space**.
That group of five double crochets forms one rounded petal.
Continue across the row, working a slip stitch between the shell sections and placing each 5-dc shell into the next chain-1 space.
As the shells build up, you’ll get a long strip with a scalloped edge. Those rounded sections will become the petals once you roll the strip into a flower.
Don’t worry if some shells look slightly different from the others. A little unevenness usually disappears once the strip is rolled.
When you finish the row, fasten off and leave a long yarn tail, around 20 inches. Don’t cut this tail short. You’ll use it to sew the bottom of the rose together.
Before moving on, gently spread out the shell stitches so you can see each petal clearly.
6. Roll and Shape the Rose
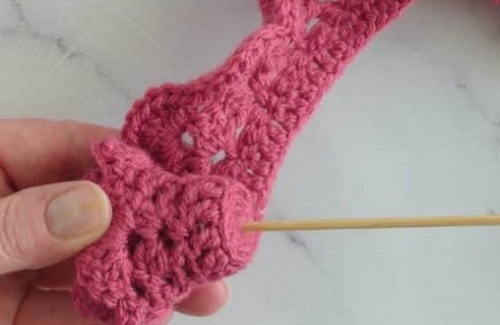
This is the fun part because the flat strip finally starts looking like a flower.
Start rolling the strip from one end. Keep the flatter bottom edge lined up as you roll, while the scalloped edge stays on the outside.
Roll the first part fairly tightly. This creates the small center of the rose. As you continue toward the other end, you can let the outer petals open slightly so the flower doesn’t become one tight spiral.
Stop every now and then to look at the shape from the side. If one petal is sitting too far inside or another is sticking out, adjust the roll before you sew it.
Once you’re happy with the shape, thread the long yarn tail onto your yarn needle.
7. Secure the Rose
Turn the flower over so you can see the base.
Sew the needle through the chains and layers at the bottom of the rolled flower. You want to catch the layers securely without pulling so tightly that the base bunches up.
Work your way around the bottom a few times, especially through the areas where the strip wants to loosen.
Once the rose feels secure, tie a firm double knot. Weave the remaining yarn through the stitches and trim the excess.
Give the flower another quick look from the front. This is the easiest time to adjust the petals. Gently spread them apart or tuck one inward until the rose has the shape you want.
8. Make the Sepal
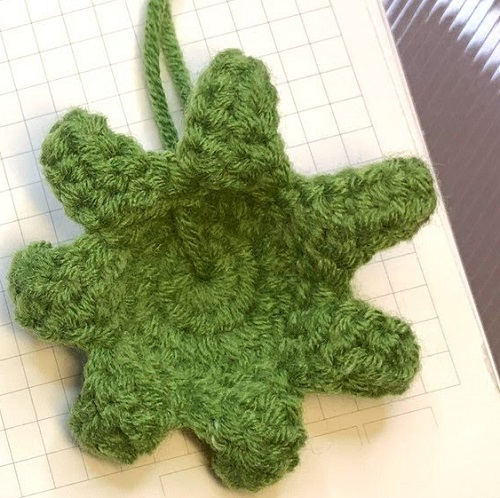
The green sepal sits underneath the rose and helps hide the base of the flower.
Crochet a small green piece that fits around the bottom of your rose, following the stitch pattern you’re using for your chosen sepal design.
Once it’s finished, position it underneath the flower and stitch it securely to the base.
Make sure it covers the area where the petals were sewn together. You don’t need to make it overly large; it should sit neatly underneath the flower rather than showing around the petals.
9. Add the Leaves
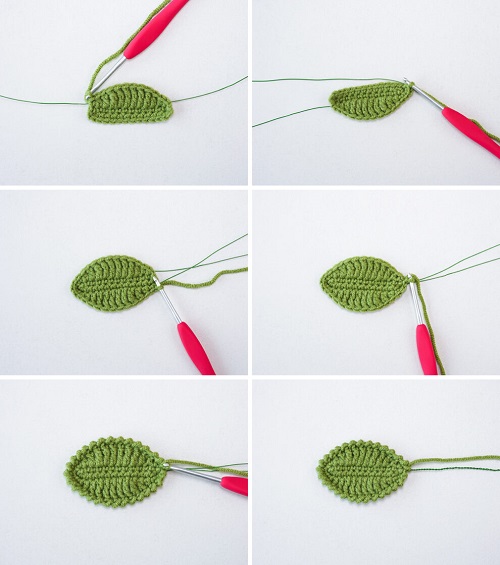
For a simple rose, two or three leaves are enough.
Crochet the leaves separately using your green yarn. You can make them slightly different in size so the finished flower doesn’t look too uniform.
Once the leaves are ready, position them underneath the rose and secure them with your yarn needle.
Don’t worry if they don’t sit perfectly flat. A little bend or curve will make them look more natural once they’re attached to the stem.
10. Add the Stem
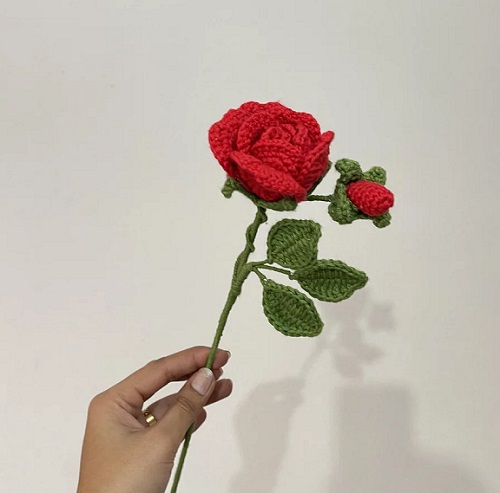
Now you can turn the flower into a proper bouquet-ready rose.
Take a piece of 18-gauge floral wire and bend one end into a small hook. Insert the hooked end into the bottom of the flower and make sure it catches securely in the crocheted base.
If the wire feels loose, adjust the hook rather than simply pushing it farther into the flower. You want the stem to stay in place when you pick up the rose.
Place the sepal and leaves around the base, then start wrapping green floral tape around the bottom of the flower.
Keep wrapping down the wire, overlapping the tape slightly as you go. The tape should cover the wire and help hold the flower pieces in place.
Continue all the way to the bottom of the stem, then trim the tape neatly.
11. Shape the Finished Rose
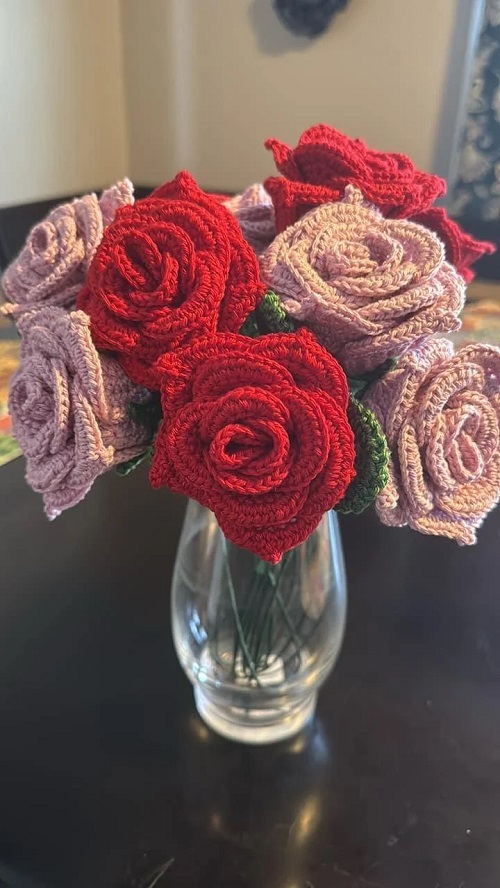
Before putting your crochet rose in a vase, take a minute to shape it.
Gently separate the petals with your fingers. Pull a few outer petals outward while leaving the center slightly tighter. If the rose looks too closed, loosen the outer layers. If it looks too flat, gently push the center upward.
This part doesn’t need to be exact. The nice thing about a crocheted rose is that you can adjust the shape until it looks right to you.
Tips for a Neater Crochet Rose
Keep your tension fairly even. If you crochet some sections very tightly and others loosely, the petal strip may not roll evenly.
Count your stitches as you go. The foundation chain and following rows determine how the shells line up, so catching a mistake early is much easier than fixing it later.
Leave the long yarn tail.* You’ll need it to sew the rolled flower together. A short tail can make the assembly unnecessarily frustrating.
Don’t roll the whole strip tightly. A tight center looks nice, but letting the outer petals open a little gives the rose a fuller shape.
Shape before you finish. Take a minute to arrange the petals while the flower is still easy to adjust.
Don’t worry about tiny imperfections. Once the strip is rolled, small differences between the shells are hardly noticeable. In fact, they can make the finished rose look more handmade.
Use cotton yarn if you want more structure. It holds the petal shape well and gives the finished flower a crisp look.
Your crochet rose doesn’t need water, sunlight, or much care at all. Make one for a little vase, add several to a bouquet, or use a single bloom to decorate a gift. Once you’ve made the first one, it’s easy to experiment with different colors and sizes to create a whole bunch of everlasting roses.