Ready for a quick floral project? Follow this Crochet Daisy Pattern Tutorial and turn simple stitches into a pretty handmade flower.
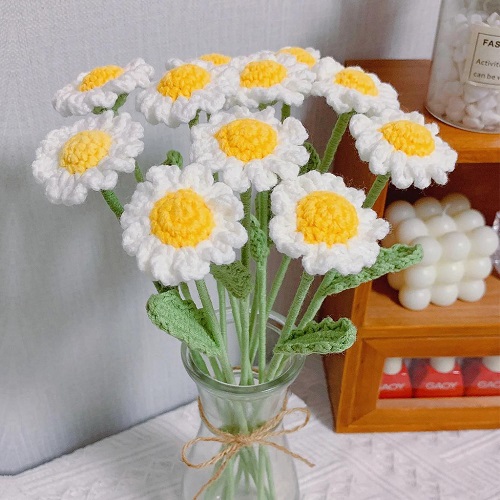
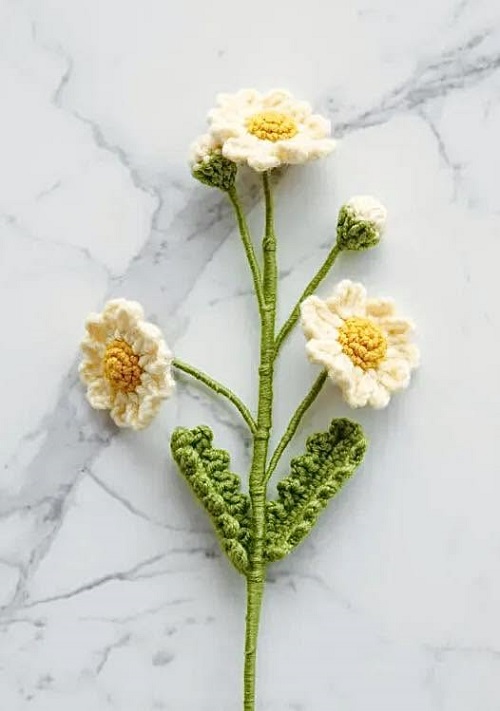
A crochet daisy bloom is one of those small projects that can turn into something much bigger than you expect. Make one flower for a hat or bag, crochet a few as appliqués, or keep going and build a little bouquet that will never wilt. This Crochet Daisy Pattern Tutorial makes a wired daisy stem with three open flowers, two buds, and two leaves. The flowers use basic crochet stitches, but the shaping and assembly take a little patience. The finished piece has enough structure to sit nicely in a vase or be arranged with other crochet flowers.
The pattern below uses US crochet terminology.
Crochet Daisy Pattern Tutorial
What You’ll Need
For the complete stem, gather:
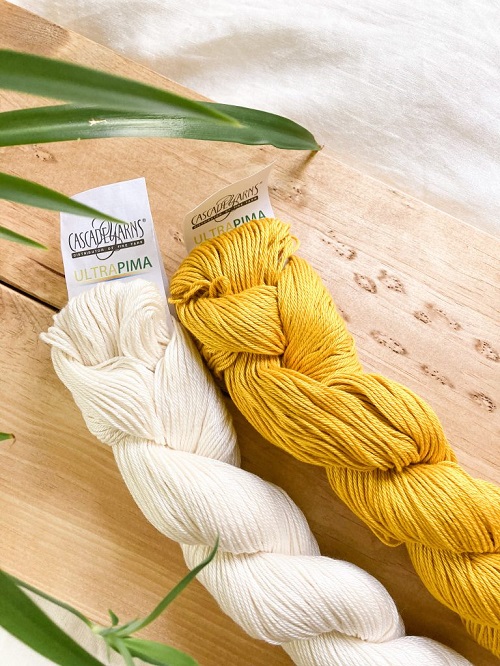
- Cream or white cotton yarn for the petals
- Yellow yarn for the flower centers
- Green yarn for the buds, leaves, and stem covering
- 2–2.5 mm crochet hook
- 16-inch (40 cm) flower stem, about 2 mm thick
- 0.4–0.5 mm craft wire
- Stitch marker
- Darning needle
- Scissors
- Small amount of fiberfill
- Hot-melt glue
The original reference pattern uses three colors and makes three flowers, two buds, and two leaves on one long stem.
Stitches and Abbreviations
US terminology:
ch — chain
sc — single crochet
hdc — half double crochet
dc — double crochet
tr — treble crochet
sl st — slip stitch
st — stitch
sc2tog — single crochet two together
This isn’t a difficult project because of complicated stitches. Most of the work comes from keeping the small pieces neat and assembling everything securely.
Start With the Daisy Center
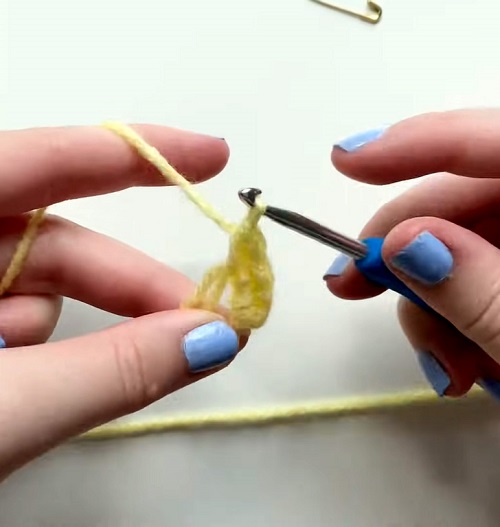
You’ll make two small center pieces for each flower: one yellow and one green.
Start with the yellow center.
Round 1: Make a magic ring and chain 1. Work 6 sc into the ring, then sl st to close the round. You should have 6 stitches.
Round 2: Ch 1, then work 2 sc into each stitch around. Join with a sl st. You now have 12 stitches.
Round 3: Ch 1 and work 1 sc in each of the 12 stitches. Finish with a sl st.
Make a second center in green using the same three rounds.
At this point, don’t worry if the little crochet cups look slightly loose. They’ll be sandwiched together when you add the wire.
Add the Wire to the Center
Cut a piece of thin craft wire and fold it in half. Tie a short piece of scrap yarn around the folded section. This helps hold the wire in place inside the crochet center.
Push the folded end of the wire through the green center from the bottom, leaving the folded section inside the cup. Pull the scrap-yarn tail through the middle.
Place the yellow center over the green one so the two pieces line up.
Now you’re ready to crochet the petals around both layers.
Crochet the Daisy Petals
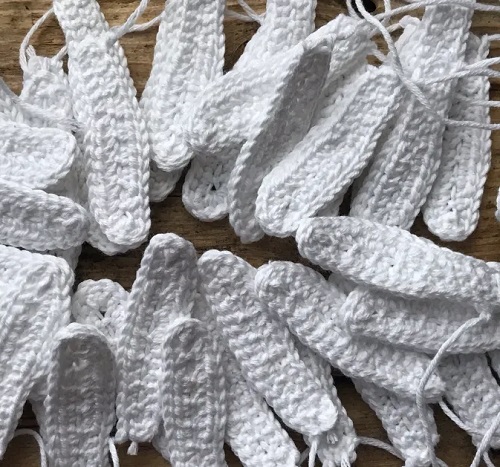
Join your cream or white yarn through both center pieces.
The petals are made in one round, so this part moves quickly.
Repeat the following sequence 12 times:
Ch 4, 1 tr in the next stitch, ch 4, sl st into the next stitch.
After twelve repeats, you should have 12 petals around the flower.
Fasten off and weave in the yarn end.
The petals may look a little uneven at first. That’s normal. Before moving on, gently arrange them with your fingers so they’re spaced around the center instead of bunching together.
Make three flowers in total.
A Small Tip Before Closing the Flower
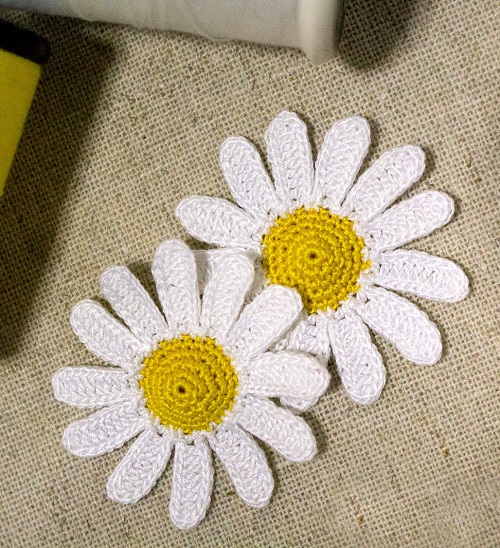
The reference construction allows you to begin attaching the stem once you reach the later petals, or add a little fiberfill before completely closing the flower.
If your flower looks flat, a tiny amount of stuffing can give the center some body. Don’t overfill it, though. Too much fiberfill can push the petals out of shape.
Make the Two Daisy Buds
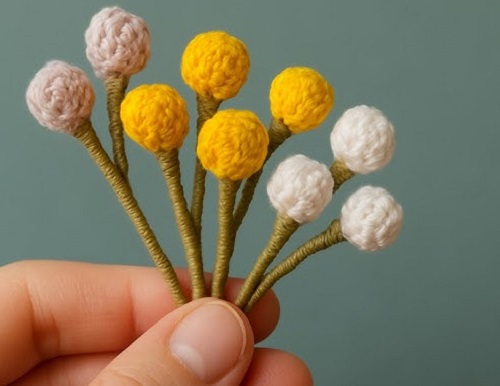
The buds are smaller and more rounded than the open flowers.
Using white or cream yarn, make a magic ring and chain 3.
Round 1: Work 9 dc into the magic ring. Close the ring, then sl st to join. Fasten off but leave two yarn tails.
Switch to green yarn.
Round 2: Ch 2, then work 9 hdc around. Join with a sl st.
Now close the bud.
Round 3: Ch 1, then repeat 1 sc, sc2tog three times. Fasten off, leaving a long enough tail to close the opening.
Fold the wire as you did for the flower center and place it inside the bud. Tuck the loose yarn ends into the opening, leaving the green tail accessible.
Using your darning needle, stitch through the back loops around the opening and pull gently until the bud closes.
Make a second bud the same way.
Crochet the Leaves
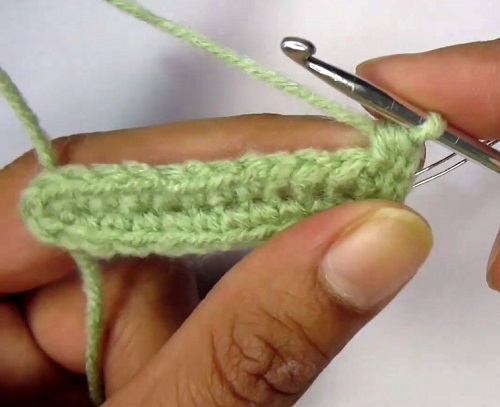
The leaves have a little wire running through them, which helps you bend and position them later.
Using green yarn, ch 13.
For Round 1, begin in the second chain from your hook. Add the craft wire alongside the chain as you work. Crochet 11 sc, then work 3 sc in the final chain.
Don’t turn your work. Continue along the opposite side of the starting chain with 11 sc, then sl st to join.
For Round 2, ch 1.
Repeat this sequence around:
sc2tog, ch 2, sl st into the base of the same stitch, sl st into the next stitch, ch 1.
Finish with a sl st.
Make a second leaf.
The wire will make the leaves easier to shape once you begin assembling the stem.
Put the Daisy Stem Together
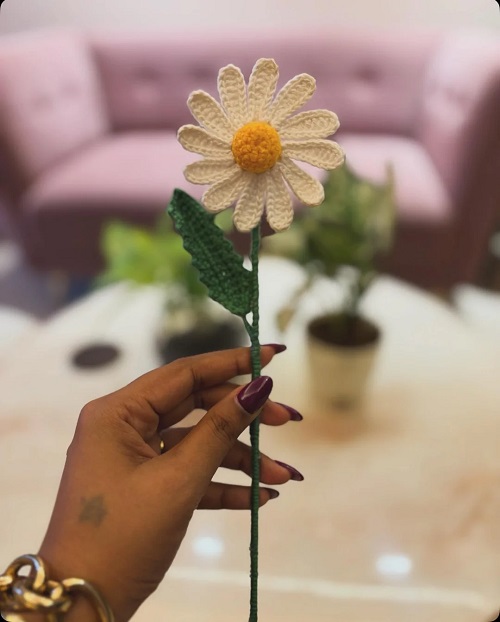
This is the part where all those little pieces finally start looking like a flower.
Lay out your two buds and three flowers before attaching anything. It helps to decide where each piece should sit before you start wrapping the stem.
Position the two buds and the first flower near the top of the stem. Secure them to the flower rod and wrap green yarn around the joining area for about an inch.
Add the second and third flowers farther down the stem. For a more natural arrangement, don’t line every flower up on exactly the same side. Turning them slightly in opposite directions gives the finished stem more dimension.
Continue wrapping the green yarn down the rod.
Add the leaves where they look balanced. You can gently bend the wire inside each leaf to change its angle.
Keep wrapping until you reach the bottom of the stem.
When you’re happy with the arrangement, secure the final yarn end with a small amount of hot-melt glue.
How to Make Your Crochet Daisy Look Neater
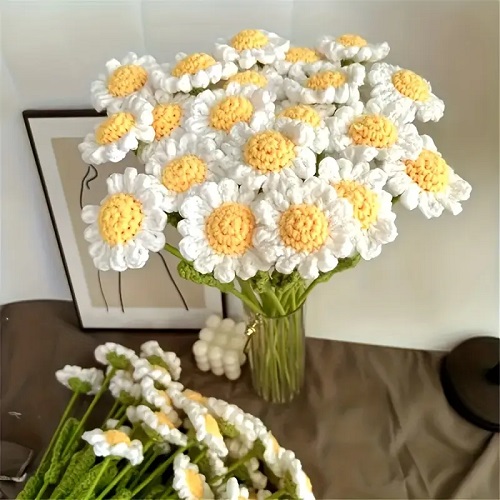
The flowers themselves don’t take very long. Assembly is where the finished piece can either look polished or a little messy.
Take your time when wrapping the stem. Keep the yarn close together instead of leaving gaps between wraps. If the stem starts looking bulky near a flower, stop and reposition the piece before continuing.
The wired leaves and flower centers also give you room to make small adjustments at the end. Bend the leaves slightly outward and turn the flowers in different directions rather than trying to make everything perfectly symmetrical.
That small bit of shaping makes a big difference.
Try Different Daisy Colors
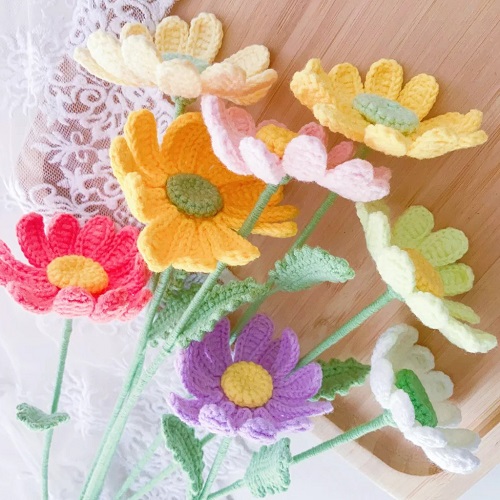
Traditional daisies usually have white petals and yellow centers, but crochet gives you plenty of freedom.
Soft pink, lavender, peach, pale yellow, or even bright orange can give the same pattern a completely different look. You could also use a contrasting center if you’re making flowers for a particular bouquet or color scheme.
For a more realistic arrangement, keep the leaves and stems green while changing only the petal color.
What Can You Do With Crochet Daisies?
You don’t have to make the full long-stem version.
A single flower can work beautifully as a hat embellishment, bag decoration, brooch, hair accessory, or appliqué. Several flat daisies can also be sewn onto blankets, jackets, cushions, or other crochet projects. The original reference also suggests using the flowers in bouquets and decorative arrangements.
If you’re making a bouquet, try mixing daisies with other crochet flowers instead of making every stem identical. A few open flowers, smaller buds, and different heights will make the arrangement feel much more natural.
A Few Things to Keep in Mind
The pattern uses a small hook, so your stitches need to stay fairly even. If you crochet very tightly, the center can become difficult to work into. If your stitches are extremely loose, the petals may look floppy.
A 2–2.5 mm hook works well with the fine cotton yarn used for this style of flower.
Also, keep a stitch marker nearby. It is especially helpful when you’re working the small center pieces because losing track of the first stitch can throw off the stitch count.
And when you’re working with wire and hot glue, take your time. Both are useful for giving the finished flower structure, but neither needs to be rushed.