Turn an ordinary wall into a small hanging garden with this Macramé wall planter pattern. Follow each knot and assemble your own planter.
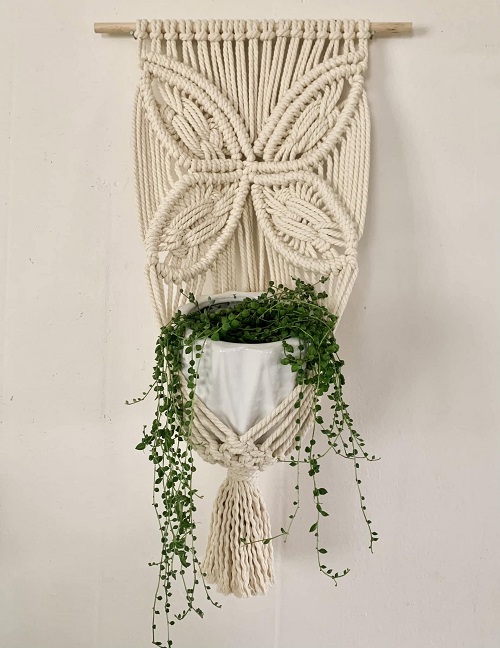
Give an empty wall a little more life with this simple Macramé Wall Planter Pattern. It takes a few lengths of cotton cord and some basic knots, but the finished piece has a nice handmade look that works well with all kinds of plants.
When you first cut the cords, it can be hard to imagine what they’ll become. The pattern starts with a few long strands, then slowly comes together as you work through the knots. For this hanger, you’ll use spiral knots and square knots, then join the sections to make the diamond shapes around the pot.
The finished hanger is about 38 inches long. The sample is made to hold a pot around 7 inches wide and 5.5 inches tall.
Grab your cord, scissors, and ring, and let’s get started.
What You’ll Need
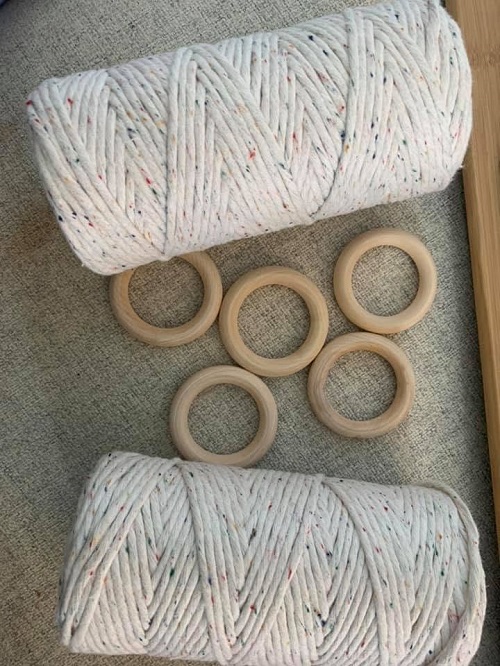
- 5 mm super-soft single-strand cotton cord
- Fabric scissors
- Wooden or metal ring
- Clothing rack or another sturdy place to hang the project while you work
- S-hook
- Measuring tape
- You can use an S-hook for this kind of project because you can hang the ring at a comfortable height and work with both hands.
Macramé Wall Planter Pattern Tutorial
Step 1: Cut the Cord
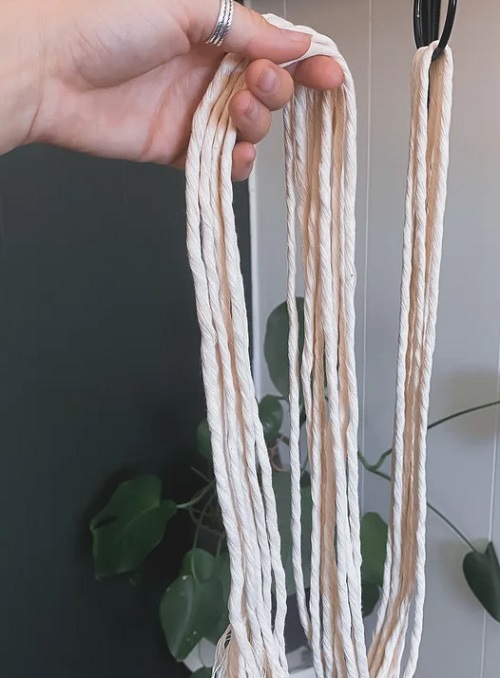
Start by cutting the eight main cords.
You’ll need four pieces that are 80 inches long and four pieces that are 150 inches long.
Fold each piece in half and attach it to the ring. This gives you two hanging strands from every piece of cord.
To attach a cord, place the folded loop behind the ring. Bring the loop forward through the ring, then pull the two loose ends through that loop. Tighten it gently against the ring.
Do the same with the remaining cords.
Arrange them so the short and long pieces alternate:
Short – Long – Short – Long – Short – Long – Short – Long
Check the order before you start knotting. The longer strands will be needed as the working cords for the spiral sections.
Step 2: Make the Top Gathering Knot
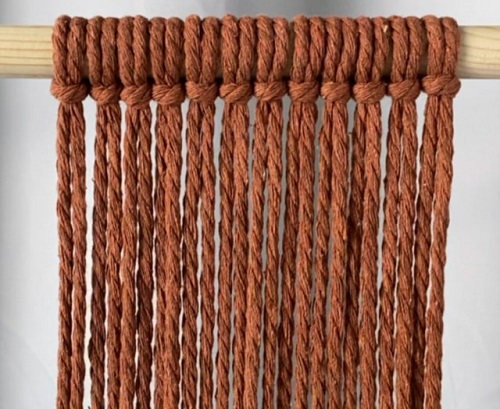
The first gathering knot brings all 16 strands together and gives the top of the hanger a tidy finish.
Cut another piece of cord about 30 inches long.
Lay one end over the bundle, leaving a small loop near the bottom. Hold that loop in place while you work.
Take the other end and wrap it around all of the hanging strands about 8 or 9 times. Try to keep the wraps close together. They should sit neatly beside each other rather than crossing over.
When you’ve made the wraps, pass the working end through the small loop.
Now pull the lower part of the loop upward so it slips underneath the wraps and into the bundle of cords. Pull the ends firmly to tighten everything.
Trim off the extra cord. If there are small ends sticking out, tuck them into the gathering knot with the tip of your scissors.
Step 3: Separate the Four Groups
There are 16 hanging strands, so divide them into four groups of four.
Each group will become one section of the hanger.
For each group, place the two longer strands on the outside and the two shorter strands in the middle. The long strands are the working cords, while the middle strands stay in place as filler cords.
Take a moment to sort the groups properly now. It will save you some frustration later, especially once the cords start twisting together.
Step 4: Make the Spiral Knots
The spiral is made by repeating the same half square knot over and over in one direction.
Pick up one group of four strands. Let the two middle strands hang straight down.
Take the right working cord and cross it over the two middle cords, then pass it underneath the left working cord.
Bring the left working cord underneath the right cord, behind the two middle cords, and through the opening on the other side.
Pull the two working cords to tighten the knot.
Now do the same thing again. Keep making the half knot in the same direction instead of switching sides. After several knots, you’ll see the cord begin to twist into a spiral.
Continue until the spiral is about 8.5 inches long.
Make the other three spirals in the same way. Try to keep them close to the same length. They don’t need to be perfect down to the last millimeter, but large differences will affect how the hanger sits.
Step 5: Make the First Row of Square Knots
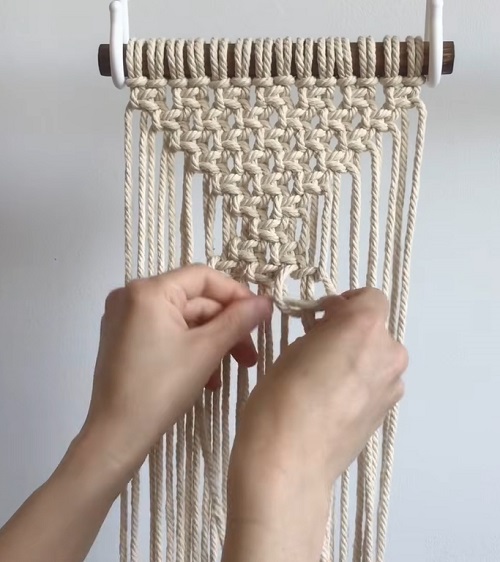
Leave about 3.5 inches of open cord underneath each spiral.
Tie one square knot in each group.
This space gives the pattern a little breathing room between the spiral and the square knot.
Step 6: Tie a Square Knot
If you’ve just finished the spiral knots, the square knot will feel familiar. The main difference is that you change direction for the second half.
Start with the four cords in one group.
Bring the right working cord over the two center cords and underneath the left working cord.
Take the left working cord underneath the right cord, behind the two center cords, and through the opening on the other side.
Pull the two working cords to tighten the first half.
Now work in the opposite direction.
Bring the left working cord over the center cords and underneath the right working cord.
Take the right working cord underneath the left cord, behind the center cords, and through the opening.
Pull both working cords again.
That’s one complete square knot.
Do the same with the other three groups.
Make the Second Row
Leave another 3.5 inches below the first row.
Tie one more square knot in each group.
You should now have four separate sections. The next part joins those sections together and creates the diamond pattern that will hold the pot.
Step 7: Join the Sections
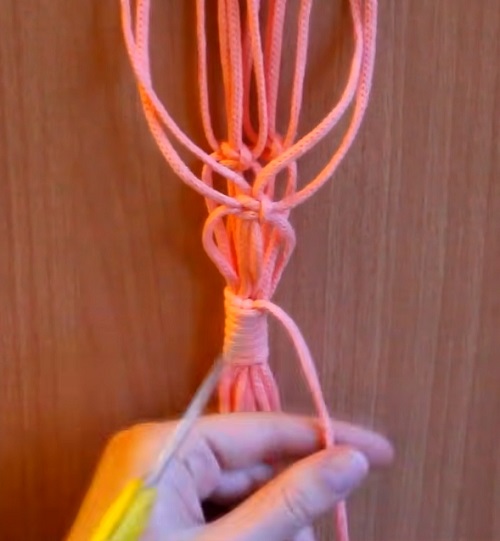
This is the part where the hanger really starts to look different.
Rather than working with the four cords from the same group, you’ll start joining cords from neighboring groups.
Take two cords from the right side of one section and two cords from the left side of the next section. Use those four cords to tie a square knot.
Continue around the hanger until each neighboring pair has been joined.
For the next row, join the strands in the alternating arrangement needed to close the diamond shapes. Keep the gaps between the rows around 3.5 inches.
As the knots come together, you’ll see four diamond-shaped openings forming around the hanger.
Don’t rush this section. Lay the cords out in front of you and check which strands belong together before tying each knot. Once the diamond pattern starts forming, it becomes much easier to see where the next knot should go.
Put the empty pot into the hanger before moving on. It should sit comfortably inside the diamond-shaped sections without slipping through.
If the pot feels loose, take care of the spacing now rather than trying to fix it after the bottom knot is finished.
Step 8: Make the Bottom Gathering Knot
After finishing the diamond pattern, bring all of the cords together underneath it.
Leave about 1 inch of space below the last row of knots.
Use the same gathering-knot method you used at the top.
Wrap a separate piece of cord around the bundle several times, keeping the wraps neat and close. Pass the working end through the loop, then pull the loop into the wrapped section to lock the knot.
Tighten it well and trim the extra cord. Tuck the loose ends into the knot for a cleaner finish.
Step 9: Trim the Bottom
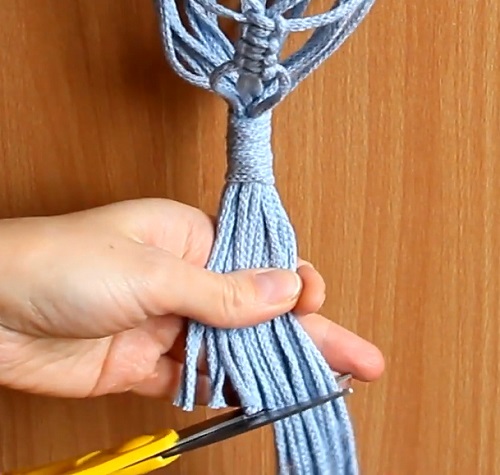
Now you can decide how you want the fringe to look.
Measure from the top of the ring and mark the finished length you want. If you’re aiming for a hanger around 38 inches long, trim the bottom strands to that length.
For a softer, more casual look, leave the fringe a little longer. If you prefer a tidy finish, comb the strands straight and trim them evenly with sharp fabric scissors.
There’s no need to worry if the ends aren’t absolutely identical. A handmade macramé piece can have a little variation without losing its charm.
Your Macramé Plant Hanger Is Finished
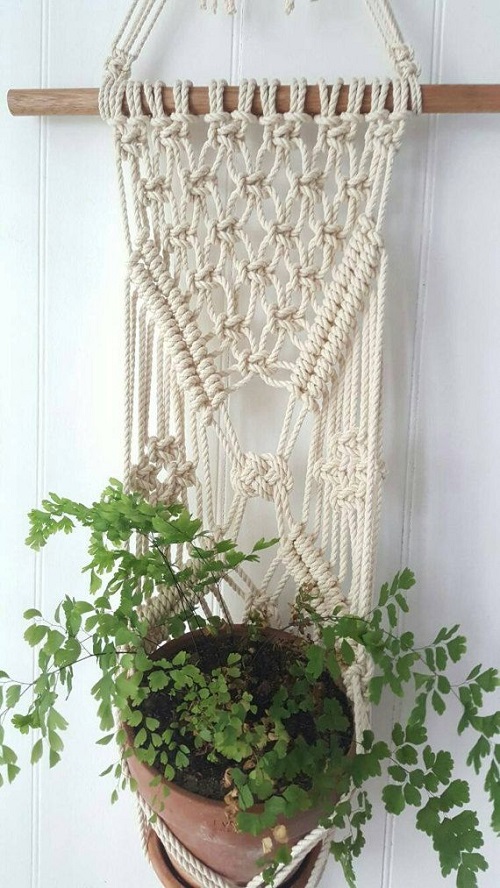
That’s all there is to it. The spiral knots add movement at the top, while the square knots bring the separate strands together and create the diamonds around the pot.
Once you’ve made one hanger, you can easily change the look of the next one. Try another cord color, make the fringe longer, or adjust the spacing for a different-sized pot.
Before putting a plant in the hanger, check the ring, hook, and mounting point. They all need to handle the combined weight of the hanger, pot, soil, plant, and water.
Then add your plant, hang it securely, and give that empty wall a little greenery.