Learn How to Make a Knitted Succulent with simple steps and create a little piece of greenery for your home.
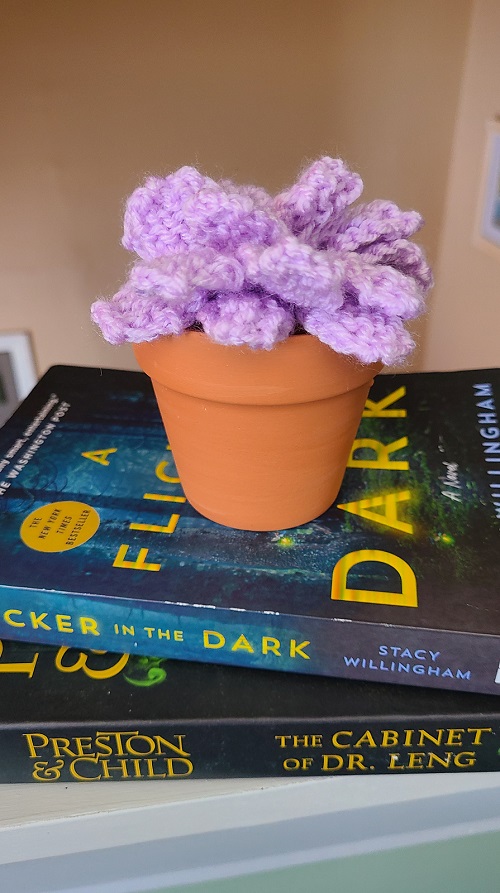
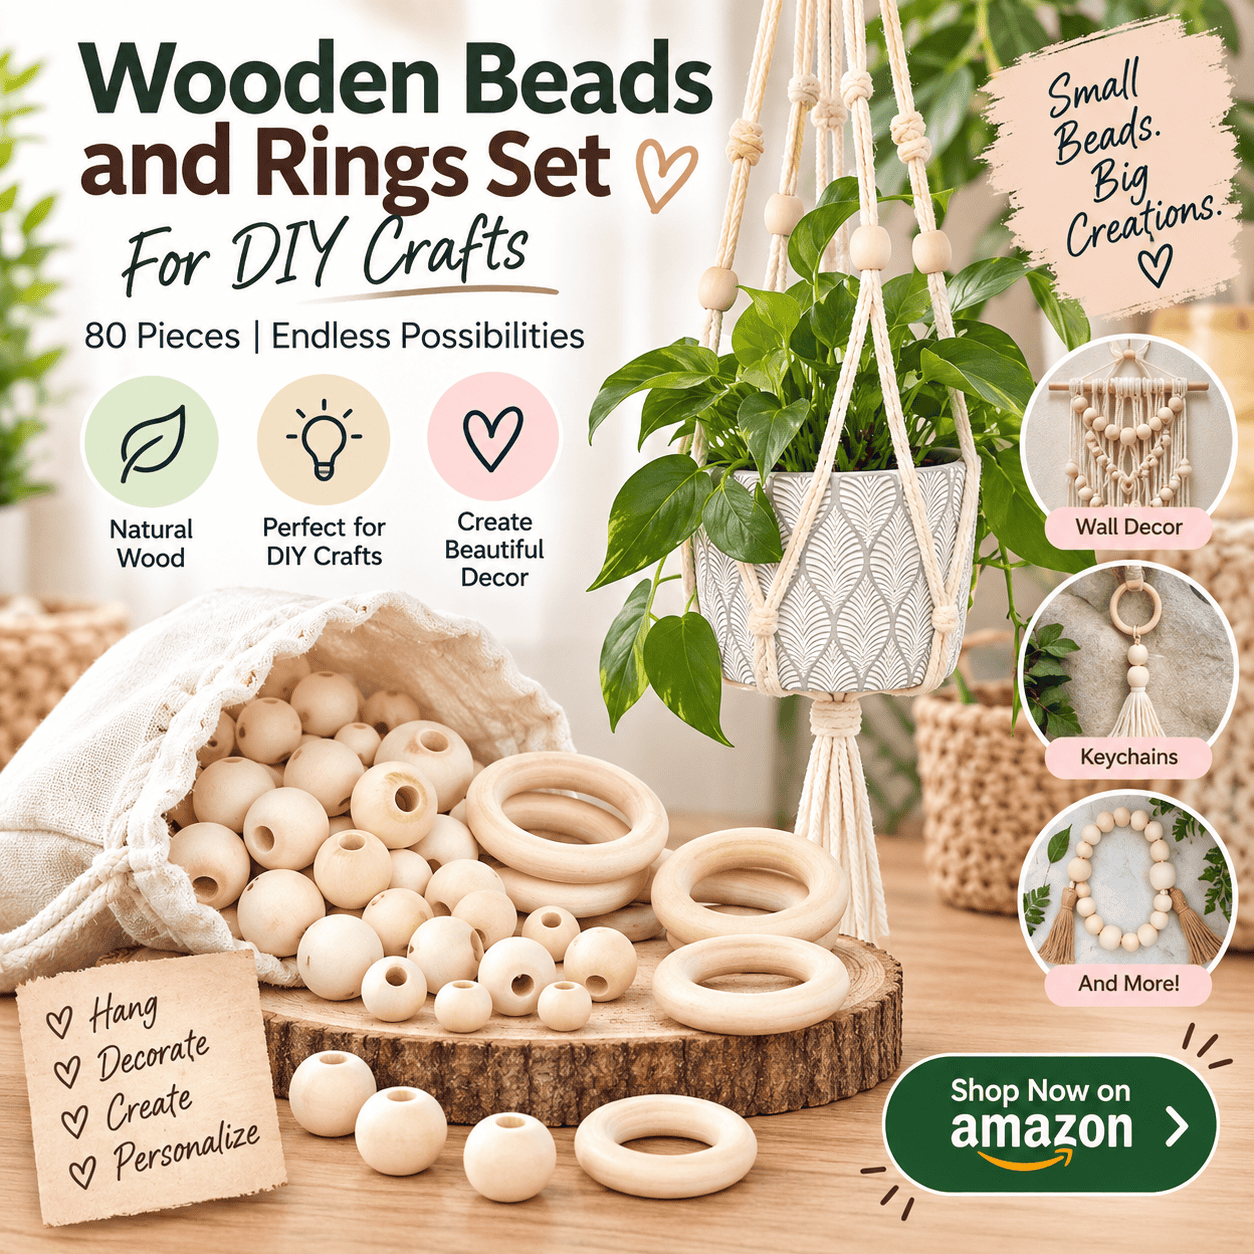
If you like plants but don’t always have the time to look after them, this knitted succulent is a fun little project to try. You can make it with yarn, stuffing, knitting needles, and a small flowerpot.
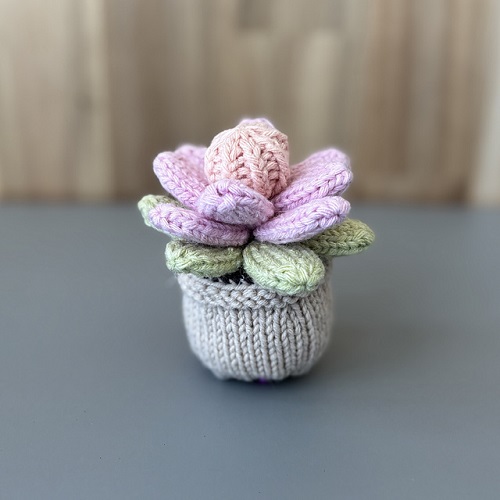
The finished plant looks good on a desk, shelf, windowsill, or bedside table. It also makes a nice handmade gift for someone who loves plants but has a habit of forgetting to water them.

This project is made from three groups of leaves. You knit the small, medium, and large leaves separately, then sew them together to build the succulent. A simple brown knitted piece sits underneath the plant and acts as the soil.
The individual leaves are small, so you can make them a few at a time rather than trying to finish the whole project in one sitting.
Is This Knitted Succulent Good for Beginners?
Yes, with a little practice.
You should already know how to cast on, knit, bind off, and make simple increases and decreases. The leaves are worked in the round on double-pointed needles, which can feel awkward when you first start.
Don’t let the DPNs put you off. There are only a few stitches at the beginning of each leaf. Once you get the first couple of rounds going, it becomes much easier.
If you have never used DPNs before, make one small leaf first. It gives you a chance to get comfortable with the needles before making all 18 leaves.
Pattern Details
Skill level: Beginner to intermediate
Techniques: Knitting in the round, increases, decreases, casting on, binding off, and sewing
Finished size: Depends on your yarn, tension, pot size, and how you arrange the leaves
Materials You’ll Need
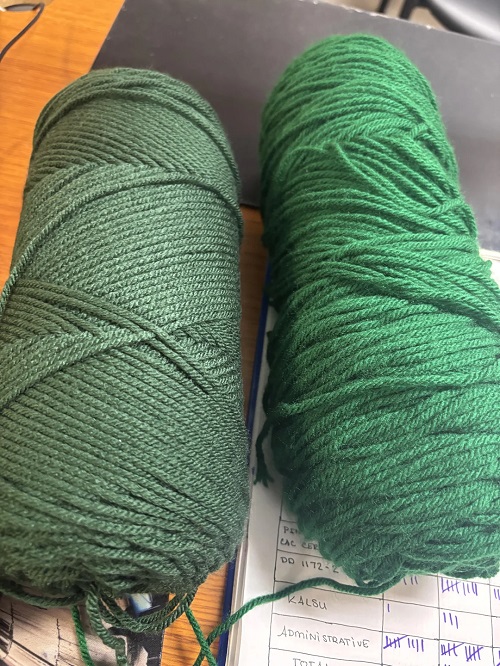

- Green medium-weight yarn
- Brown medium-weight yarn
- US size 6 knitting needles
- Three US size 6 double-pointed needles
- Poly fiberfill
- Small flowerpot
- Tapestry or darning needle
- Scissors
- Matching thread, if needed
You don’t need expensive yarn for this project. It is actually a good one for using up yarn left from another project.
For the leaves, choose a green that you like. You can use one shade throughout or mix a few greens. The brown yarn is used for the piece underneath the plant.
A small pot works best because the knitted succulent is fairly compact. If your pot is wider than the finished plant, you can add more stuffing around the base to keep it steady.

Abbreviations
K = knit
P = purl
K2tog = knit 2 stitches together

Inc = increase
KFB = knit into the front and back of the same stitch
CO = cast on

BO = bind off
When instructions are written between asterisks, repeat those instructions as directed until you reach the end of the round.
Before You Start the Leaves
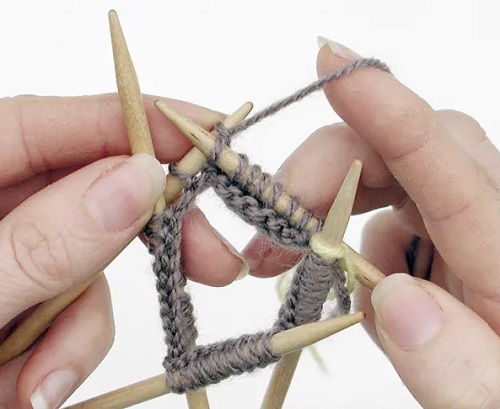
The leaves are knitted in the round using three DPNs.

This part can be confusing if you normally knit back and forth on two straight needles, so here’s the simple version.
Cast on the number of stitches given in the pattern. Divide those stitches between two DPNs. The third DPN is your working needle.
For example, when you cast on 4 stitches, put 2 stitches on one DPN and 2 stitches on another.
Hold the two needles so the stitches form a small circle. Use the empty third needle to knit the stitches from the first needle. That needle is now empty, so use it to knit the stitches from the second needle.
Keep working around the circle in the same direction. You don’t turn your work after each round.
When the pattern says “around,” it means to work across all the stitches on both needles until you have completed one full round.
Keep your tension fairly relaxed between the needles. Pulling the yarn very tightly can make the tiny circle difficult to work.
How to Make a Knitted Succulent
Knit the Brown Base
The brown piece acts like the soil and gives you something to attach the finished succulent to.
Cast on 25 stitches.
Rows 1–7: Knit 25.
Row 8: Purl 2, knit 21, purl 2.
Repeat Rows 7–8 for another 28 rows.
Rows 37–42: Knit 25.
Bind off all 25 stitches.
Set the piece aside while you make the leaves.
Make the Small Leaves
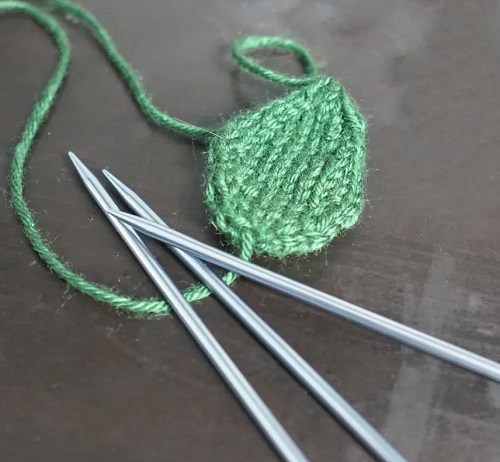
The small leaves form the center of the succulent.
You will need 6.
Cast on 4 stitches and divide them between two DPNs, with 2 stitches on each needle.
Round 1: KFB in each stitch around. (8 stitches)
Round 2: Knit 8.
Round 3: *Increase 1, knit 1; repeat from * around. (12 stitches)
Rounds 4–5: Knit 12.
Round 6: *Knit 1, knit 2 together, knit 2 together, knit 1; repeat from * around. (8 stitches)
Round 7: Knit 8.
Round 8: Knit 2 together around. (4 stitches)
Cut the yarn, leaving a tail. Pull the tail through the remaining stitches and tighten to close.
Repeat until you have 6 small leaves.
Don’t worry if these first leaves look a little odd. The shape becomes much easier to judge once several leaves are placed together.
Make the Medium Leaves
The medium leaves sit around the small center leaves.
Make 6.
Cast on 4 stitches and divide them between two DPNs, with 2 stitches on each needle.
Round 1: Increase in each stitch around. (8 stitches)
Round 2: Knit 8.
Round 3: Increase 1, knit 1; repeat around. (12 stitches)
Rounds 4–5: Knit 12.
Round 6: Increase 1, knit 3, increase 1, knit 1; repeat from the beginning twice. (16 stitches)
Rounds 7–9: Knit 16.
Round 10: *Knit 1, knit 2 together, knit 2, knit 2 together, knit 1; repeat from * twice. (12 stitches)
Rounds 11–12: Knit 12.
Round 13: *Knit 1, knit 2 together, knit 2 together, knit 1; repeat from * twice. (8 stitches)
Round 14: Knit 8.
Round 15: Knit 2 together around. (4 stitches)
Pull the yarn through the remaining stitches and tighten.
Repeat until you have 6 medium leaves.
Make the Large Leaves
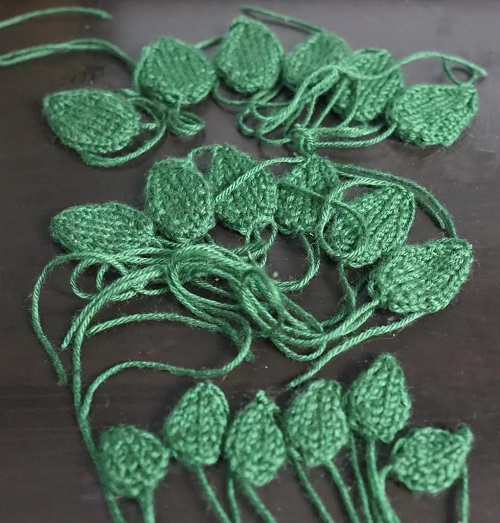
The large leaves make up the outside of the plant. They should spread outward a little more than the smaller leaves.
Make 6.
Cast on 8 stitches and divide them between two DPNs, with 4 stitches on each needle.
Round 1: Increase 1, knit 1; repeat around. (12 stitches)
Round 2: Knit 12.
Round 3: Increase 1, knit 3, increase 1, knit 1; repeat from the beginning. (16 stitches)
Rounds 4–5: Knit 16.
Round 6: Increase 1, knit 5, increase 1, knit 1; repeat twice. (20 stitches)
Rounds 7–9: Knit 20.
Round 10: Knit 1, knit 2 together, knit 4, knit 2 together, knit 1; repeat twice. (16 stitches)
Rounds 11–12: Knit 16.
Round 13: Knit 1, knit 2 together, knit 2, knit 2 together, knit 1; repeat twice. (12 stitches)
Round 14: Knit 12.
Round 15: Knit 1, knit 2 together, knit 2 together, knit 1; repeat twice. (8 stitches)
Round 16: Knit 2 together around. (4 stitches)
Pull the yarn through the remaining stitches and tighten.
Repeat until you have 6 large leaves.
How to Shape the Leaves
You may notice that the leaves look like small knitted tubes rather than flat leaves. That’s normal.
The stuffing and the way you sew them together help give them their final shape.
Add only a small amount of poly fiberfill to each leaf. You don’t want to pack them tightly. A lightly stuffed leaf is easier to bend and arrange when you assemble the plant.
If the tip looks too bulky, remove a little stuffing. If the leaf looks completely flat, add a little more.
This is one place where you don’t need to make every leaf exactly the same. Small differences can actually make the finished succulent look more natural.
Put the Leaves Together
Once all 18 leaves are finished, lay them out before sewing anything.
Start with the 6 small leaves. Arrange them in a circle with their bases close together. These make the center of the plant.
Sew the bases together securely.
Next, place the medium leaves around the center. Overlap their bases slightly so you don’t have large gaps between them.
Sew this layer together.
Finally, arrange the large leaves around the outside. Angle them outward so they create the wider shape of the succulent.
Before sewing them permanently, turn the plant around and look at it from different sides. Move any leaves that look too close together or leave a large empty space.
Once you’re happy with the shape, sew the layers together.
Attach the Plant to the Brown Base
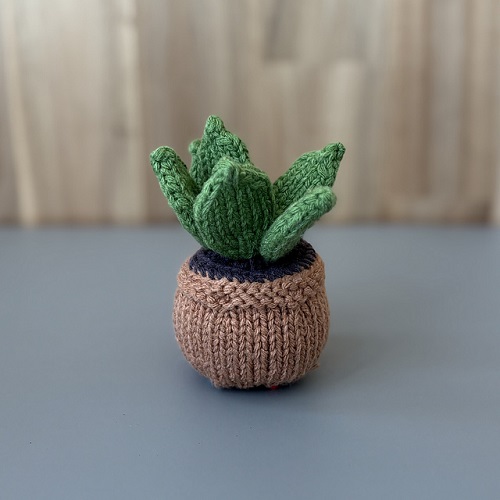
Take the brown knitted square and place the finished succulent in the middle.
Sew the bottom of the plant securely to the center of the brown piece. Use several stitches rather than just one or two. This will help stop the plant from tipping over later.
Now prepare your flowerpot.
Put some poly fiberfill into the bottom of the pot. Place the brown knitted base over it and tuck the edges down inside the pot.
Add more stuffing around the base until the plant sits upright.
Don’t overfill the pot. If you pack it too tightly, the brown knitted piece may rise above the rim.
Once everything is sitting properly, adjust the leaves one last time.
Easy Ways to Change the Design
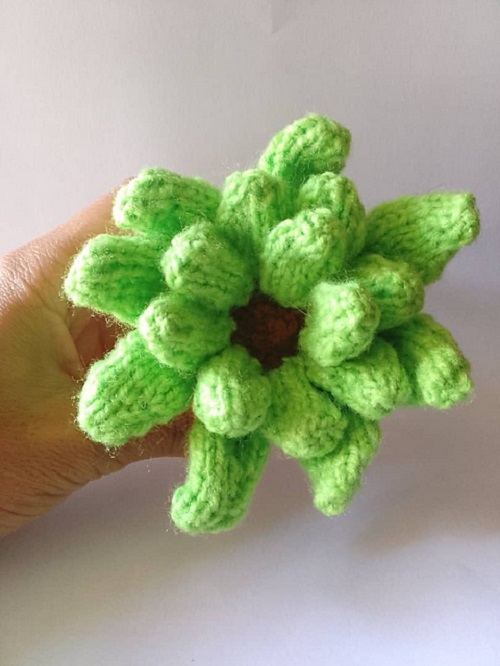
You can make this project look quite different without changing the actual leaf pattern.
Try two shades of green. Use the darker shade for the large outer leaves and a lighter green for the center.
You could also make a completely different color combination if you want a decorative yarn plant rather than one that looks like a real succulent.
For a larger plant, try thicker yarn and larger needles. For a tiny version, use thinner yarn and smaller needles. Just remember that changing the yarn and needle size will change the finished size.
You can also add more leaves if you want a fuller plant. Make extra leaves and work them into the outer layer until you get the shape you like.
A Few Tips for Your First One
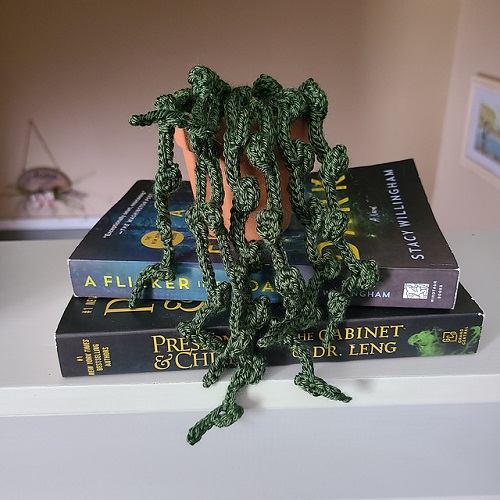
Don’t try to make all 18 leaves at once. Make the small leaves first and check that you like their size and shape.
Keep your yarn tails long enough for sewing. It is much easier to use a longer tail to attach a leaf than to discover you cut it too short.
When joining the leaves, use the same yarn if possible. It will blend into the knitted fabric and be less noticeable.
Take your time with the arrangement. The sewing is what brings the project together, so moving a leaf by even a small amount can change the final shape.
And if your first succulent isn’t perfectly symmetrical, that’s completely fine. Real plants aren’t perfectly even either.
Why Make a Knitted Succulent?
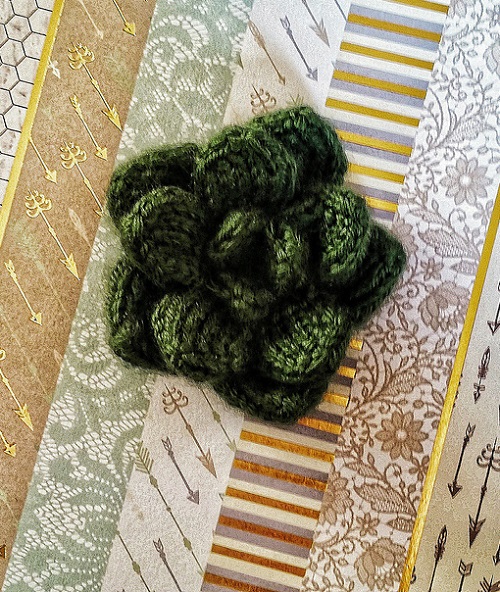
The obvious benefit is that you never have to water it. It can sit in a dark corner, on a crowded desk, or on a shelf where a real plant wouldn’t get enough light.
It is also a useful little stash project. The leaves don’t use much yarn, so you can use leftovers from other knitting projects instead of buying a whole new skein.
You can make one for yourself or turn several into a small collection. Try different pots and shades of green so each one has its own look.
It is also a nice project for practicing techniques that you may use in larger knitted toys. You get experience with DPNs, increases, decreases, stuffing, shaping, and sewing without committing to a large project.
Make Your Own Knitted Succulent
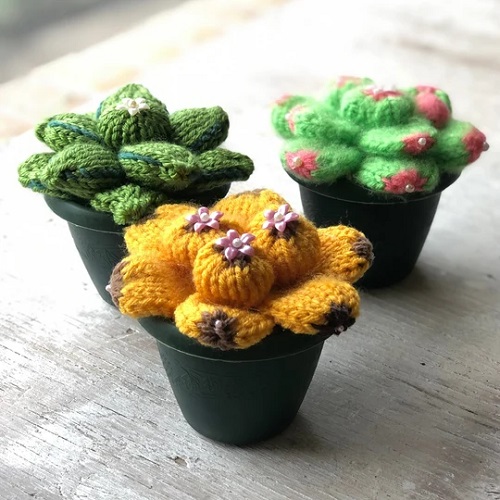
Once you have the leaves figured out, this project is quite relaxing. Make a few while watching TV, keep them in your knitting bag, and assemble the plant when you have all the pieces ready.
Start with the small center leaves, add the medium layer, and finish with the larger outer leaves. Attach everything to the brown knitted base, tuck it into a little flowerpot, and shape the leaves until you like the way they sit.
The finished succulent won’t need sunlight or a watering schedule. It just needs a nice spot where you can see your handiwork.