Follow this DIY Beaded Wire Tree Tutorial. It only takes a few basic supplies, and you can shape the tree however you like.

If you enjoy making small decorations, this DIY Beaded Wire Tree Tutorial is a fun one to try. The finished tree can look quite detailed, but making it is not as difficult as it seems. You mainly need some flexible wire and small beads.

You can make the tree short and full, tall and narrow, or give it a slightly crooked shape. Changing the bead colors also gives you plenty of options. Green beads give it a leafy look, while orange, yellow, and red beads can make a nice autumn version.

What You’ll Need
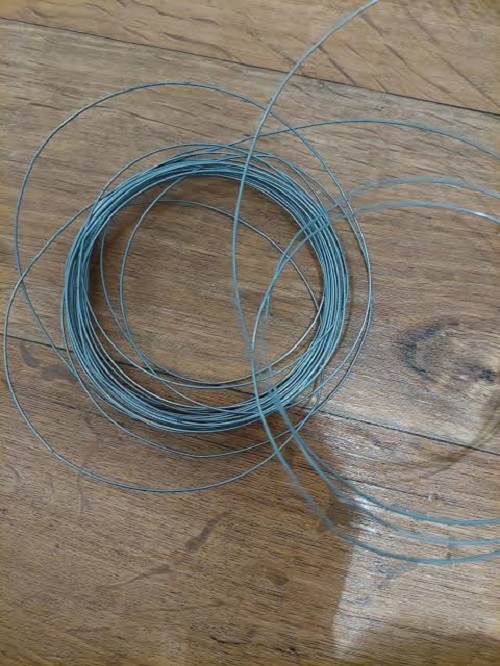
Here are the supplies you need:
- Jewelry or craft wire
- Small seed beads
- Wire cutters
- Measuring tape or ruler
- A small base for the tree
- Glue
- Small stones or pebbles
Pick a wire that bends without too much effort but still holds its shape. You don’t want something so stiff that it is hard to twist. At the same time, very soft wire may not hold the branches where you put them.
Small seed beads are a good choice because they are light and easy to work with.
Choosing a Base
Look around before buying a base for your tree. You may already have something that will work.
A small plant pot, piece of wood, decorative stone, bowl, or little container can all be used. A few pebbles around the bottom can also help cover the wires and keep the tree steady.
The base doesn’t have to be fancy. Once the branches are finished, even a simple container can look good.

DIY Beaded Wire Tree Tutorial
Step 1: Cut the Wire
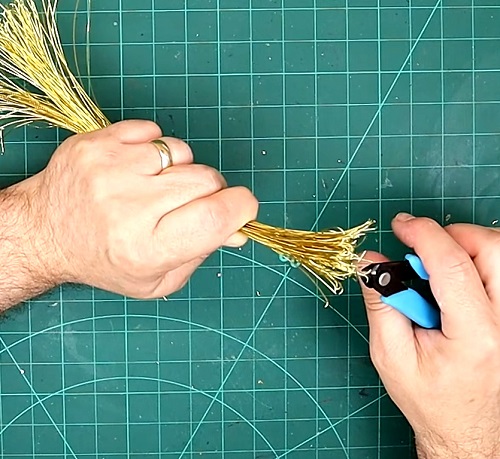
Start by cutting several pieces of wire.
For a small tree, try pieces around 20 to 25 inches long. They don’t all have to be exactly the same length. A few longer pieces mixed with shorter ones will give you different-sized branches.
You can always make the next tree bigger once you get a feel for how much wire you need.

Step 2: Add the Beads
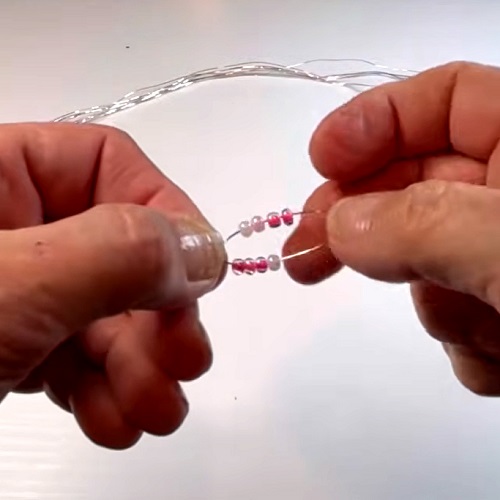
Take one piece of wire and fold it in half.
Thread a few seed beads onto the folded part. Around five beads is enough for a small cluster. Hold them together and twist the wire underneath the beads.
You should now have a little beaded section on the wire.

Leave some bare wire before making the next section. This gives you room to twist the branch together later.
Step 3: Make More Beaded Sections
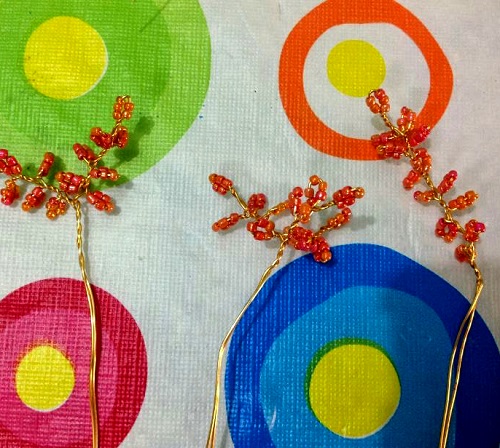
Move a little farther along the wire and make another beaded section.
Add a few beads, twist the wire underneath them, and then continue along the wire. Leave a small gap between the groups rather than putting all the beads together.

Don’t worry about getting the spacing perfect. In fact, it looks better if the sections aren’t all exactly the same.
Step 4: Finish the Branch
Once you have enough beaded sections, twist the loose wire together.
This gives you one finished branch. Leave some wire at the bottom so you can attach it to the rest of the tree.

Make a few branches longer than others. You can also leave more space between the bead sections on some branches. There is no need to measure every one.
Step 5: Make More Branches
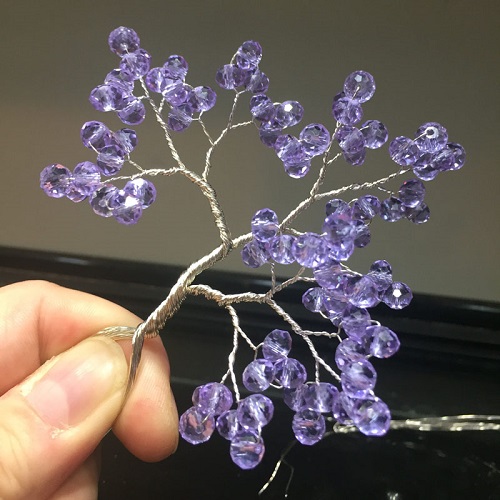
Now do the same thing with the remaining pieces of wire.
Make as many branches as you need. If you want a fuller tree, keep making more. For a small tree with a simple shape, you won’t need as many.

Don’t worry if the branches look a little uneven at this point. Once they are twisted together and spread out, they will look much better.
Step 6: Bring the Branches Together
Take a few of the finished branches and hold their bare wires together.
Twist the wires around each other to make a larger branch. You can combine two or three smaller branches at a time.
Keep doing this until you have several larger sections. You will start to see the tree coming together at this stage.
Step 7: Make the Trunk
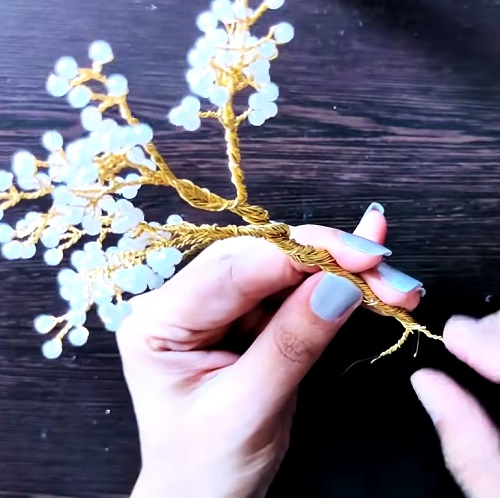
Bring the larger branch sections together at the bottom.
Twist the wires together to form the trunk. Keep going until the trunk feels secure.
It doesn’t have to be perfectly straight. A slight bend can actually make the tree look more interesting. If you like the look of a little bonsai tree, keep the trunk short and bend the branches out to the sides.
Don’t try to get the shape perfect yet. There is still plenty of room to adjust it.
Step 8: Shape the Tree
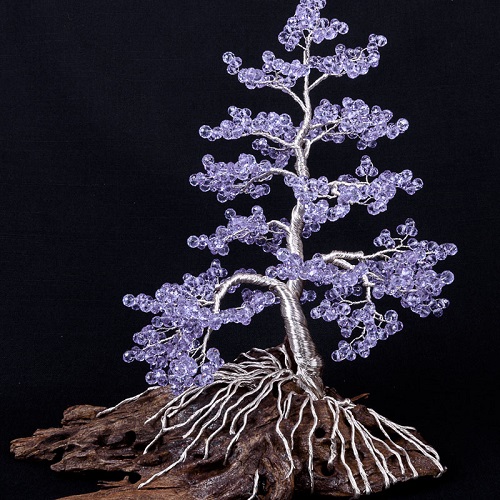
This is where you can have a bit of fun with it.
Spread the branches apart and bend them gently. Move some upward and leave some lower down. If you want a wider tree, push the branches out to the sides.
Keep turning the tree as you work so you can see it from different angles. One side may look much fuller than the other, and a small adjustment can usually fix it.
The wire is forgiving, so don’t be afraid to bend a branch, look at it, and bend it again.
Step 9: Attach It to the Base
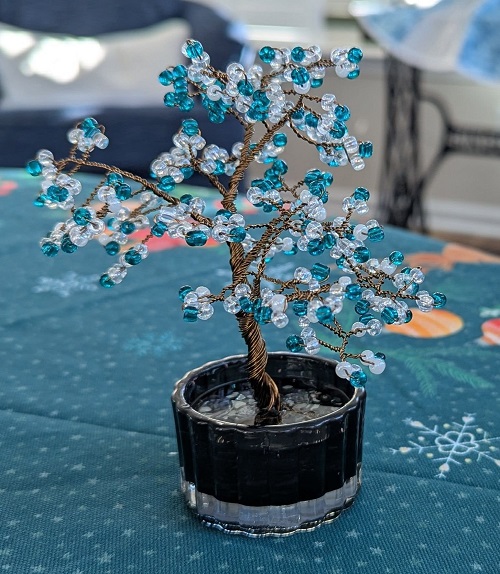
Once you like the shape, secure the bottom of the trunk to your base.
Add some glue where the wire meets the base. If you’re using a small pot or container, put a few stones or pebbles around the trunk. They can hide the wires and make the tree more stable.
If the stones move around, add a little glue underneath them.
Let everything dry fully before picking up or moving the tree.
Easy Ways to Change the Look
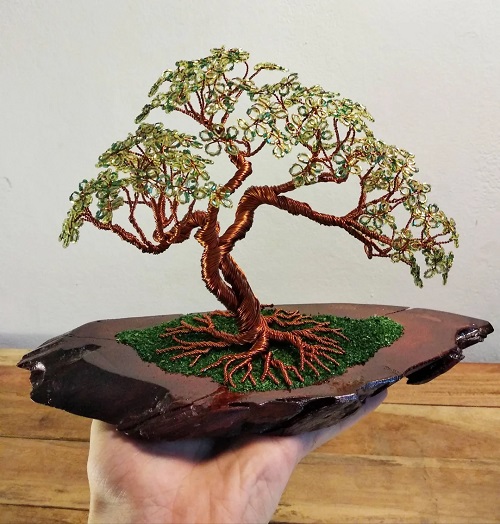
One of the fun things about making these trees is that you don’t have to stick to one style.
Autumn Tree
Try orange, yellow, red, and brown beads. You can mix the colors together or keep them in separate sections.
Green Tree
Use different shades of green for a simple leafy tree. You can also add a few lighter beads here and there.
Colorful Tree
Have some fun with bright colors. You don’t need a particular pattern. Just mix the beads as you go.
Simple Tree
Use one bead color and keep the branches fairly open. This works especially well with a plain wood or stone base.
Bonsai-Style Tree
Keep the trunk short and bend the branches outward. You can make one side a little heavier than the other instead of trying to make it perfectly balanced.
Gift Tree
Make a small tree using the recipient’s favorite colors and put it in a little pot or container.
You can also make tiny trees for a desk, shelf, craft room, or gift basket.
A Few Tips for Beginners
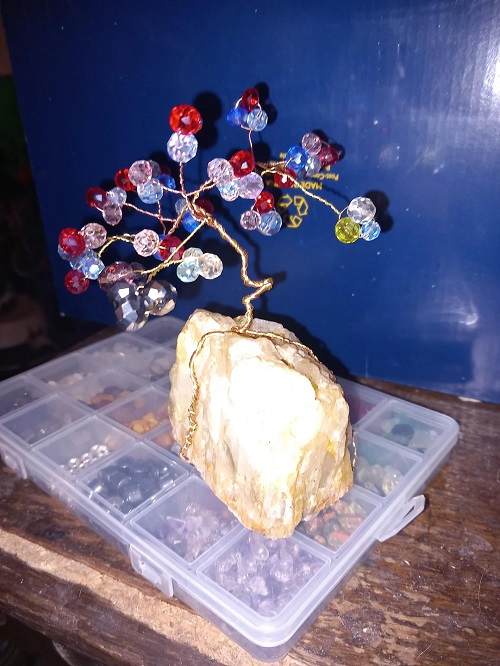
- Don’t worry if your first few branches look a bit messy. They usually look much better once you put several of them together.
- If the tree looks flat, spread the branches in different directions. Turn it around while you’re doing this so you don’t end up with all the branches facing one way.
- If it looks too thin, make a few more branches and twist their bare wires around the trunk or one of the larger branches.
- If your wire is hard to bend, switch to a thinner one. Just make sure it is still strong enough to support the beads.
- It can take a little while to get used to twisting the wire and keeping the beads where you want them. After making a few branches, though, you’ll get the hang of it.
A beaded wire tree is one of those crafts where you don’t have to follow a perfect pattern. Change the size, bend the trunk, mix the bead colors, or use whatever base you have on hand. Each tree can end up looking a little different, which is part of the fun.