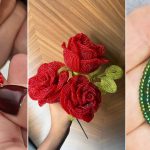
Want to make a bloom that lasts? Follow this Beaded Rose Flower Pattern Tutorial and create one for yourself or a beloved person with simple steps.
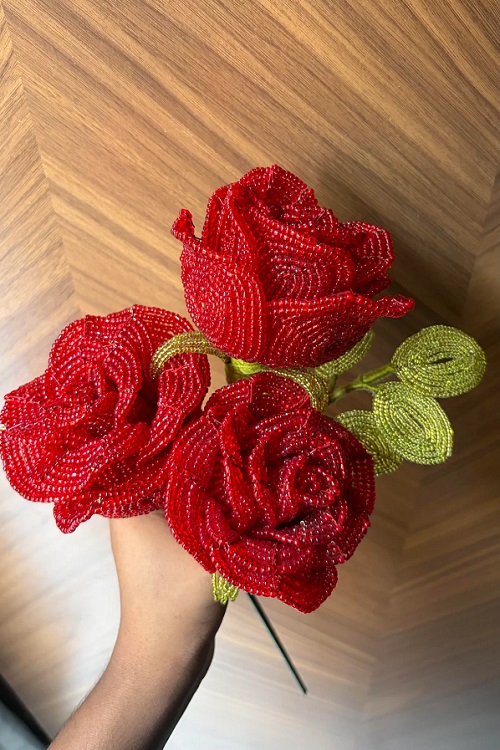
If you enjoy making things by hand, this Beaded Rose Flower Pattern Tutorial is a fun project to try. You only need seed beads, wire, and a few basic tools to get started. Pick your favorite colors and follow the steps to make a rose for your home or as a handmade gift.
Materials You Need
- Seed beads in your chosen rose color, such as red, pink, white, or yellow
- Green seed beads for the leaves
- Thin beading wire for shaping the petals and leaves
- Thick floral wire for the stem
- Wire cutters
- Green floral tape
- Round-nose pliers for making small bends in the wire
- A small tray to keep the beads from rolling off the table
Beaded Rose Flower Pattern Tutorial
Choose the Beads and Wire
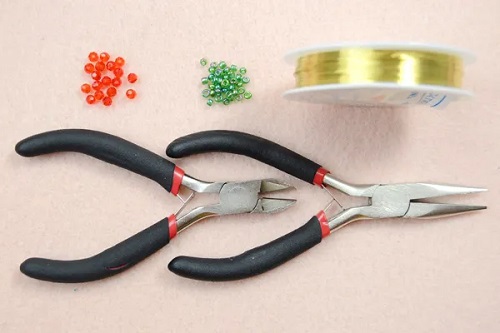

Small seed beads are a good choice because you can arrange them into curved petals without making the flower too heavy. Size 11/0 seed beads are suitable for many designs. If you want a larger rose, you can try bigger beads, provided the wire fits through their holes.

Check the wire before you start. It should pass through the beads without much effort and bend without breaking. Wire that’s too thick can be awkward to shape, while very thin wire may struggle to support the finished flower. The stem needs a stronger piece of floral wire to keep the rose upright.
How to Make the Rose Petals
Cut the Wire
Cut a length of thin beading wire to make your first petal. You don’t need to cut every piece at once, as the length will depend on how large you want the flower to be. Leave enough wire at the ends to secure the beads and attach the petal later.
Try to keep the wire straight while threading the beads. If it develops tight bends, it can become harder to work with.
Make the First Petal
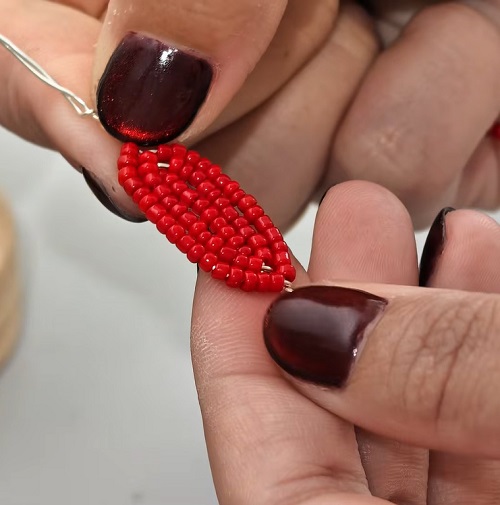
Thread a row of beads onto the wire and move them towards the middle. Bend the wire around the row to form a narrow loop, then bring the ends together and twist them to hold the shape.
This first piece will sit at the center of your rose, so keep it small. Check that the beads sit close together without bunching up. If they move around too much, adjust the wire before securing the ends.
Make the Remaining Petals
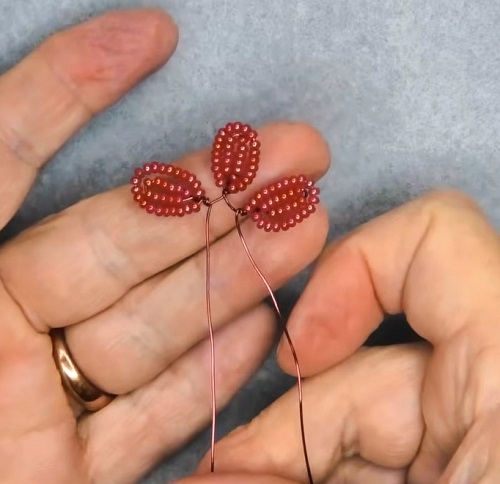
Repeat the process to make more petals. Keep a few small ones for the centre and make the others slightly larger. This gives you enough variation to build up the flower without making every layer look the same.

For a small rose, start with five to seven petals. You can make more if you want a fuller flower. As you finish each piece, check that the beads stay in place when you bend the wire. Loose beads can make assembly frustrating later.
Assemble the Rose
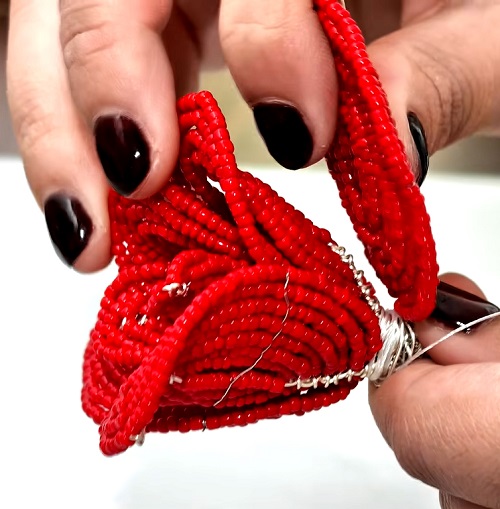
Take the smallest petal and curl it inward to form the centre of the flower. Hold it near the bottom while you position the next petal around it. Overlap the edges slightly, then twist the wire ends together beneath the flower.
Continue adding petals one at a time. Turn the rose as you work so you can see how each new piece sits against the others.

Keep the center fairly tight and let the outer petals spread out more. If you pull every layer too close, the rose may look closed and rounded. If the petals sit too far apart, the flower can lose its shape. Make small adjustments as you go rather than waiting until all the petals are attached.
Make the Leaves
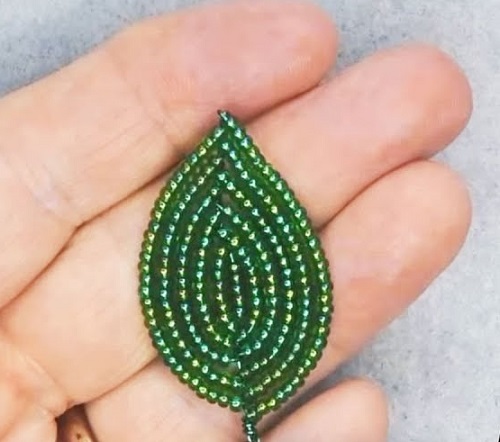
Green leaves help finish the flower and cover some of the wire around its base. To make one, thread green beads onto a length of wire and bend the row into a narrow loop. Twist the ends together at the bottom to hold the shape.
Make two or three leaves for a small rose. You can narrow one end slightly to give each leaf a pointed tip. Keep the leaves in proportion to the flower so they don’t hide the petals.

If making beaded leaves feels like too much work, use small artificial leaves instead. You can attach them to the stem when you wrap it with floral tape.
Attach the Rose to the Stem
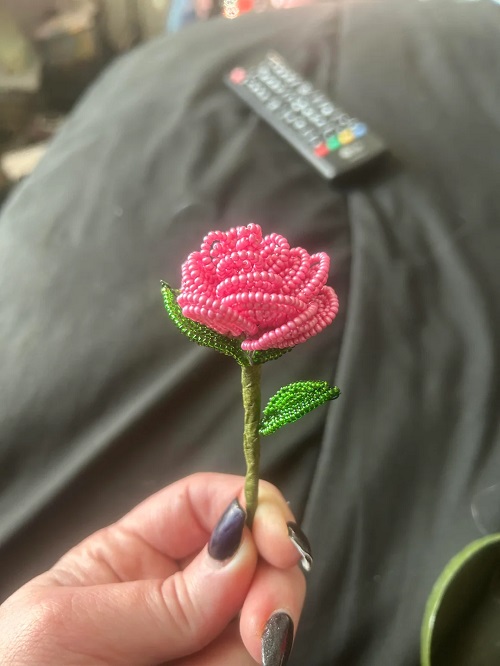
Cut a piece of thicker floral wire to the length you want for the stem. Place the base of the flower against the top of the wire, then wrap and twist the loose petal wires around it. Keep the connection firm, but don’t squeeze the flower so tightly that the petals lose their shape.
Position the leaves a little lower down and secure their wire ends around the stem. Start wrapping green floral tape just below the flower and work towards the bottom. Stretch the tape slightly as you wrap so it grips itself and covers the exposed wire.

Once the stem is covered, hold the rose upright. If the flower tilts, adjust the connection at the base before moving on.
Give the Rose Its Final Shape
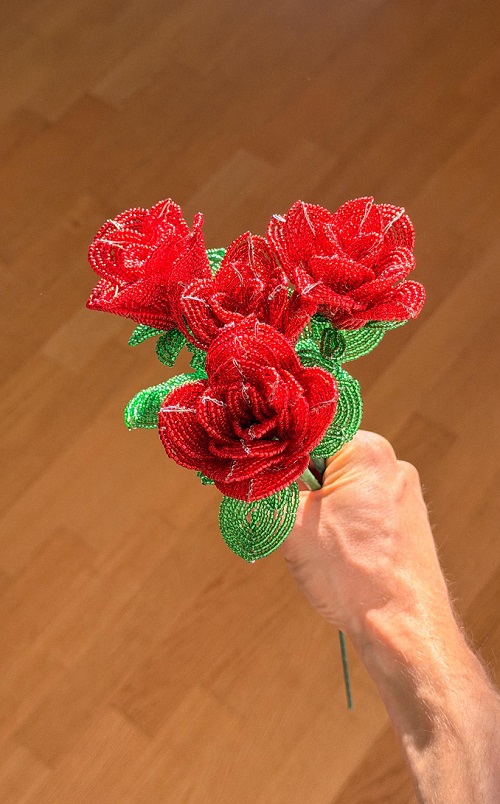
Take a moment to look at the flower from above and from the side. You may find that one petal sticks out too far or that another is hidden behind the others. Bend the wire gently until the layers sit more evenly.

You don’t need every petal to match. Small differences can make the flower look more natural. Just make sure the wire ends are secure, and no sharp points are sticking out where you might catch your fingers.
Avoid bending the same section of wire repeatedly. Thin wire can weaken and snap if you keep folding it back and forth.
A Few Things That Help
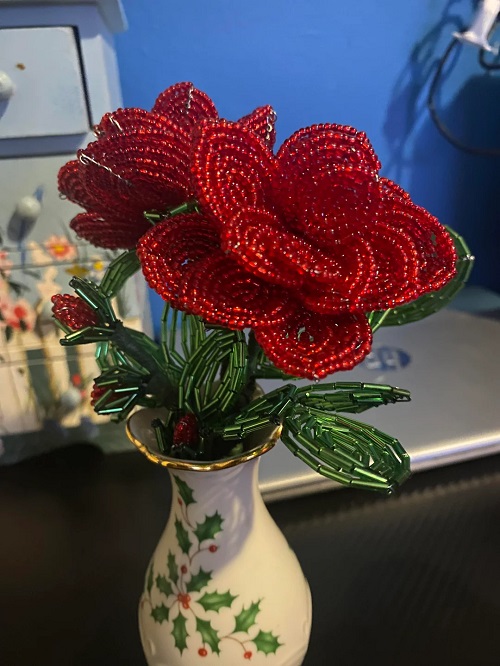
Work over a tray or a piece of fabric so the beads don’t roll away every time you reach for one. It’s also worth making two or three petals first and checking their sizes before you continue. That way, you can correct the shape early instead of remaking several pieces later.

Pay attention to how tightly you arrange the beads. If one petal is much tighter than the rest, it may curve differently when you assemble the rose. Try to keep the tension fairly even.
For your first attempt, stick to one color for the petals and green for the leaves. Once you’re comfortable with the process, mix two shades of pink or red to create a different look. You can also experiment with extra petals or a larger flower.
How to Use Your Finished Beaded Rose
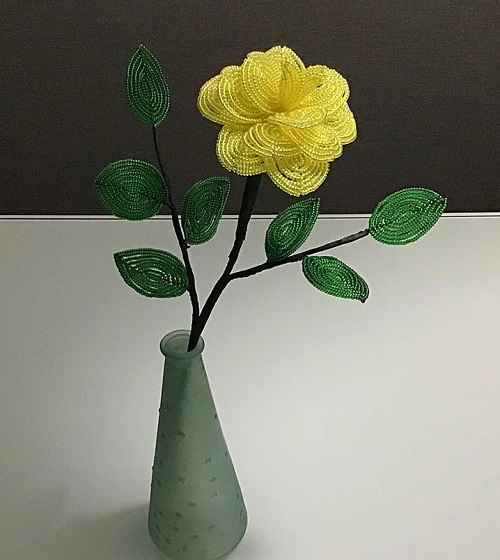
You can display your beaded rose in a small vase, add it to a handmade bouquet, or give it as a gift. If you make a few roses, use different bead colors and stem lengths to make the arrangement look more natural.
You can also make smaller roses for table decorations or other crafts. Just use fewer petals and keep the center small.
Your first rose may take a little time to get right, especially when you’re arranging the petals. Don’t worry if they look uneven at first. As you work, you’ll learn how much wire to leave, how tightly to twist the base, and how to arrange each layer. The next rose will feel much easier once you’ve got the hang of it.