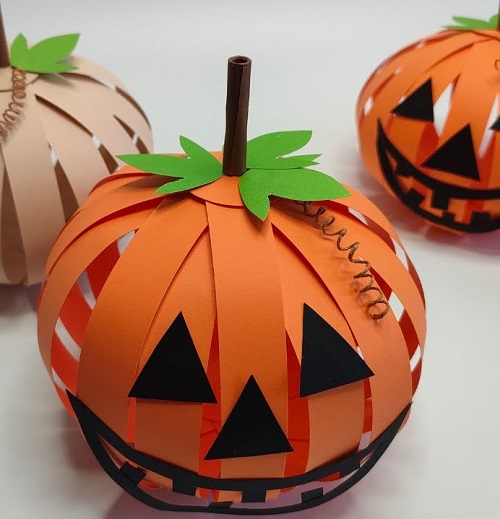
Learn how to make a paper pumpkin for Halloween with simple supplies and steps. Try this fun craft to decorate your home for spooky season!
Materials You Will Need
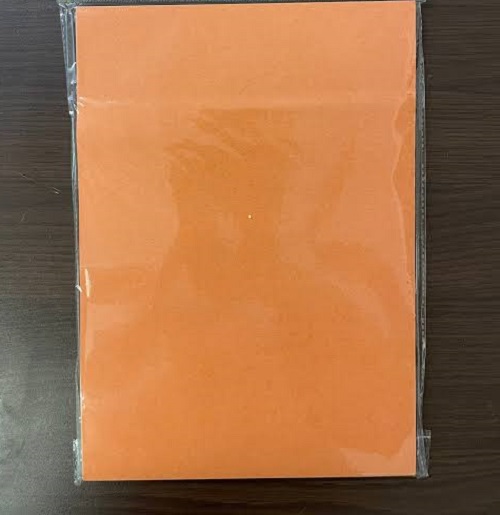

Before you start, collect everything you need and keep it within reach. You probably have some of these supplies at home already.

* Orange cardstock or thick craft paper
* Green cardstock for the leaves
* An empty toilet paper roll
* Scissors
* A ruler
* A pencil
* Craft glue
* A small twig for the stem
* Green pipe cleaner or floral wire (optional)
* Black paper or a black marker for the Halloween face (optional)
Thick paper is a better choice than regular printer paper because it holds its shape without bending too easily. If you’re making these pumpkins with children, cut the strips for them beforehand if needed, and keep an eye on them while they use scissors.
How to Make a Paper Pumpkin for Halloween
Step 1: Cut the Orange Paper Strips
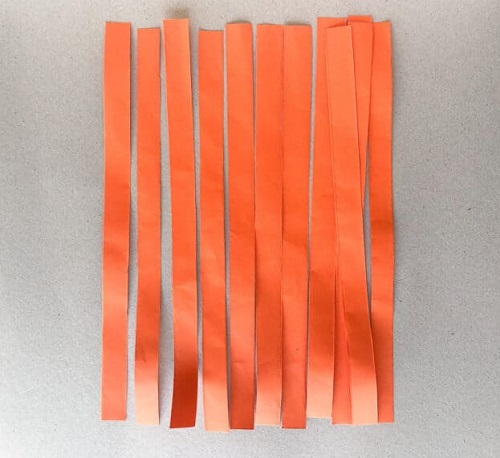
Cut five strips of orange cardstock, each about 12 inches long and 1 inch wide. Then cut each strip in half. You should end up with ten strips, each measuring 6 inches long.
Fold a small tab at both ends of every strip. These tabs will be used to attach the paper to the cardboard roll. Try to keep the strips the same size so your pumpkin doesn’t end up looking lopsided.
Step 2: Cover the Toilet Paper Roll
Take the empty toilet paper roll and cut a piece of orange paper that wraps around it from top to bottom. Add a little glue, wrap the paper around the cardboard, and press it down so it stays in place.
Give the glue a few minutes to dry before moving on. The covered roll will sit in the middle of your pumpkin and provide support for the curved paper strips.
Step 3: Attach the Paper Strips
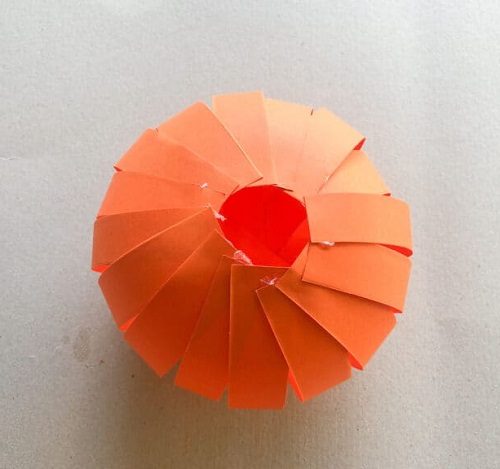
Take one orange strip and put a little glue on its folded tab. Press the tab against the inside of the roll’s top edge. Bend the strip outward into a curve, then glue the other tab to the inside of the bottom edge.

The strip should bow outward, leaving a gap between the paper and the cardboard in the middle. This curve is what gives your pumpkin its rounded shape.
Continue attaching the remaining strips around the roll. Spread them out as evenly as you can, checking the pumpkin from different sides as you work. If some strips sit too close together, adjust them before the glue dries.
Once all ten strips are in place, leave the pumpkin on your work surface until the glue holds everything securely.

Step 4: Make the Top of the Pumpkin
Cut a small circle from orange cardstock that is wide enough to cover the top opening of the cardboard roll. Apply glue around the top edge and press the circle into place.
If you’re using a twig for the stem, make a small hole in the center of the circle. Keep the hole just large enough for the twig to fit snugly. A hole that’s too wide may make the stem wobble or fall out.
Step 5: Cut Out Green Leaves
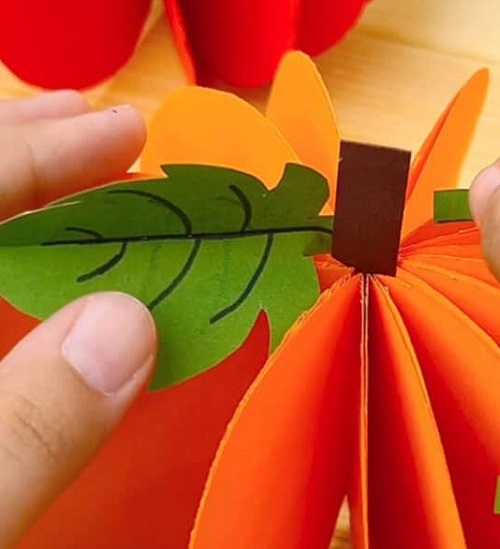
Draw one or two leaves on green cardstock and cut them out. You can give them pointed tips or rounded edges; either shape works well for this project.

Fold each leaf gently down the middle to make a crease that looks like a central vein. If you want the leaves to have a little more shape, curl the tips slightly with your fingers.
Add a dab of glue to the base of each leaf and attach it near the top of the pumpkin. Leave enough room for the stem, and adjust the leaves until you’re happy with how they look.
Step 6: Add the Pumpkin Stem
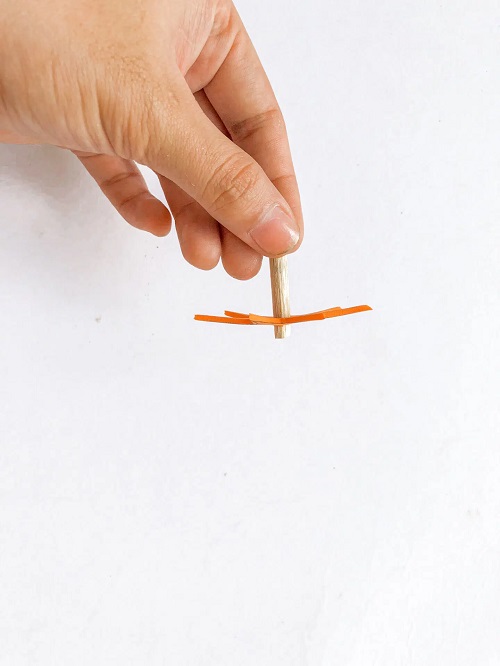
Choose a small, dry twig that fits into the hole you made earlier. Push it gently into place and add a little glue around the base to keep it steady.

Don’t have a suitable twig? Roll a small piece of brown cardstock into a narrow tube and use that instead. You can make it short and straight or bend the top slightly for a more natural look.
Hold the stem in place for a moment, then leave the pumpkin alone while the glue dries. Check that the leaves are secure before moving on.
Step 7: Make Curly Tendrils
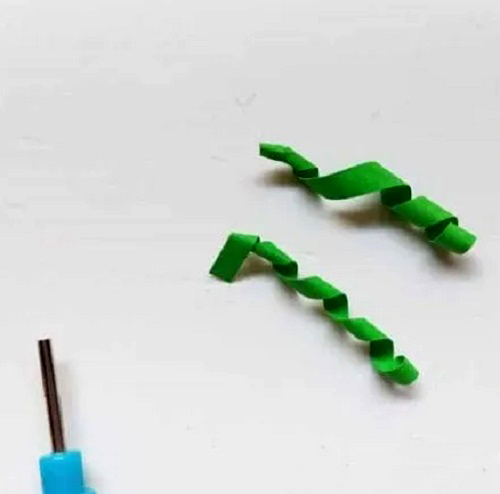
If you’d like to add a little extra detail, a green pipe cleaner works well for making curly tendrils. Wrap it around a pencil, then slide it off carefully. It should spring into a loose coil.

Cut the coil into one or two smaller pieces and attach them near the stem with a dab of glue. You can gently bend the ends to get the shape you want.
This step is optional, so feel free to skip it. Your pumpkin will still look good with just the leaves and stem.
Step 8: Decorate Your Paper Pumpkin for Halloween
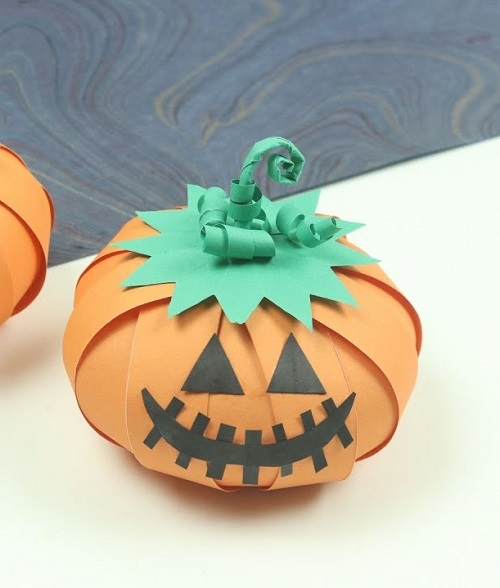
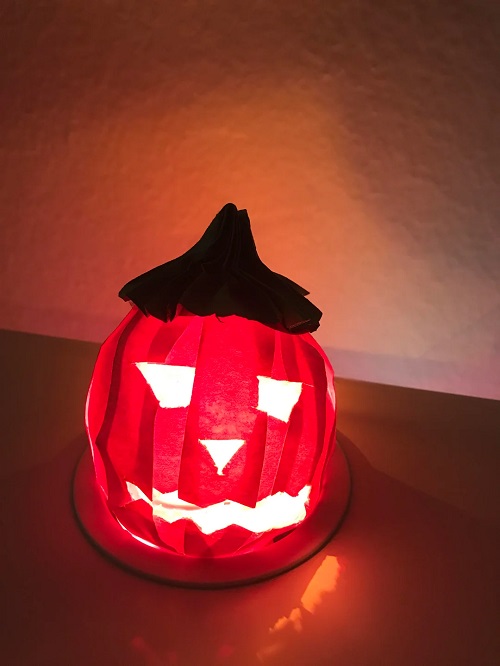
Now you can give your pumpkin a Halloween look. Cut two triangles for the eyes, a small shape for the nose, and a jagged piece for the mouth from black paper. Glue the pieces onto the front to create a classic jack-o’-lantern face.

If cutting small shapes sounds like too much work, use a black marker to draw the face instead. You can make it spooky, silly, or friendly, depending on the look you’re after.
Orange is the usual choice, but you’re not limited to one color. Try black or purple paper for a different Halloween style, or make several pumpkins with different faces. Small paper details or pieces of ribbon can also help you give each one its own look.
How to Display Your Paper Pumpkins
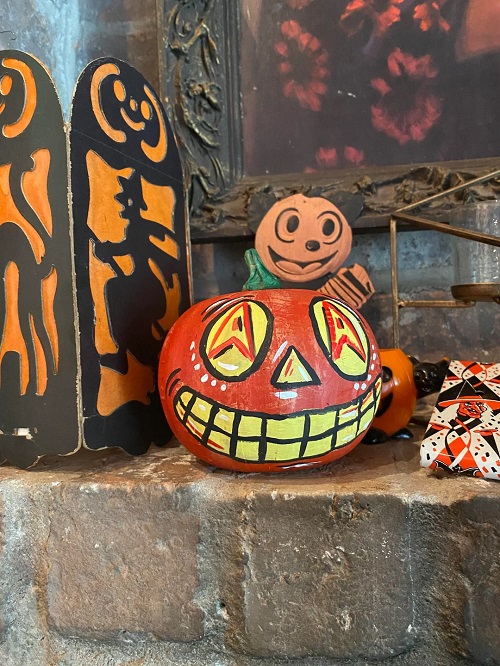
Once everything is dry, find a spot where your pumpkin can be seen. A shelf, coffee table, or mantel works well. You can also place a few pumpkins on a tray with artificial leaves to make a simple seasonal display.
Planning a Halloween party? Make pumpkins in different sizes and colors and arrange them along the center of the table. Smaller ones are handy for decorating a desk or windowsill.
You can also attach a ribbon or string to hang your pumpkin, provided it is secured firmly. Since the decoration is made of paper, keep it away from water and open flames.
Tips for Making a Neater Paper Pumpkin
* Use thick cardstock so the strips hold their curves instead of drooping.
* Measure the strips before cutting to keep their widths consistent.
* Apply glue sparingly, as too much can soften the paper and make it harder to work with.
* Space the strips evenly around the cardboard roll to give the pumpkin a balanced shape.
* Let the glue dry properly before adding the next details.
* Try different colors and facial expressions if you’re making more than one pumpkin.
Making a paper pumpkin doesn’t take much, and you can easily change the design to suit your Halloween decorations. Start with the basic orange pumpkin, then experiment with different faces, leaves, and colors. Once you’ve made the first one, you may find it fun to put together a whole little group for your Halloween display.