
Learn how to use the straight stitch in embroidery with easy steps. Pick up your needle and create simple flowers, leaves, and pretty designs!
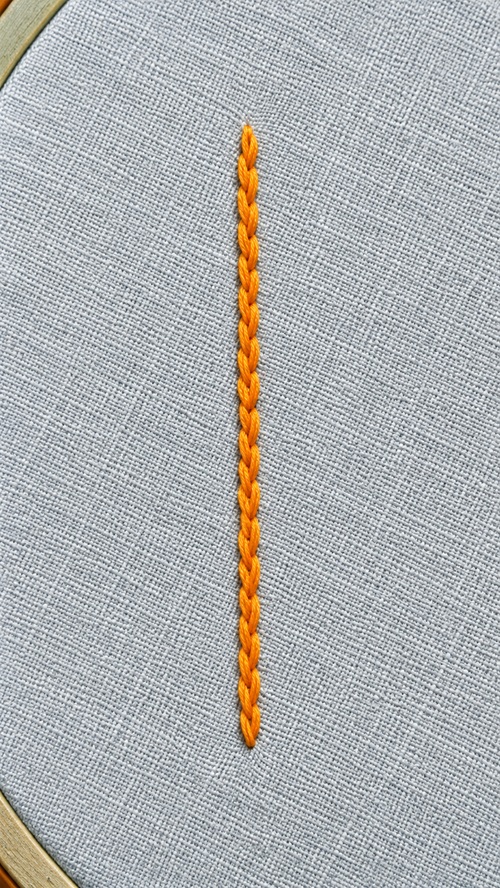

The straight stitch is one of the easiest embroidery stitches to learn. You can make a single long stitch or place several stitches together to create different patterns. It works on most embroidery fabrics, including plain-weave fabric.

You can use straight stitches to make simple leaves, flowers, and geometric designs. They also add texture to your embroidery. Mark your design on the fabric before stitching, or work freehand to create your own patterns.
Be careful when making straight stitches on clothes and household linens. Very long stitches can easily get caught on things. When a stitch gets pulled, it can also pull the stitches around it and make the fabric pucker. If you need to make long straight lines, use a couching stitch instead.
Before starting your project, practice on a small piece of cotton or your chosen fabric. Pick a needle that suits the fabric so you can work comfortably.
What You’ll Need
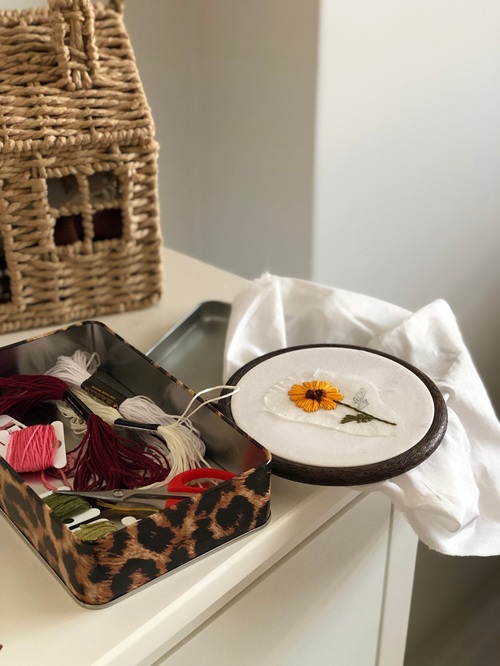
- Embroidery hoop sized for practice cloth
- Embroidery needle, size between 1 and
- Small sharp scissors
- Pencil or water-soluble marker
- Ruler
- Small square of cotton fabric for practicing
- Six-strand embroidery floss
Instructions
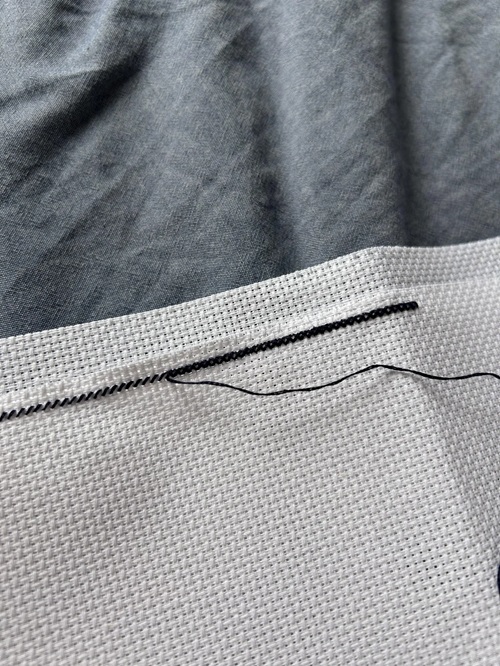
To make a straight stitch, bring the needle up through the fabric and push it back down. Each stitch stands on its own, even when you place several stitches together to make a pattern or spread them across a design.
Getting Ready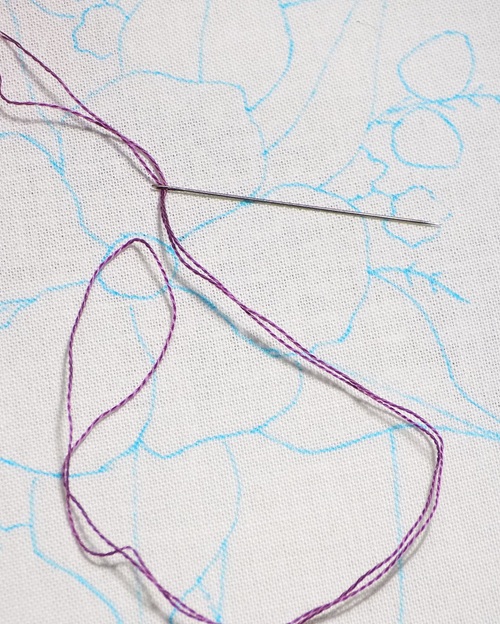
If you are new to embroidery, mark a few practice lines on your fabric first. Draw short lines to show where each stitch should go and how long it should be. Use a ruler and a water-soluble fabric pen or pencil to make the lines.
Place your fabric in the embroidery hoop. Cut a 12 to 14-inch piece of six-strand embroidery floss and thread it through your needle. Tie a knot at the end of the thread.

How to Make a Straight Stitch
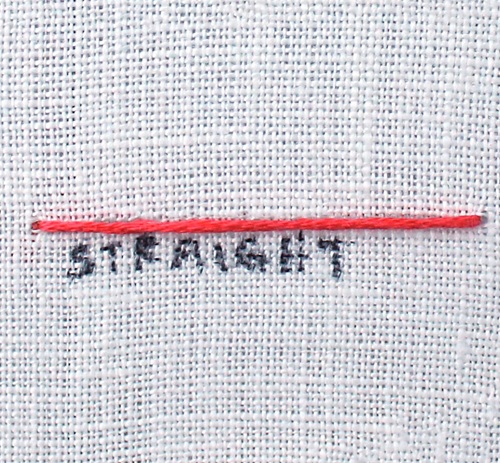
Bring the needle up through the back of the fabric at one end of your marked line.
Push the needle back down at the other end of the line to make your first stitch.
Bring the needle up again at the starting point of the next line. Push it down at the opposite end to make another stitch.
Keep following the same steps until you finish all the marked lines.
If you make several straight stitches close together, the fabric may start to pull or wrinkle. To prevent this, secure the fabric properly in your embroidery hoop before you begin stitching.
Straight Stitch Combinations
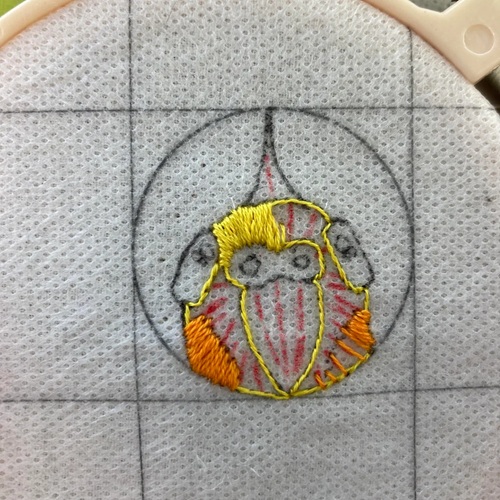
The straight stitch is easy to learn and works well as a basic stitch for many embroidery designs. You can use it on its own or combine several stitches to make different patterns.
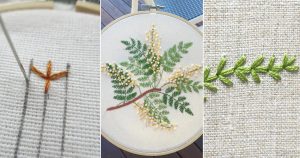
By changing the length and direction of your stitches, you can create stars, flowers, and other designs. You can also arrange several straight stitches to spread out from one point. This pattern is sometimes called the point russe stitch.
Examples and Ideas for Using Straight Stitch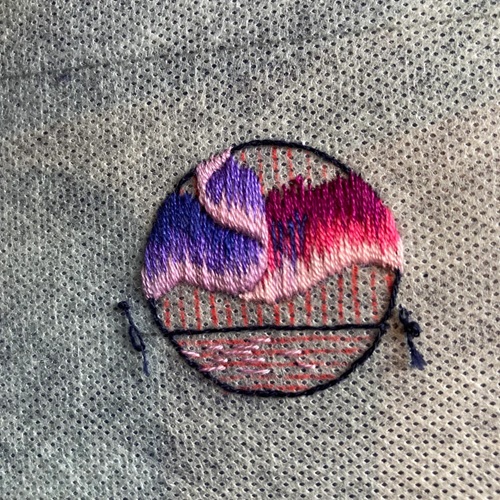
You can use straight stitches to make animal fur or fill small spaces in an embroidery design. When you place several short stitches close together, this pattern is called a seed stitch. Keep the stitches pointing in the same general direction as the animal’s fur. You can change their angles slightly to make the design look more natural. This stitch also works well in landscapes, animal pictures, and playful designs. You can add it around a shape outlined with a backstitch.
Straight stitch also works well in ribbon embroidery. A single stitch can look bold, depending on the ribbon you use. You can make flower buds, lavender, and small leaves with it. Add straight stitches to your favorite embroidery patterns to give them more texture and depth.
Common Mistakes When Working the Straight Stitch in Embroidery
The straight stitch is simple to learn, but small mistakes can affect the finished design. Keep these points in mind while stitching.
Making Stitches Too Long: Long stitches can easily catch on clothes or other objects. They can also pull the fabric and spoil the design. Keep your stitches short, especially when embroidering clothes or household items.
Pulling the Thread Too Tight:
Pulling the thread too hard can make the fabric wrinkle around your stitches. Pull the thread just enough to let each stitch sit flat without gathering the fabric.
Making Stitches Uneven: If you change the length or spacing of your stitches too much, your design may look messy. Follow your marked lines and keep a similar distance between each stitch.
Using Too Much Thread:
Long pieces of embroidery floss can twist and form knots while you work. Cut a manageable length of thread so you can stitch comfortably without stopping to untangle it.
Changing the Stitch Direction:
When you make leaves, flowers, or animal fur, pay attention to the direction of your stitches. Keep them in a consistent direction to make the design look neat and natural.
Not Securing the Fabric Properly:
Making several straight stitches close together can pull the fabric out of shape. Place the fabric firmly in your embroidery hoop and keep the thread tension even as you stitch.
Start with a small design and practice controlling your stitch length and spacing. Once you get comfortable, you can use straight stitches to make more detailed embroidery patterns.