Ready to stitch a bloom? Follow this Easy Embroidery Rose Pattern Tutorial for Beginners and create a simple flower using easy stitches.
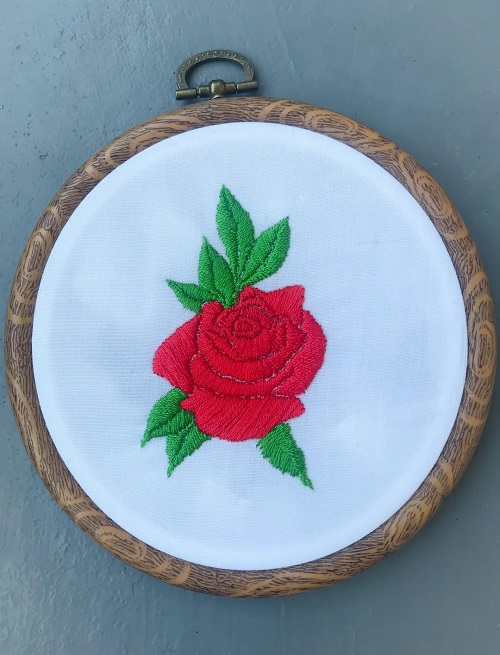
This Easy Embroidery Rose Pattern Tutorial for Beginners shows you how to turn a few simple stitches into a small embroidered rose. You do not need advanced embroidery skills or a long list of stitches. Once you get the basic shape down, you can use the same idea on bags, clothing, cushion covers, handkerchiefs, or a hoop.
A rose is also a good design to practice because you can keep it very simple. Start with a small flower while you get used to the thread and needle. Later, you can make the petals larger, add a rosebud, or work several flowers into one design.
What You Need
There is no need for a large collection of embroidery supplies. Gather these before you start:
* Cotton fabric, linen, or another tightly woven fabric
* Embroidery hoop
* Embroidery needle
* Embroidery floss
* Embroidery scissors
* Water-soluble fabric pen or pencil
* Small piece of paper for practicing the design
Easy Embroidery Rose Pattern Tutorial for Beginners
Pick one color for the rose. Pink and red are obvious choices, but peach, cream, yellow, and coral can work just as well. If you want the center to stand out, keep a darker shade nearby for a few extra stitches.
Use green floss for the stem and leaves.
Most embroidery floss comes with six strands together. You can separate them before threading your needle. For a small rose, two or three strands are usually easier to work with. They also give you more control when you are stitching small details.
Draw a Simple Rose Design
Keep the drawing loose. You are not trying to create a perfect botanical illustration.
Start with a small spiral in the middle of the flower. From there, add three or four rounded petals. Make the petals near the outside a little larger than the ones around the center.
Then draw a short, slightly curved stem underneath. Add one or two leaves on either side.
If this is one of your first embroidery projects, keep the complete design around 2 to 3 inches wide. Working small means you have less fabric to cover and can concentrate on getting the stitches right.

Do not worry if one side looks slightly different from the other. Real flowers are not perfectly symmetrical, and a little unevenness will not hurt the finished design.
Transfer the Pattern to Your Fabric
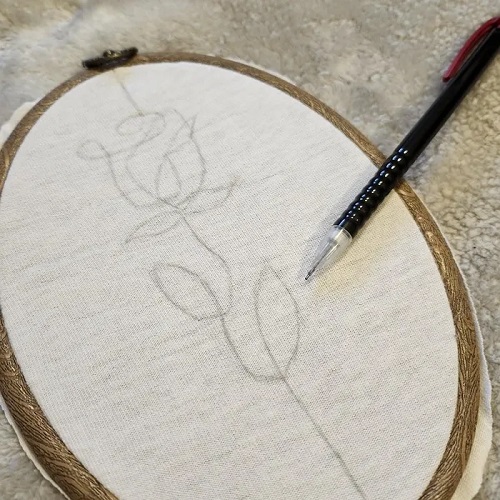
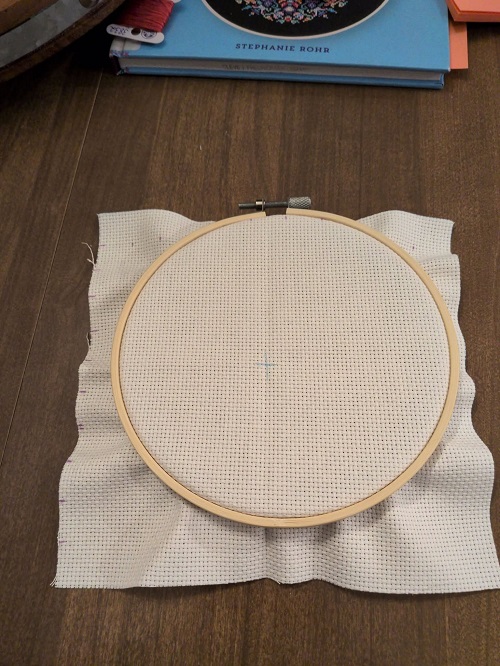
Put the fabric into the embroidery hoop and smooth it out. It should feel firm when you touch it, but do not pull it so tightly that the fabric becomes distorted.
Trace your rose with a water-soluble fabric pen or pencil. Keep the lines light. You only need enough of the drawing to guide your needle.

Dark fabric can be a little trickier. In that case, use a transfer method that is easy to see on the material.
Before drawing on your actual project, test the pen or transfer method on a spare piece of the same fabric. It is a small step, but it can prevent problems later.
Start With the Rose Center
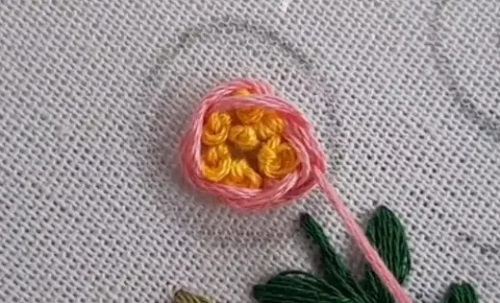
Separate two or three strands of floss and thread your needle.

Start at the middle of the spiral and bring the needle up from the back of the fabric.
A stem stitch is a simple way to work the center. Take the needle down a short distance along the drawn line, then bring it back up a little farther along the spiral. Keep repeating this as you follow the curve.
Take your time here. The center is small, so long stitches can quickly make it look untidy. Shorter stitches are easier to place around the tight curve.

As the spiral moves outward, the center of your rose will begin to look more defined.
Build the Petals
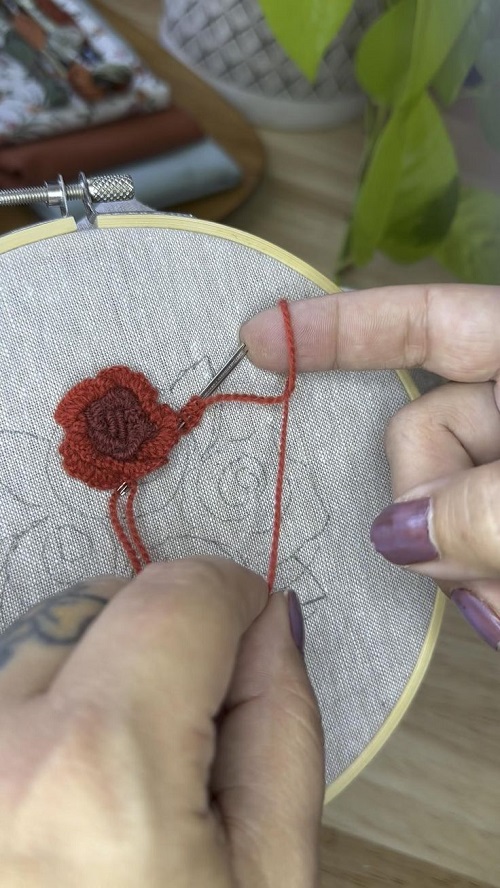
Now move on to the petals.
Satin stitch is useful when you want the petals filled rather than outlined. Bring the needle up on one side of the petal and take it down on the other. Continue placing stitches next to one another until the fabric inside the petal is covered.

Work on one petal at a time. There is no reason to rush around the whole flower.
Pay attention to the direction of your stitches as you fill each shape. Let them follow the curve of the petal where possible. This small detail can make the flower look much more natural.
And do not worry about making every stitch identical. A handmade rose does not need to look machine-perfect.
Add a Little Definition
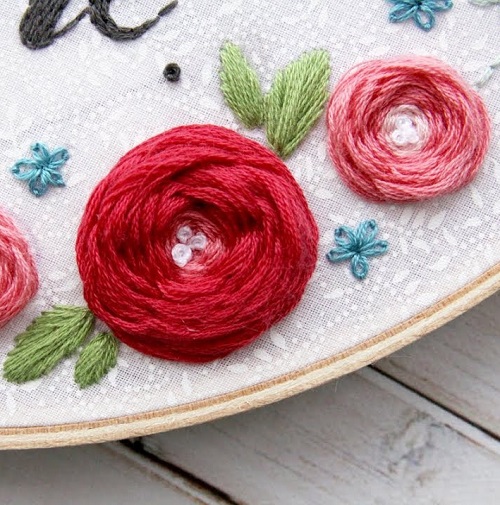
Once the petals are filled, take a look at the flower. If it looks a little flat, a few darker stitches can help.
Use a darker version of your main color and add a couple of short curved stitches near the center or along the base of a petal.
You could also use a stem stitch to outline a few sections.
There is no need to outline every petal. In a small design, too many lines can make the flower look crowded. A few well-placed details are usually enough.
Embroider the Stem
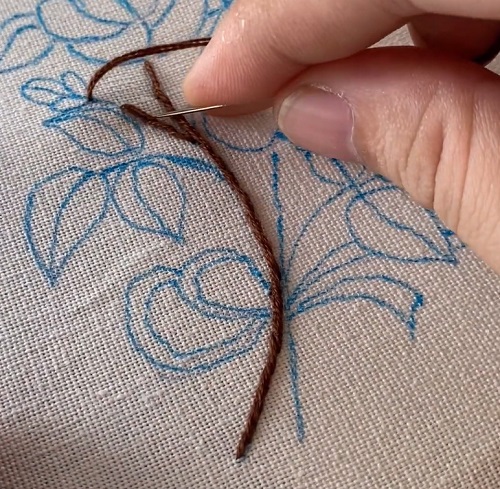
Change to green floss for the stem.
Use a stem stitch again, starting close to the flower and working downward.
Bring the needle up at the top of the stem. Take it down a short distance along the line, then bring it back up between the beginning and end of that stitch. Continue down the stem.
Keep the stitches fairly short if your stem has a noticeable curve. This makes it easier to follow the shape without creating awkward gaps.
Add the Leaves
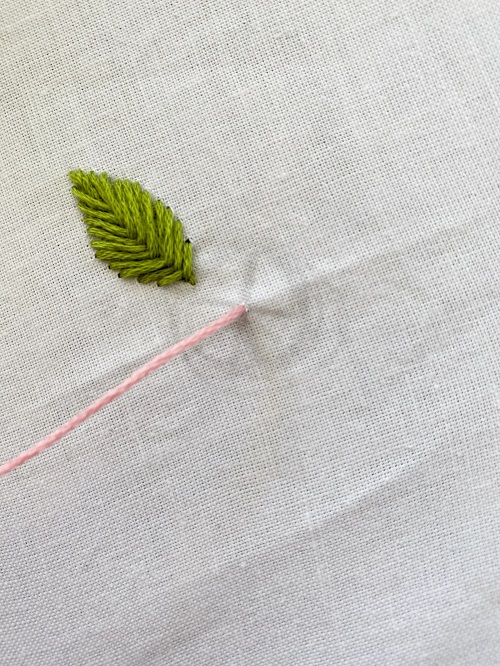
There are a couple of easy ways to stitch the leaves.
For a filled leaf, use satin stitch and work across the shape from one edge toward the other. Change the direction of the stitches slightly as needed so they follow the leaf rather than cutting across it at random angles.
If you prefer a simpler look, outline the leaves instead.
A single stem stitch through the middle can act as the leaf vein. You can use a darker green for this if you want it to stand out, but it is not necessary.
Try Lazy Daisy Stitches for Extra Petals
Lazy daisy stitches are handy when you want to add a few small petals or flowers around the rose.
Bring your needle up where the petal should begin. Leave a loop of thread on the surface, then take the needle down close to the original point. Catch the loop with a small stitch so it stays in place.
The result is a small, teardrop-shaped petal.
You can use a few of these around your rose or add a small flower or two beside it. They also work nicely for little buds.
How to Keep Your Rose Neat
The way you handle the thread matters just as much as the stitch itself.
Try not to pull the thread too hard after every stitch. It should lie against the fabric without dragging the material inward.
If you notice little wrinkles forming around the flower, your tension may be too tight.
Stitch length is worth watching too. Long stitches can be difficult to control around small petals and curves. Shorter ones give you more freedom to adjust the shape as you go.
Every so often, turn the hoop over and look at the back. It does not have to be perfectly tidy, but avoid leaving long strands stretched from one part of the design to another.
Easy Color Ideas for Your Rose
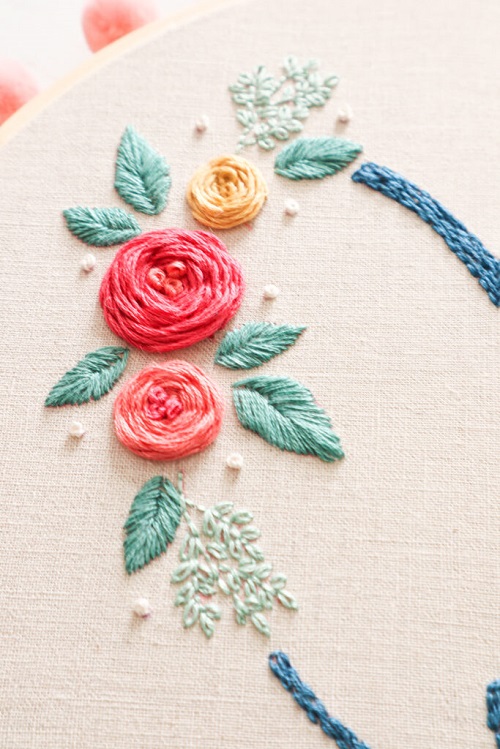
For your first attempt, one rose color is perfectly fine.
Pink with green leaves gives you a familiar combination. Red makes the flower stand out more, while peach, cream, coral, and yellow create a softer look.
You can also use two shades of one color. Try a medium pink for the main petals and a darker pink near the center. A lighter shade can be added to a few outer petals.
Making several roses? Keep the leaves the same green and change the flower colors. You get some variation without having to change the whole design.
Make a Rose Bud
A small rosebud is an easy addition once you have finished the main flower.
Draw a narrow oval shape with a slightly pointed top. Fill it with small satin stitches using your rose color.
At the bottom, add a few green stitches to suggest the sepals.
Keep the bud smaller than the open rose. One or two buds beside the flower can fill out the design without adding much extra stitching.
Finish Your Embroidery
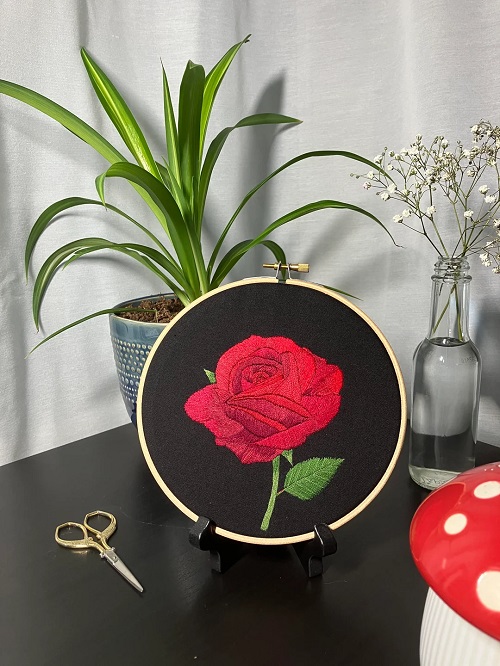
Before putting your supplies away, check the front of the fabric carefully.
Look for any visible pen marks and remove them according to the instructions for the marker you used. If you used a water-soluble pen, follow its care instructions and avoid ironing over any remaining marks.
Once the fabric is dry, take it out of the hoop if you are not planning to display the embroidery in it.
Turn the work over and trim loose threads. Leave enough thread at the ends to keep your stitches secure rather than cutting everything right up against the fabric.
If the finished piece will be washed, check the care instructions for both the fabric and the embroidery floss.
Common Problems When Making an Embroidered Rose
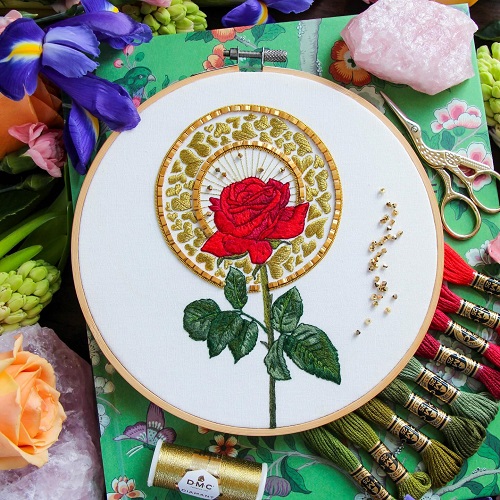
* If the fabric is showing between your satin stitches, check how many strands you are using and how far apart the stitches are. Two strands may give you better control on a small rose.
* If the fabric starts puckering, loosen your thread tension. The hoop should hold the fabric steady; your stitches do not need to pull it tight.
* If the petals look stiff, change the direction of your stitches so they follow the shape of each petal.
* If the center looks messy, slow down. The spiral is a tight area, and shorter stitches make it much easier to follow the curve.
* If parts of the drawn design are still visible, add smaller stitches over those areas. If you have already finished stitching, use the removal instructions for the specific fabric marker you used.
A Simple Way to Practice
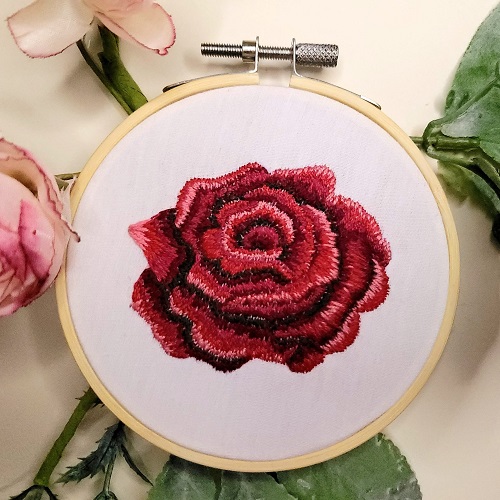
Before using your final piece of fabric, spend a few minutes practicing on a scrap.
Draw three or four tiny roses. Keep the first one very basic, using just a spiral center and a few filled petals. On the next one, try adding darker stitches around the center. For another, experiment with changing the direction of the stitches as you fill the petals.
You will quickly notice how much difference stitch length and thread tension can make.
Once the basic rose starts feeling comfortable, you can take the same idea in different directions. Try a larger flower, add several roses together, make a small bouquet, or use individual flowers as motifs on clothing and home accessories.