
Ready to make a cute crochet plant? Learn how to crochet a succulent with simple steps and create a lovely decoration for your home.
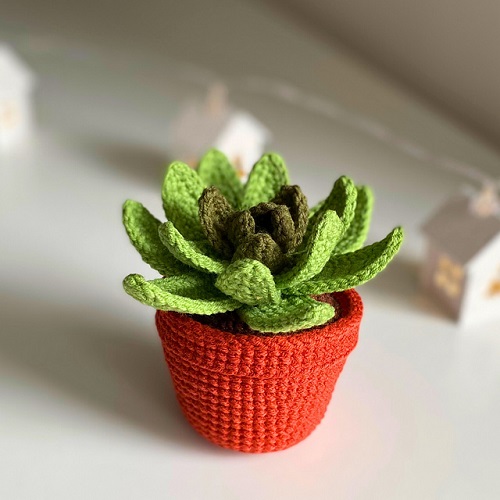
Looking for a simple way to decorate your home without worrying about plant care? This crochet succulent is a great alternative to a real plant. You don’t need to water it or find the right spot for sunlight. It makes a lovely addition to your home and stays fresh-looking all year round.

In this tutorial, we will show you how to make a crochet succulent inspired by the Echeveria plant. It has a flower-like shape and fits well in small spaces. You can place it on your desk, windowsill, living room shelf, bedroom table, or workspace. Have fun choosing different yarns, colors, sizes, and styles to make a succulent that suits your space.

Before you begin, here is something to make you feel more confident. This pattern is beginner-friendly and easy to follow. You only need to increase the size of the petals as you work, while the basic pattern stays almost the same.
Materials Needed:
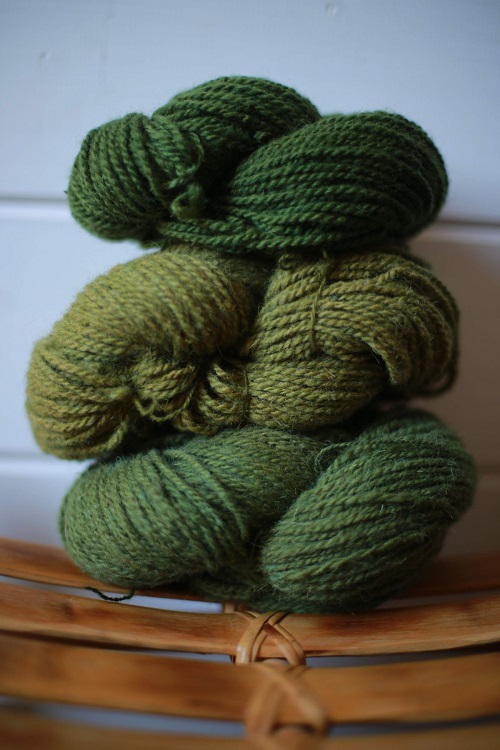
- Green yarn
- Hook – 2.5mm
- Hot melt adhesive
- Fiberfill
- Scissors
- Stitch marker
- Darning needle
Crochet terms:
Sc- Single Crochet
Ch- chain
St- stitch
Ss- Slip Stitch
Inc- increase
Dec- decrease
[00] – total stitches after a round
R1, R2, R3… – Round 1, Round 2, Round 3…
Notes
This pattern is written in US crochet terms.
How to Crochet a Succulent Plant: Step-by-Step Tutorial
Create 3 Small Petals of The Succulent
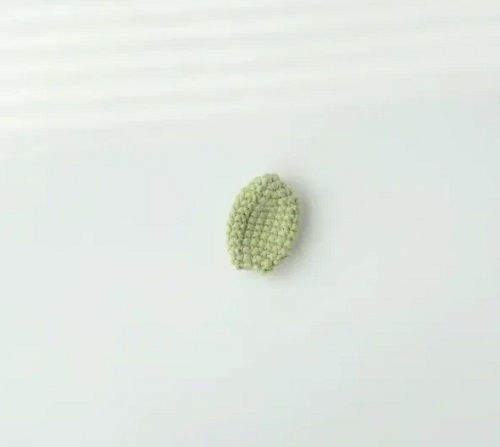
- Begin with a magic ring.
- R1: make 5 sc in the magic ring, 1 ss, 1 ch. [5]
- R2: 5 inc, 1 ss, 1 ch. [10]
- R3-4: 10 sc, 1 ss, 1 ch [10]
- R5: 5 dec, 1 ss, 1 ch [5]
- Hide the tails of the yarn and close it with hot melt glue.
Create 4 Medium Petals of The Succulent
- Form a magic ring.
- R1: make 5 sc in the magic ring, 1 ss, 1 ch [5]
- R2: 5 inc, 1 ss, 1 ch. [10]
- R3: ( 1 sc, inc ) * 5, 1 ss, 1 ch [15]
- R4-6: 15 sc, 1 ss, 1 ch [15]
- R7: ( 1 sc, dec) * 5, 1 ss, 1 ch [10]
- R8: 10 sc, 1 ss, 1 ch [10]
Add shape to each petal by applying enough hot glue to the inside. Use your thumb to press and pinch the middle of each petal to give it a natural shape. Repeat the same steps with the larger petals.
Make 5 Large Petals of The Succulent:
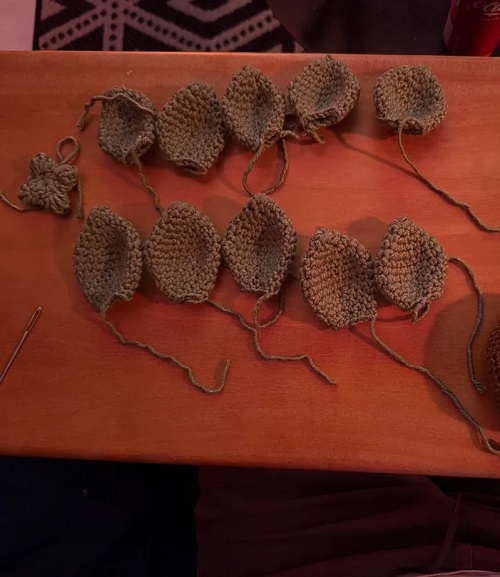
- Start with a magic ring.
- R1: make 4 sc in the magic ring, 1 ss, 1 ch. [4]
- R2: 4inc, 1 ss, 1 ch [8]
- R3: ( 1 sc, inc ) * 4, 1 ss, 1 ch [12]
- R4: ( 2 sc, inc ) * 4, 1 ss, 1 ch [16]
- R5-10: 16 sc, 1 ss, 1 ch [16]
- R11: ( 2 sc, dec ) * 4, 1 ss, 1 ch [12]
- R12: ( 1 sc, dec ) * 4, 1 ss, 1 ch [8]
Assemble the Succulent
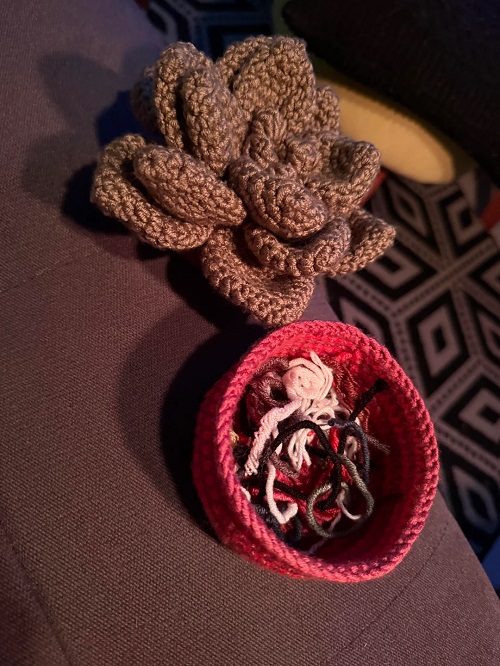
Before assembling your succulent, make sure you have all these parts ready:
- 3 small petals
- 4 medium petals
- 5 large petals
- hot melt adhesive
Putting It All Together
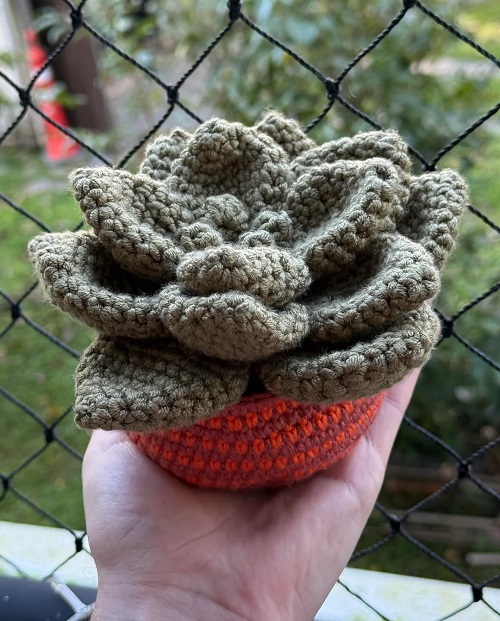
Step 1: Apply hot glue to the sides of the small petals and stick them together to form the center of the succulent.

Step 2: Repeat the same steps with the medium and large petals.
Step 3: Attach the small petals to the medium petals using hot glue.
Step 4: Finally, attach the smaller petal layers to the large petals. Apply enough hot glue to hold all the layers firmly in place.
Here is a little idea to make your project even better. You can also crochet a small pot to go with your succulent. If you want to make one, click the link below to follow the pot pattern.
You can also make your succulent bigger by adding more rows of petals. For example, the large petals have 12 rows, but you can increase them to 16 rows and make six petals of this size. These are just a few ideas to help you get started. Feel free to use your own ideas and make the succulent in a style you like!
Crochet Succulent Pattern
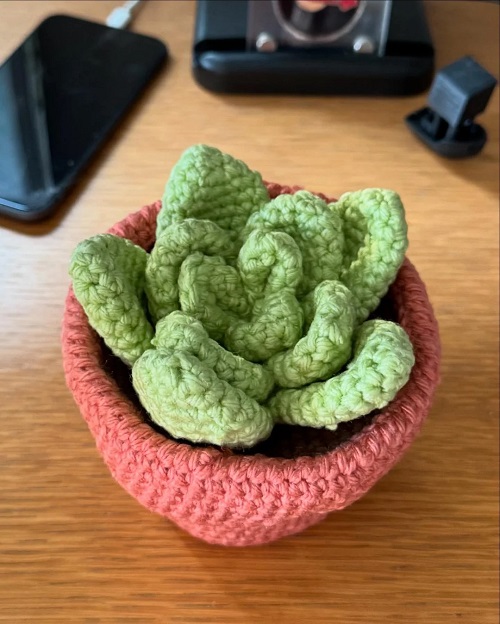
Learn how to make a crochet succulent with this easy, beginner-friendly pattern.
Type: Crochet plant
Difficulty Level: Intermediate
Equipment
- 2.5 mm crochet hook
- Scissors
- Stitch marker
- Darning needle
Materials
- Green yarn
- Fiberfill
- Hot glue
Step-by-Step Crochet Succulent Pattern
Make 3 Small Petals
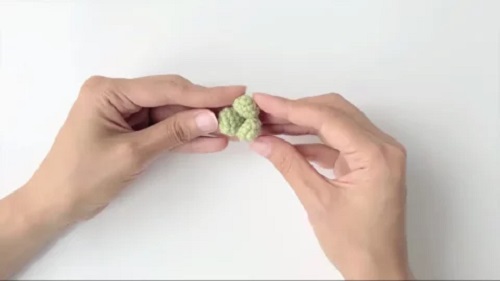
Start with a magic ring.
R1: Make 5 sc in the magic ring, 1 ss, and 1 ch. [5]
R2: Make 5 inc, 1 ss, and 1 ch. [10]
R3–R4: Make 10 sc, 1 ss, and 1 ch. [10]
R5: Make 5 dec, 1 ss, and 1 ch. [5]
Cut the yarn and hide the loose ends. Use a little hot glue to close the opening.
Make 4 Medium Petals
Start with a magic ring.
R1: Make 5 sc in the magic ring, 1 ss, and 1 ch. [5]
R2: Make 5 inc, 1 ss, and 1 ch. [10]
R3: Repeat (1 sc, inc) 5 times, then make 1 ss and 1 ch. [15]
R4–R6: Make 15 sc, 1 ss, and 1 ch. [15]
R7: Repeat (1 sc, dec) 5 times, then make 1 ss and 1 ch. [10]
R8: Make 10 sc, 1 ss, and 1 ch. [10]
Now, give each petal its shape. Apply enough hot glue inside each petal. Use your thumb to gently pinch the middle and create a curved shape. Follow the same steps when shaping the large petals.
Make 5 Large Petals
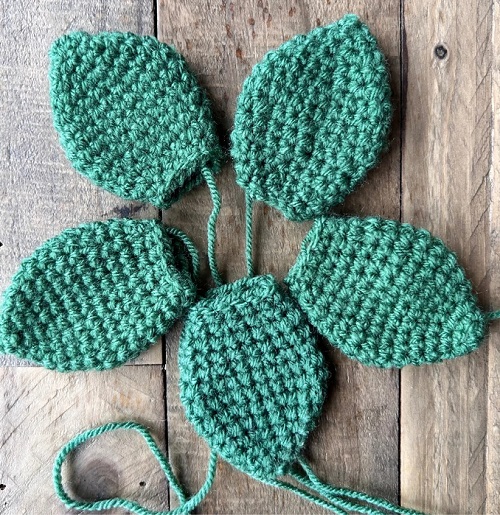
Start with a magic ring.
R1: Make 4 sc in the magic ring, 1 ss, and 1 ch. [4]
R2: Make 4 inc, 1 ss, and 1 ch. [8]
R3: Repeat (1 sc, inc) 4 times, then make 1 ss and 1 ch. [12]
R4: Repeat (2 sc, inc) 4 times, then make 1 ss and 1 ch. [16]
R5–R10: Make 16 sc, 1 ss, and 1 ch. [16]
R11: Repeat (2 sc, dec) 4 times, then make 1 ss and 1 ch. [12]
R12: Repeat (1 sc, dec) 4 times, then make 1 ss and 1 ch. [8]
How to Assemble the Crochet Succulent
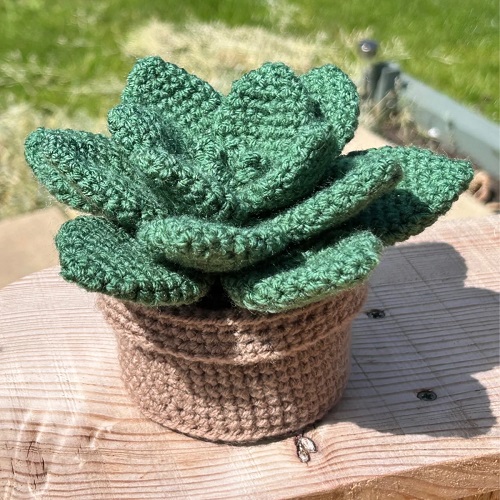
Before you start assembling, make sure you have all the parts ready:
- 3 small petals
- 4 medium petals
- 5 large petals
- Hot glue
Putting It All Together
Step 1: Apply hot glue to the sides of the small petals and stick them together to form the center of the succulent.
Step 2: Repeat the same process with the medium and large petals to create two more layers.
Step 3: Attach the small petal group to the medium petals using hot glue.
Step 4: Finally, attach the smaller layers to the large petals. Apply enough hot glue to hold all the layers firmly in place.