Learn How to Knit a Simple Leaf Pattern with easy steps. Grab your yarn and needles, then create a neat leaf for your next knitting project.
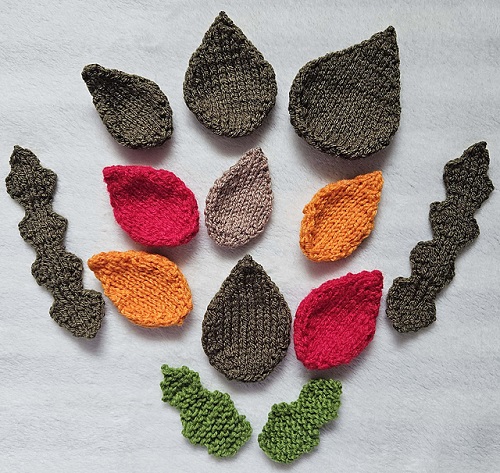
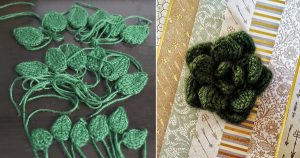
A knitted leaf is one of those small projects you can make when you do not have enough yarn for anything bigger. It is also useful for adding a little detail to another knitting project. This How to Knit a Simple Leaf Pattern tutorial starts with three stitches, grows wider in the middle, and then narrows down to a point.
The whole leaf is worked in knit stitch. The shape comes from the increases and decreases, so there is no complicated stitch pattern to remember.

What You Will Need
For one leaf, gather:
- 4 mm knitting needles
- 5–8 yards of DK weight yarn
- Yarn needle
- Small scissors
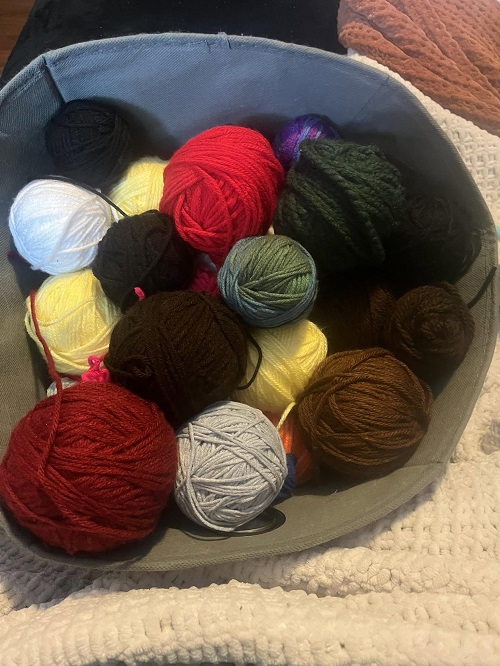
A small leftover amount of yarn is enough. Cotton, acrylic, wool, and wool-blend DK yarns can all be used.
Green is an easy choice, but you don’t have to stick with it. Yellow, rust, orange, brown, and different shades of green can all work.
Before You Start
You should be comfortable with casting on, knitting, and binding off.
You will also use:
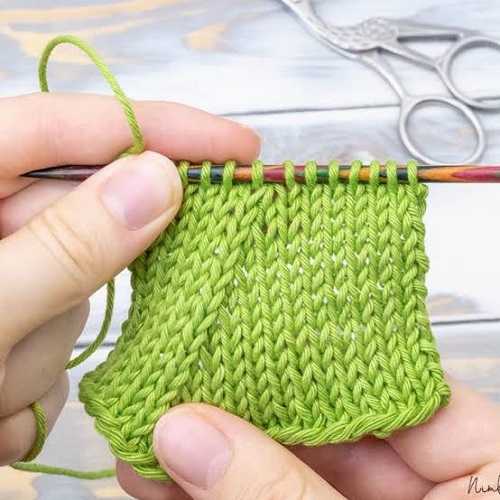
Kfb – knit into the front and back of one stitch to make an extra stitch.
SSK – slip two stitches one at a time, then knit them together.
K2tog – knit two stitches together.
K3tog – knit three stitches together.
The leaf is worked flat.

How to Knit a Simple Leaf Pattern
Start With Three Stitches
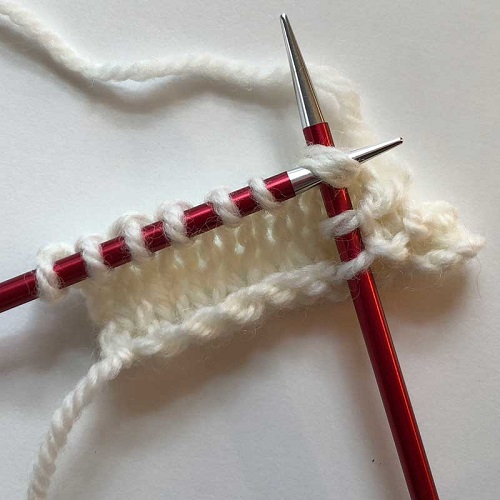
Cast on 3 stitches.
Knit the first row.
That is all you need to do at the beginning. It will look more like a tiny strip than a leaf, but the shape starts to show after a few increase rows.

Make the Leaf Wider
The next few rows build the middle of the leaf.
Row 2: K1, Kfb, K1, Kfb, K1. You should have 5 stitches.
Row 3: Knit all 5 stitches.

Row 4: K1, Kfb, knit to the last 2 stitches, Kfb, K1. You should have 7 stitches.
Row 5: Knit all 7 stitches.
Row 6: K1, Kfb, knit to the last 2 stitches, Kfb, K1. You should have 9 stitches.

Row 7: Knit all 9 stitches.
Row 8: K1, Kfb, knit to the last 2 stitches, Kfb, K1. You should have 11 stitches.
Now stop and have a look at the shape. The sides should be spreading out from the narrow beginning.

For a smaller leaf, there is no need to go all the way to 11 stitches. You can start the decreases at 7 or 9 stitches. If you want a larger leaf, add another increase row before moving on.
Start Decreasing
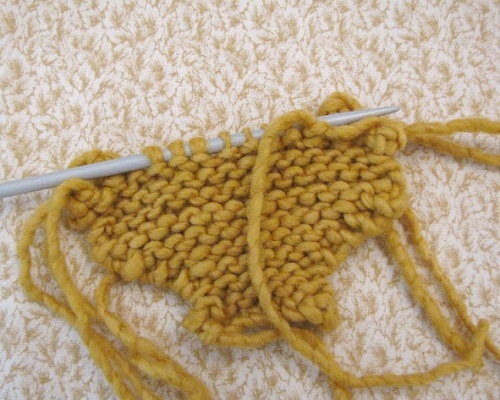
Once the leaf is wide enough, you reverse the shaping.
Row 9: Knit all 11 stitches.
Row 10: K1, SSK, knit to the last 3 stitches, K2tog, K1. You should have 9 stitches.
Row 11: Knit all 9 stitches.
Row 12: K1, SSK, knit to the last 3 stitches, K2tog, K1. You should have 7 stitches.
Row 13: Knit all 7 stitches.
Row 14: K1, SSK, knit to the last 3 stitches, K2tog, K1. You should have 5 stitches.
Row 15: Knit all 5 stitches.
Row 16: K1, SSK, knit to the last 3 stitches, K2tog, K1. You should have 3 stitches.
Row 17: Knit all 3 stitches.
Row 18: K3tog.
You will have one stitch left.
Cut the yarn, leaving a tail, and pull it through the last stitch. Give it a gentle tug to secure it.
Tidy Up the Ends
Thread the yarn tail onto your yarn needle and run it through a few stitches on the back of the leaf. Do the same with the cast-on tail.
There is no need to weave the yarn through a huge section of the leaf. A few secure passes are enough for such a small piece.
Trim the extra yarn once the ends are secure.
Flatten the Leaf
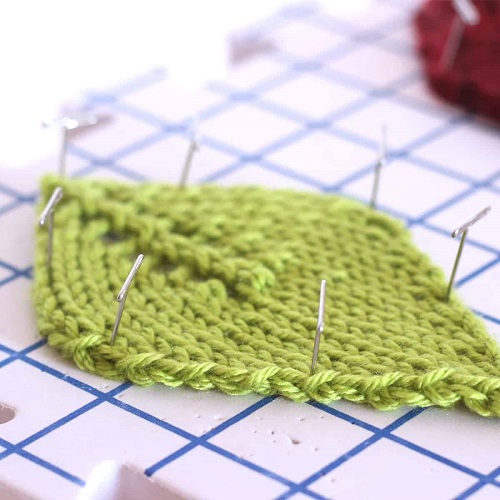
Do not worry if the leaf looks a little scruffy when it comes off the needles. Small knitted shapes often need a bit of tidying.
Lightly dampen it and lay it flat. Use your fingers to straighten the edges and point the ends in the direction you want them to sit.
Leave it alone until it is completely dry.
You can skip blocking if you like, but it does make a small leaf look much neater.
Add the Center Line
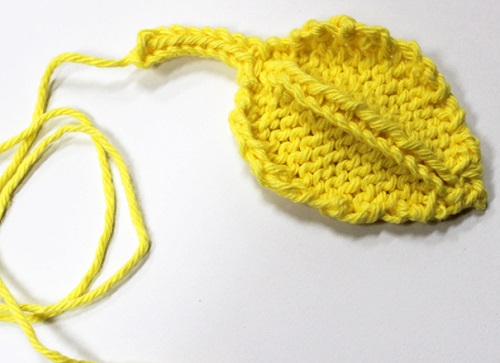
A center vein is optional, but it is an easy way to make the leaf more recognizable.
Use a yarn needle and a small amount of yarn. Bring the needle up near the bottom point and make small stitches toward the other end.
A darker shade of green gives the line more definition. Matching yarn works too if you want the detail to be subtle.
You can stop with one center line, or add a few short stitches on either side. Keep these quite small. Too many lines can make a little leaf look busy.
Change the Size
You don’t need to learn a different pattern for every size.
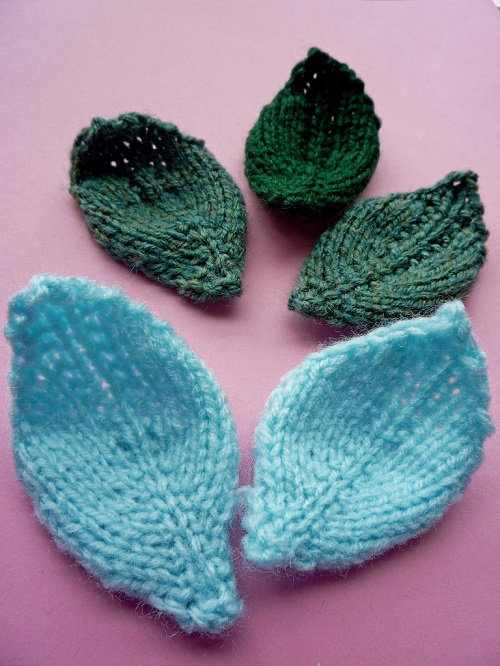
The 11-stitch version makes a small to medium leaf. If you want something smaller, stop increasing earlier.
For a larger leaf, continue the increase rows until you reach the width you need. Then work the decrease rows in reverse.
Remember: the number of decrease rows should match the number of increase rows. That keeps the two ends balanced.
Play With the Colors
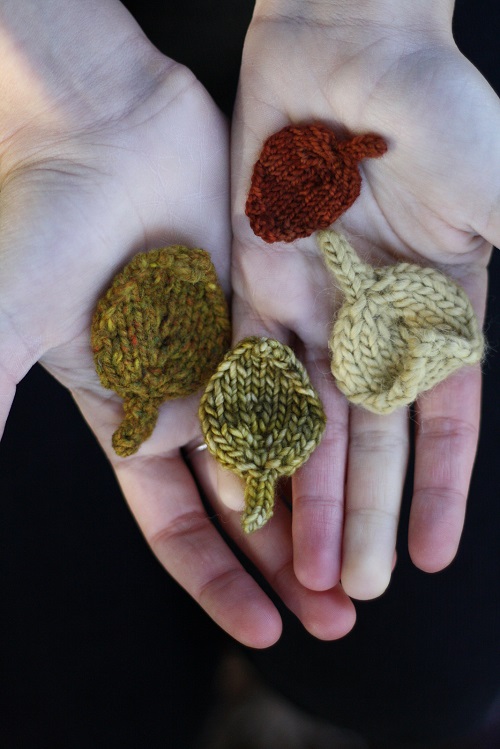
A pile of identical green leaves can look a little flat, especially if you are adding them to a larger project.
Try mixing a few shades instead.
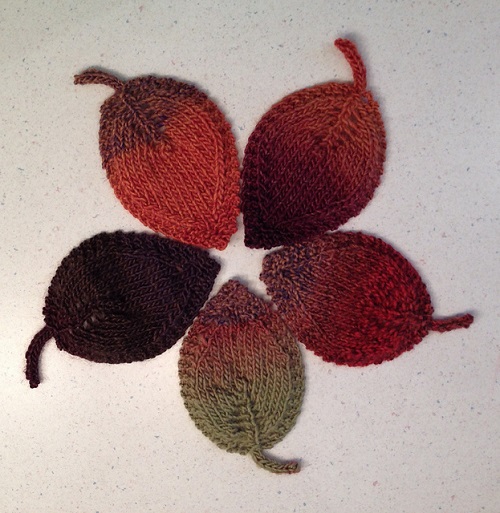
Sage, olive, moss, yellow-green, and darker greens work well together. If you are making autumn leaves, rust, mustard, orange, and brown are also easy choices.
You can even use leftover yarns that are slightly different in weight or shade. Handmade leaves do not have to match perfectly.
Ideas for Using the Leaves
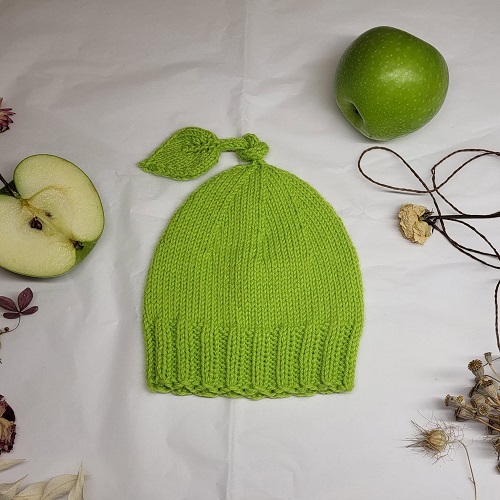
Once you have a few finished, you will probably find plenty of places for them.
Sew a leaf onto a hat or bag. Add a pair to a scarf or cardigan. Several smaller leaves can make a nice detail on a blanket.
You could also turn one into a brooch by sewing a brooch back onto the reverse side.
If you are decorating clothing, sew the leaf down securely rather than relying on a loose loop of yarn. It will get handled and moved around, so a firm attachment will last longer.
Make a Knitted Branch
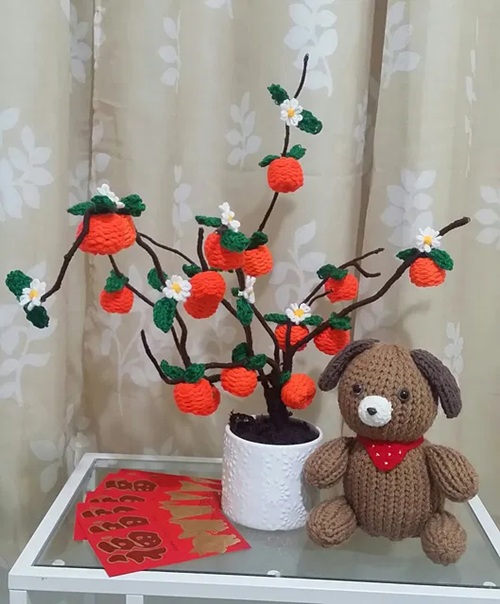
Several leaves can be joined to make a simple branch.
Make a few leaves in different sizes and attach them along a narrow knitted or crocheted stem. Let some point upward and turn others slightly to the side.
Do not spend too much time trying to make the spacing perfect. Real leaves are not lined up evenly, and a little variation makes the branch look better.
A few small knitted berries or flowers can be added if you want to turn it into a larger decoration.
A Few Tips Before You Make Another One
Keep counting the stitches while you work. There are not many stitches in this pattern, so one missed increase can change the shape quite quickly.
If you finish a row and the stitch count is wrong, it is worth undoing that row straight away. Finding the mistake several rows later is much more annoying.
Pay attention to your tension around the Kfb increases too. If those stitches are pulled very tightly, the edge can pucker.
And do not throw away a leaf just because it is not perfectly even. Blocking can fix a surprising amount. If one side is still a little fuller than the other, that is not really a problem when you are using several leaves together.
Keep This Pattern for Your Scrap Yarn
Once you have made one leaf, keep the pattern nearby.
It is the sort of small project that comes in handy when you have a little yarn left from another project. You can make one while trying a new color, testing a yarn, or simply when you want something quick to knit.
Make a few different sizes, mix the colors, and keep them aside until you have a project that needs a little extra detail.