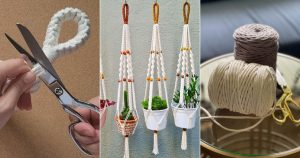
Learn how to make a Mini DIY Macrame Plant Hanger with simple knots. Make one for a small pot and add a handmade touch to your space.
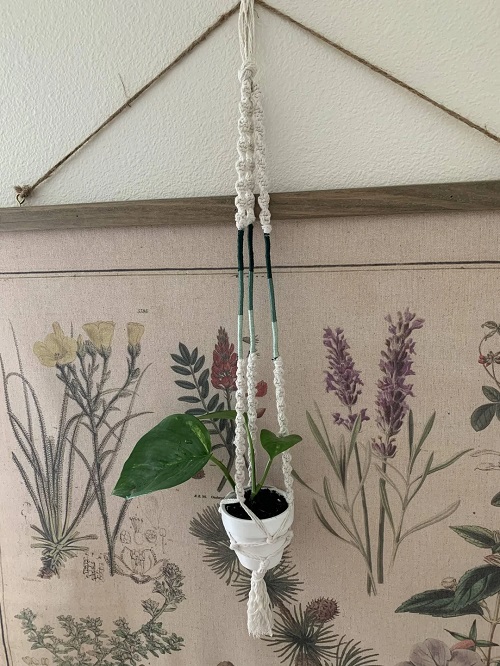
If your small plants are starting to take over the windowsill, hanging one can free up a bit of space. This mini DIY macrame plant hanger is made for a small pot and doesn’t need much cord or a complicated knot pattern.
You only need six long pieces of cord to get started. Once you have the first few knots done, the hanger starts to take shape quite quickly. A wooden bead is optional, so you can leave it plain if that’s more your style.

Keep the pot light, especially if you’re planning to hang the finished holder from a wall hook or ceiling hook.
Why Make a Mini Macrame Plant Hanger?
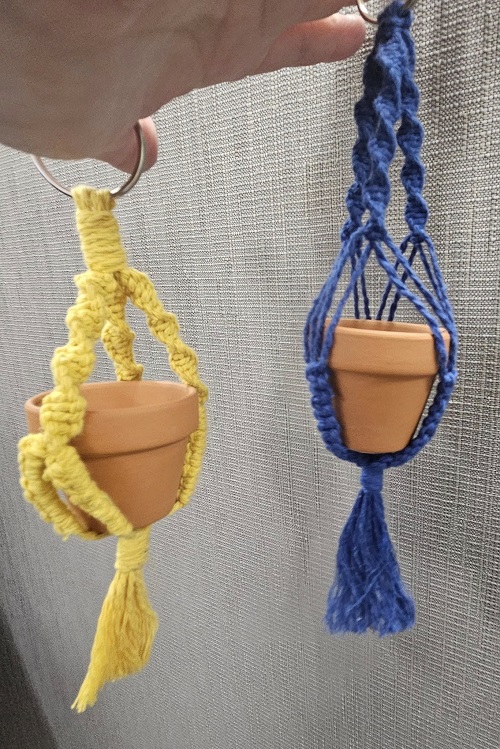
You don’t need much room for a hanging plant. A small hook beside a window can be enough.
This size works nicely for little succulents and other plants in small pots. You can make one for a single plant or put a few together at different heights.
The basic design isn’t difficult. You work with three groups of four cords, make square knots near the top, then add twisted sections underneath. A few joining knots turn those sections into a basket for the pot.
Materials You’ll Need
* 3 mm macrame cord
* Scissors
* Measuring tape
* Wooden bead, optional
* Small potted plant
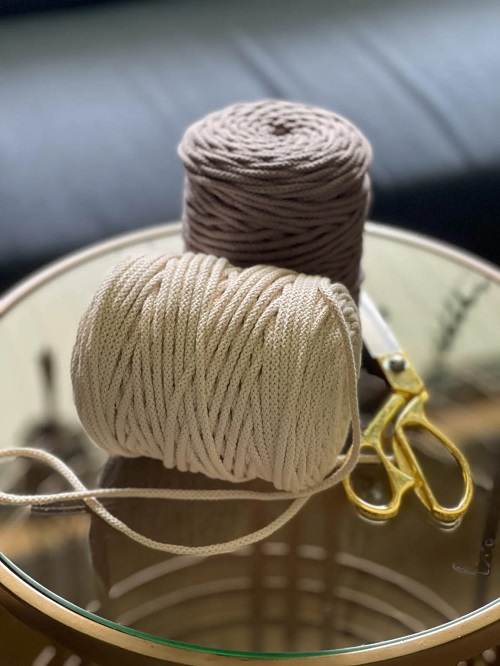
Cotton cord is a good place to start. It is soft, easy to handle, and doesn’t fight you while you’re trying to make the knots.
You can use jute or hemp instead if you already have some. Just remember that a stiffer cord won’t behave exactly like cotton.
Choose a pot that is light enough for the finished hanger to carry safely. Once you add soil and a plant, the weight increases quite a bit.
How Much Cord Do You Need?
Cut six pieces of cord, each 5 feet long.

You’ll also need one shorter piece, about 12 inches long. Put it aside because you won’t use it until the end.
Don’t be tempted to cut the long pieces much shorter just because your pot is tiny. The knots use more cord than you might expect.
How to Make a Mini DIY Macrame Plant Hanger
Step 1: Cut the Cord
Measure your six 5-foot pieces and cut them as evenly as you can.

Cut the 12-inch piece too and keep it separate.
It helps to straighten the long pieces before you start. If the cord has been stored rolled up, run your fingers along it a few times to get the worst bends out.
Step 2: Make the Hanging Loop
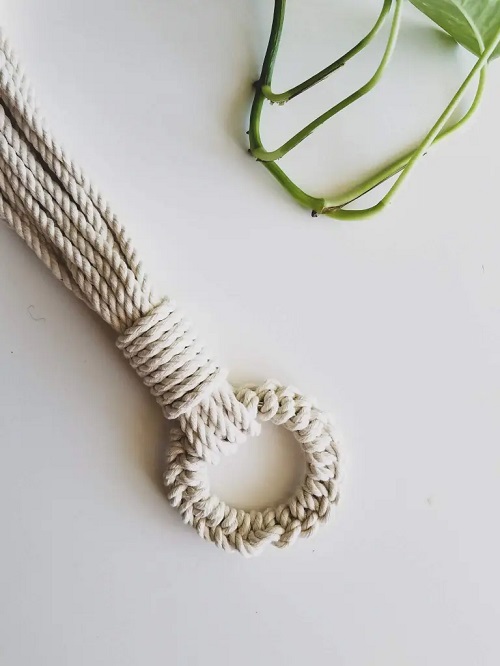
Put the six long pieces together and fold them in half.

The folded part gives you the loop at the top. Tie an overhand knot just underneath it so all the strands stay together.
Hang the loop from something sturdy before you continue. You can work on a table, but the cords tend to get mixed up. When they’re hanging, it’s easier to see which strands belong together.
A hook, rod, or even a sturdy cabinet handle can work while you’re making it. Just don’t use anything that could pull loose when you tighten the knots.

Step 3: Start the Square Knots
After folding the six pieces, you have 12 strands.
Separate them into three groups of four. Work on one group first rather than trying to handle all 12 at once.
Keep the two middle strands straight. The two outside strands do the work.

Take the right strand and cross it over the middle two. Bring it behind the left strand, then pull it through the opening.
Pull it gently.
Now take the left strand and cross it over the middle two. Bring it behind the right strand and pull it through.
Tighten the two sides together. That’s your first square knot.
Make six of these in the first group. Then move to the next four strands and do the same thing. Finish with the last group.
Don’t pull the knots extremely tight. Firm is enough. If you make them too tight, the strands become harder to work with later.
Step 4: Add a Wooden Bead
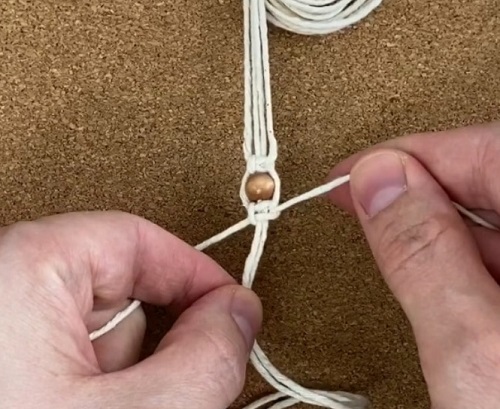
You don’t have to add a bead, but it can break up the knots a little.
If you’re using one, take the center strands from the groups and thread them through the bead. The hole needs to be wide enough for the cord you’re using.
Slide the bead up under the first row of knots.
Tie a small overhand knot underneath it to keep it from moving.
If the bead doesn’t slide on easily, don’t force it. A smaller bead opening can be surprisingly annoying with macrame cord. Leaving it out is perfectly fine.
Step 5: Make the Spiral Knots
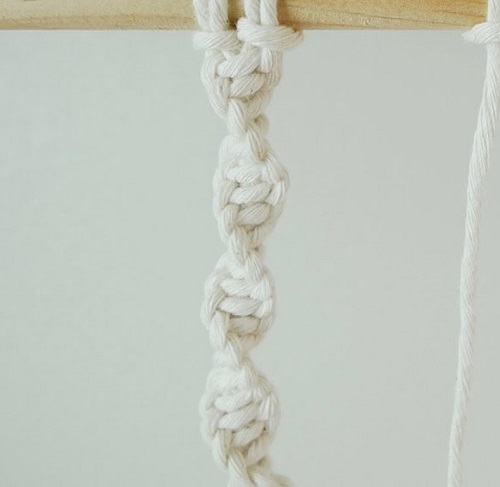
Now you can make the twisted parts.
Use a half-square knot for this section. The difference is that you keep starting from the same side instead of changing sides.
Take the right working strand across the middle two. Bring it behind the other working strand and pull it through.
Then do the same movement again.
Keep going from the same side. After several knots, the cord starts turning by itself and you’ll see the spiral forming.
Make around 12 knots in the first group. You don’t have to count every one if the length looks right.
Repeat with the other two groups.
Try to keep the three spiral sections roughly the same length. They don’t have to be identical, but large differences will make the pot sit unevenly.
Step 6: Join the Sections
Now you need to connect the three hanging sections.
Move about 2 to 3 inches below the spiral knots.
Take two strands from one group and two from the group beside it. Tie them together with a square knot.
Move around the hanger and repeat this with the next groups.
Don’t tighten every joining knot straight away. First, look at the shape. If you put the knots too high, the opening may be too small for your pot.
An easy way to check is to place the empty pot inside the cords. Hold it there for a moment and see where the knots naturally fall.
Once you’re happy with the position, tighten the knots.
Step 7: Make the Gathering Knot
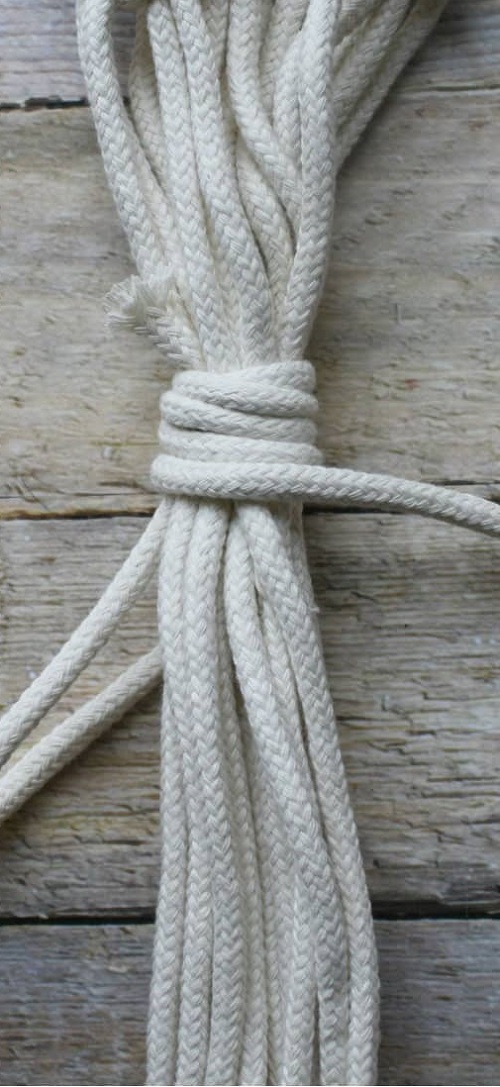
Gather all 12 strands underneath the basket.
Take the 12-inch piece you set aside earlier and fold it in half. Leave one end a little shorter.
Put the folded loop against the bundle with the loop pointing down.
Use the longer end to wrap around all the strands. Keep the wraps close together and reasonably tight.
After making several wraps, pass the working end through the loop.
Now pull the short end at the top. The loop gets pulled underneath the wraps, taking the working end with it.
Pull everything snug and trim the extra cord.
If you’ve never made a gathering knot before, this part may take a try or two. Once you see how the loop gets tucked underneath the wraps, it makes more sense.
Step 8: Trim the Ends
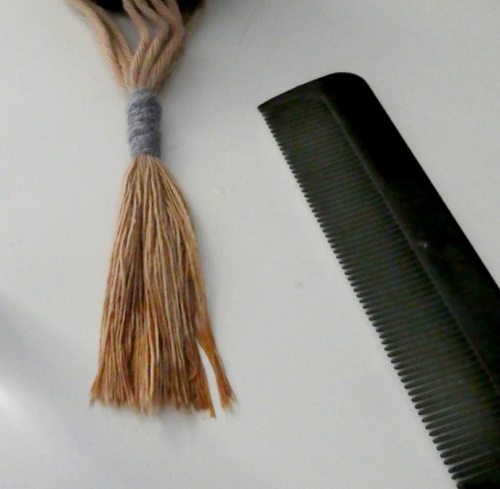
Look at the loose ends underneath the gathering knot.
Trim them if they’re uneven.
You can leave them straight, or separate the strands and untwist them to make a fringe. If you want the fringe to look fuller, use your fingers or a small comb to loosen the cord.
Don’t trim too much at once. Cut a little, check it, and then take off more if needed.
Change the Look With a Few Small Details
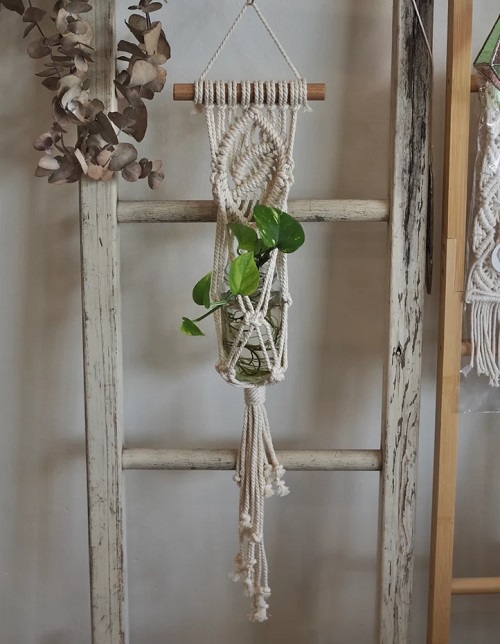
You don’t need to change the knot pattern to make another version.
Try natural cotton cord for a plain hanger. A darker or colored cord changes the look without any extra work.
A wooden bead is another easy addition. You could use one large bead or a few smaller ones if the holes are big enough.
For a longer hanger, leave more space between the knot sections. You can also leave the bottom strands long and brush them out instead of cutting them short.
If you make several, use different cord colors or slightly different lengths. Hanging them at different levels keeps the display from looking too uniform.
Where to Hang Your Mini Plant Hanger
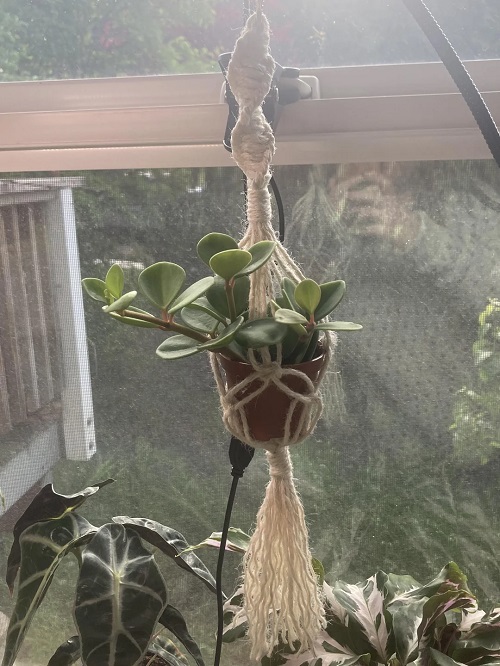
A bright window is an obvious place, but you have other options too.
Try a sturdy wall hook, a ceiling hook, or a strong rod. Just make sure the support is suitable for the weight.
Remember that the weight changes once you add wet soil. Test the hanger with the empty pot first, then add the plant.
If you’re hanging it near a window, leave enough room for the plant to grow without pressing against the glass.
A Handy Way to Display a Small Plant
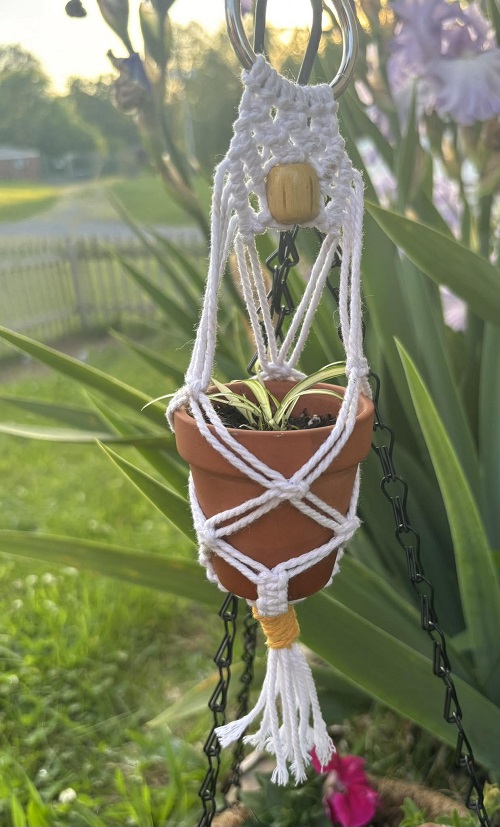
Once you get the hang of the first few knots, you don’t need to follow every step quite so closely. You can change the spacing and length to suit the pot you have.
Start with a small, lightweight container. It gives you a chance to see how the knots hold the shape before you try making a larger hanger.
The next one can be a little longer, use a different cord, or have a bead or fringe. That’s where this kind of macrame project gets more interesting.