
Want your crochet leaves to stay upright instead of drooping? Learn simple ways to shape, stiffen, and support them for a neat finish.
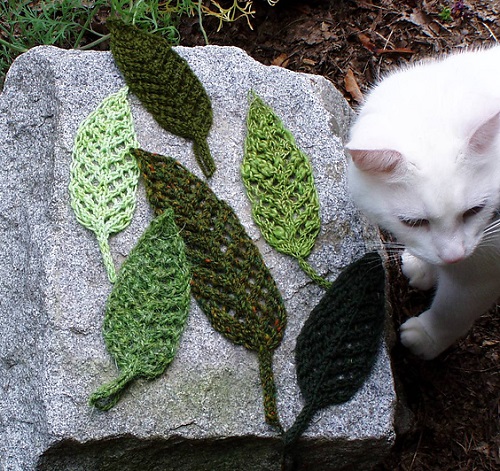
Sometimes, crochet leaves look fine while you’re making them but start drooping once you attach them to a flower or stem. The good news is that you don’t have to crochet them again. Learn how to Make Crochet Leaves Stay Upright and fix this issue with a few simple changes.
How to Make Crochet Leaves Stay Upright
Check Yarn Before You Start

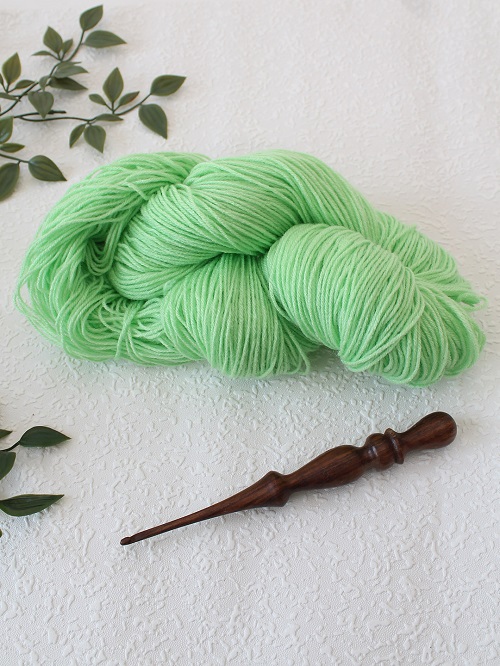

Some yarns hold their shape better than others. Soft, stretchy yarn can make a crochet leaf droop, especially if the leaf is large or made with tall stitches.
Cotton yarn is a good option to try. It usually stretches less than many acrylic yarns, and the stitches are easy to see. This makes it a useful choice for small leaves on crochet roses and daisies.
You can still use acrylic yarn if you prefer it or want your flowers to match. There is no need to change yarn just because a leaf feels floppy. Adding a little wire may be enough to keep it in place.
Change Hook Size
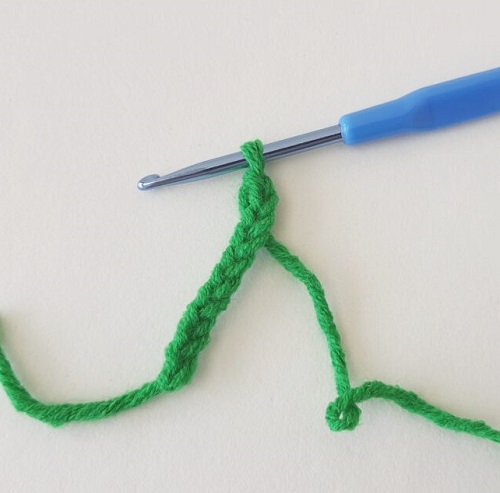
Take a close look at your stitches. Are there gaps between them? Does the leaf stretch when you pick it up? If so, try using a smaller hook.
A smaller hook usually makes a denser fabric, which can help the leaf feel firmer. Go down one size and crochet a test leaf. If it holds its shape without curling at the edges, you’ve probably found a better fit.
Don’t pull the yarn too tightly to make up for a large hook. This can leave you with uneven stitches and curled tips. You want the leaf to feel firm, not stiff and difficult to work with.
Add Floral Wire to the Leaf
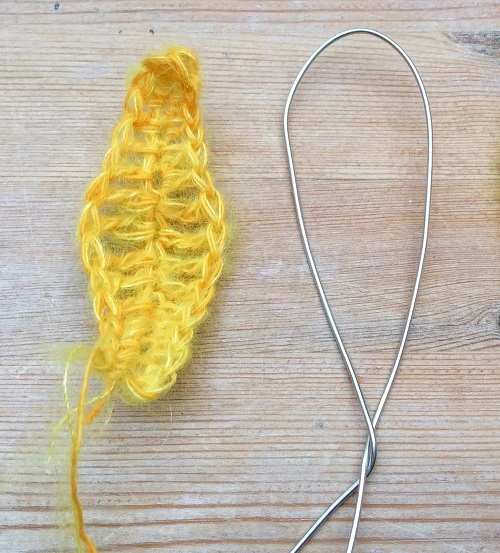
Floral wire is a handy option when you want your crochet leaves to sit at a certain angle on the stem. It works well for crochet roses, tulips, and decorative plants where the leaves need a little extra support.
Choose a thin, flexible wire and place it along the middle of the leaf. Sew it in place with matching yarn, using small stitches to stop it from slipping. You can do this while crocheting the leaf or add the wire after you finish.
Leave a short piece of wire at the base to attach the leaf to the stem. Once it’s secure, bend the wire gently until the leaf sits the way you want. Larger leaves may need thicker wire, but make sure it isn’t too stiff to work with. Cover the cut ends well so they don’t poke through the yarn or scratch your hands.
Make a Center Vein
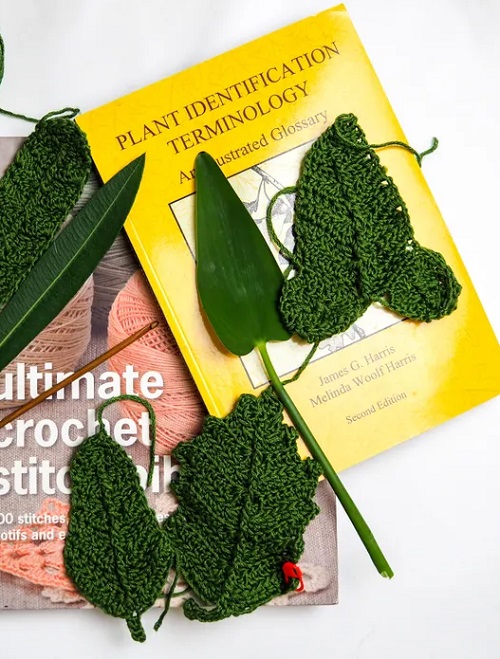
A center vein can help a leaf hold a clearer shape, although it won’t replace wire when a leaf is too heavy to support itself.
After crocheting the leaf, make a line down the middle with surface slip stitches or embroidery. Work from the base towards the tip. Keep your tension even, because pulling the yarn too tightly can cause the leaf to fold.
For a wider leaf, add a few short lines branching out from the center. This adds definition and works well for decorative crochet plants.

Block Leaves That Curl
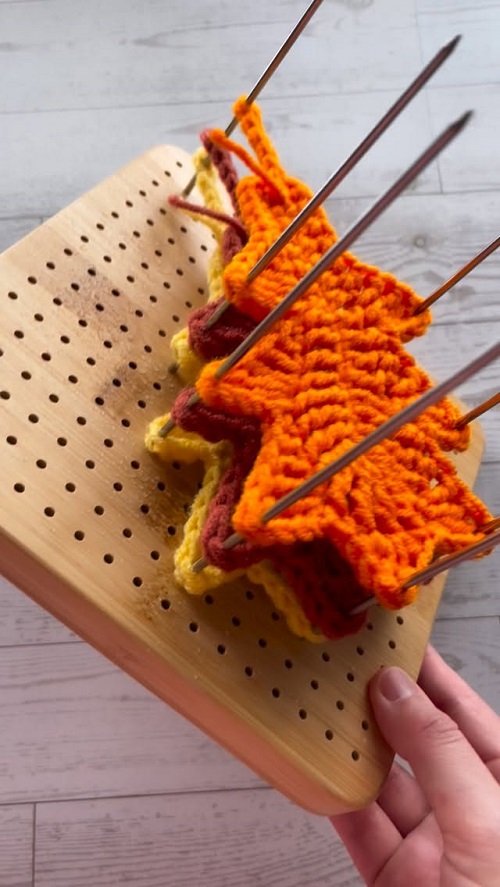
If the sides of your crochet leaf curl or the tip bends inward, try to block it before adding it to your project.
Place the leaf on a blocking mat or clean towel and gently shape it as you like. Use pins to hold the edges in place. If your yarn is suitable for wet blocking, lightly dampen the leaf and leave it to dry completely.
Check the yarn label before you start. Cotton usually handles gentle wet blocking well, while acrylic needs a little more care. Avoid high heat because it can damage the fibers.
Blocking can help flatten curled edges and improve the shape of the leaf. However, it may not be enough to keep a soft leaf standing upright. If you want the leaf to stay raised, add a thin piece of wire.
Add a Round of Single Crochet
Sometimes the leaf looks fine, but the edges feel too floppy. Try crocheting a round of single crochet around the edge to firm it up.
Keep your stitches even on both sides of the leaf. Be careful around the tip. Too many stitches can make it wavy, while too few can pull the edges inward.
Try this method on small leaves first. If the whole leaf still bends when you lift it by the base, use a smaller hook, firmer yarn, or floral wire for extra support.
Use Fabric Stiffener for Display Pieces
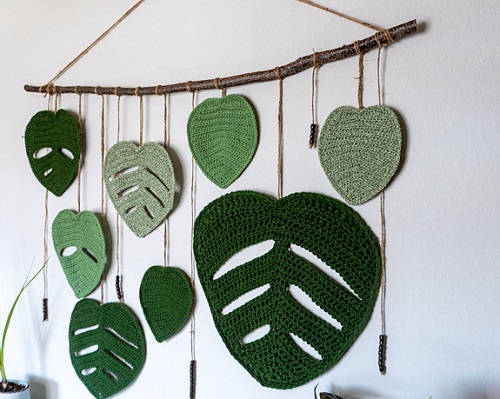
If you’re making crochet leaves for a wall hanging, bouquet, or decorative plant, fabric stiffener is another option. It helps the yarn hold a firmer shape without adding wire to every leaf.
Test it on a spare piece of the same yarn first. Apply the stiffener as directed, shape the leaf, and let it dry completely. Too much can leave the yarn coated and make the stitches harder to see.
Keep in mind that stiffener may affect how you clean the finished item. I would use it for decorations rather than leaves that need frequent washing.
Attach the Leaf Firmly to the Stem
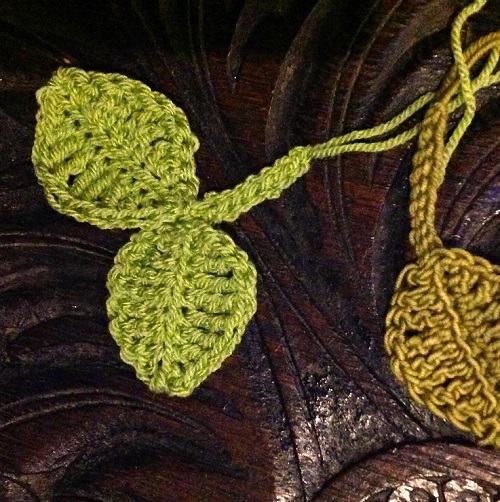
A leaf can be firm enough on its own and still droop because the base isn’t secured properly. This often happens when you attach it to a flower with just a couple of loose stitches.
Use matching yarn to sew the base to the stem. Pass the yarn through the leaf several times, then secure it without bunching up the stitches. If you have used wire, wrap the base around the stem and cover the join with yarn or floral tape.
Before finishing, hold the flower upright and check the position of the leaf. It’s much easier to adjust it now than after you’ve woven in all the ends.
Which Method Should You Try First?
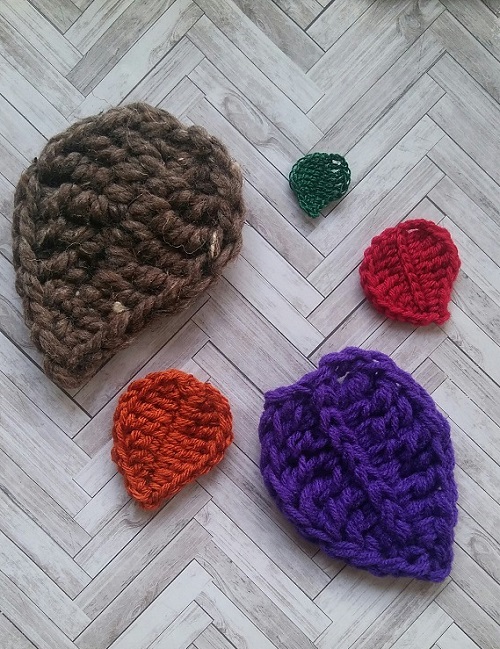
If your small crochet leaves feel floppy, try a smaller hook to tighten the stitches. If the edges curl, blocking or adding a single-crochet border may help. For longer leaves that need to stand out from a flower stem, floral wire can give them extra support. You can also use fabric stiffener if you want the leaves to keep a firm shape.
You don’t have to try all these methods at once. Make one change and see how the leaf looks. If it still droops, try another method until you get the shape you want.