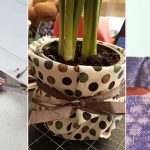
Make your own No-Sew Plant Pot Cover Tutorial with simple fabric and hemming tape. Give plain pots a fresh look in no time.
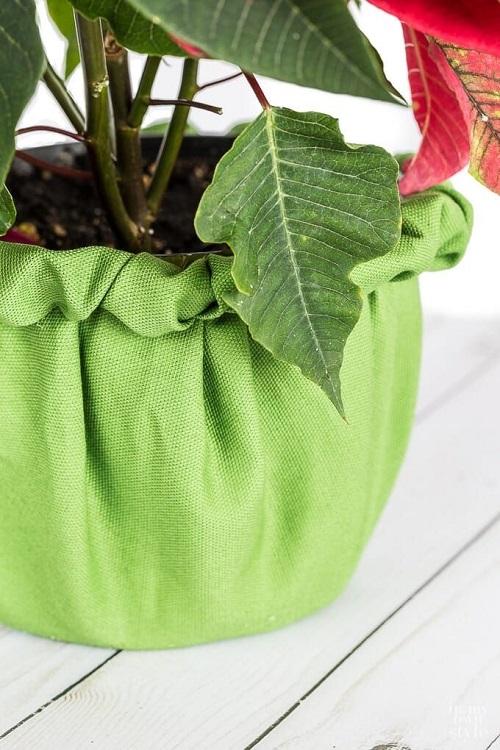
Want to give an old plant pot a fresh look without sewing? This No Sew Plant Pot Cover Tutorial shows you how to turn a simple piece of fabric into a pretty cover using just a few supplies. It is quick, beginner-friendly, and a great way to use leftover fabric.

What You’ll Need
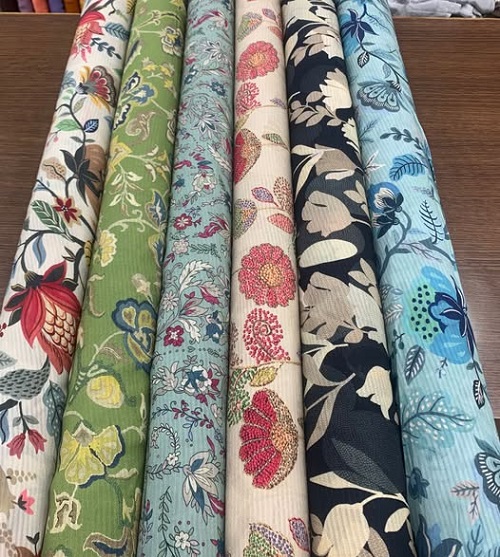
There isn’t a long supply list for this project. You may already have everything you need at home.
Materials
* Medium-weight fabric such as canvas, cotton canvas, or drop cloth
* Hemming tape for the no-sew version
* Thread if you are sewing the edges
* 2 or 3 safety pins
Tools
* Measuring tape
* Ruler
* Fabric scissors
* Iron
* Sewing machine, if you want to sew the edges
No-Sew Plant Pot Cover Tutorial
Step 1: Measure the Pot
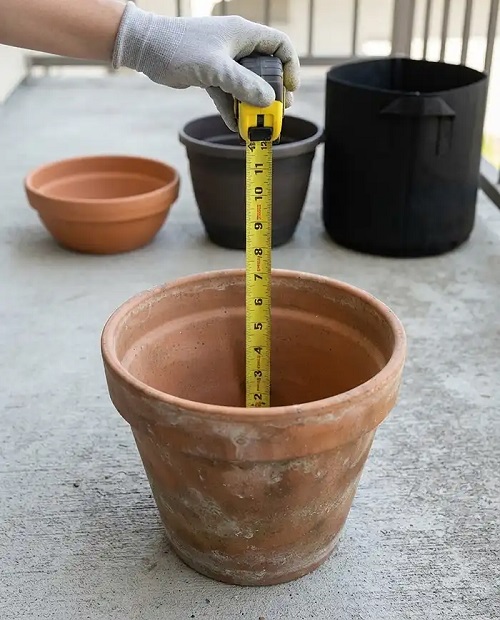
Before cutting your fabric, measure the pot you want to cover.
Start with the measurement around the pot. Wrap a measuring tape around the widest part of the pot and write down the number.
If you don’t have a flexible measuring tape, measure straight across the pot from one side to the other. This is the diameter. Multiply that number by 3.14 to get an approximate measurement around the pot.

Now add about 2 inches to the measurement. This extra fabric will allow the two ends to overlap at the back.
Next, measure the height of the pot from the bottom to the top edge.
Add about 4 inches to this measurement. The extra height gives you enough fabric to fold the top down later.

For example, if your pot measures 10 inches around and is 8 inches tall, cut your fabric about 12 inches wide and 12 inches tall.
Don’t worry if your measurements aren’t exact. The cover is adjustable, so you have a little room to work with.
Step 2: Cut the Fabric
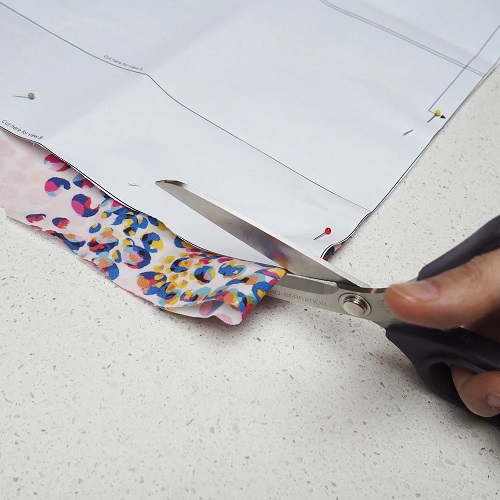
Lay your fabric flat on a table or another clean, flat surface.

Use your ruler to mark the width and height you worked out in Step 1. Make a straight rectangle and cut it out with fabric scissors.
Take your time with this part. A straight cut will make the finished cover look much neater.
If your fabric has a pattern, check it before cutting. Some prints have a clear top and bottom, and you may want the design to face the right direction when the fabric is wrapped around the pot.

If you are making covers for several pots, don’t assume they will all need the same size. Measure each pot first. Even pots that look similar can be slightly different.
Step 3: Decorate the Fabric if You Want
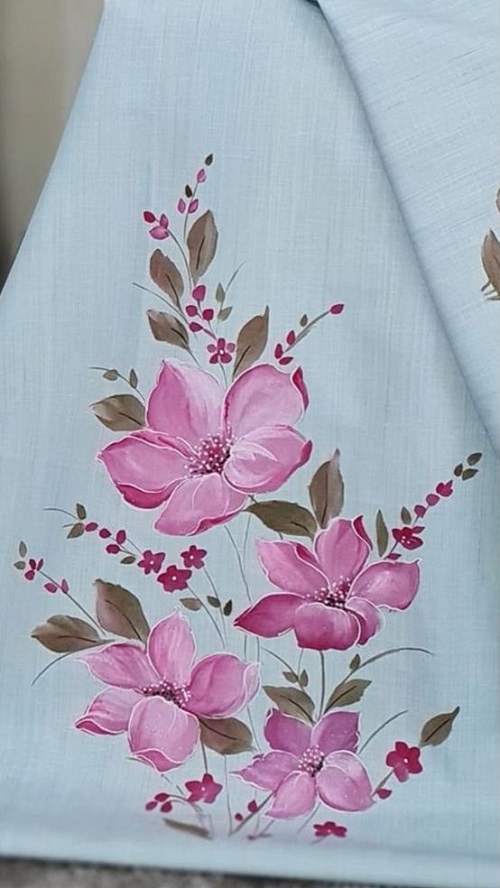
You don’t have to decorate the fabric, but this is a nice chance to make the cover match your room.

Plain canvas looks good on its own, especially if you like a simple style. If you want something more colorful, you can paint the fabric or use a printed material instead.
You could add:
* Simple stripes
* Dots
* Geometric shapes
* Small painted flowers
* Fabric patches
* A stamped pattern
You can also use leftover fabric from another project. An old curtain or another piece of sturdy fabric may work well.
If you paint your fabric, let it dry completely before continuing.
Step 4: Finish the Edges
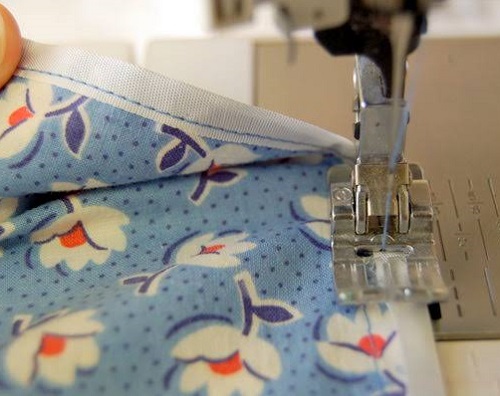
The edges of your fabric will be raw after cutting. Finishing them helps prevent fraying and gives the cover a cleaner appearance.
You can finish the edges without sewing or use a sewing machine.
No-sew method
Lay the fabric with the wrong side facing up.
Place hemming tape along one edge. Follow the instructions that came with your particular tape, as different products can have slightly different directions.
Fold the fabric over the tape by about ¼ inch. Press the fold with an iron so the tape bonds the fabric together.
Work your way along the edge a little at a time.
Do the same thing on the other three sides.
Be careful when using the iron, and use the temperature recommended for your fabric and hemming tape.
That’s it. No sewing machine is needed.
Sewing method
If you have a sewing machine, you can finish the edges with a simple hem.
Fold the edge toward the wrong side of the fabric by about ¼ inch. Fold it over again so the raw edge is tucked inside.
Pin it if that makes it easier to handle.
Sew along the folded edge, then repeat on the remaining three sides.
You don’t need a complicated stitch. A basic straight stitch is enough for this project.
Step 5: Wrap the Fabric Around the Pot
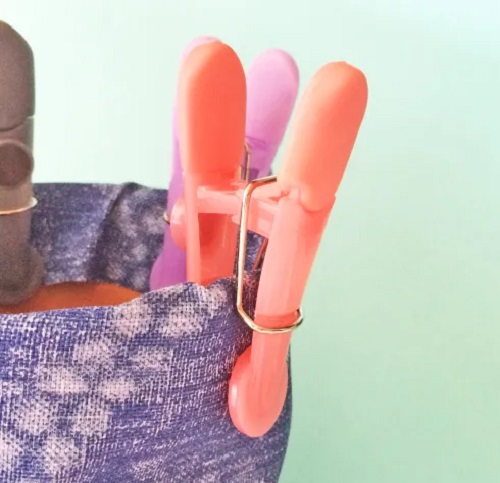
Now comes the fun part.
Place your potted plant on a flat surface and wrap the fabric around the outside of the pot.
Bring the two short ends together at the back. Let one end overlap the other until the cover feels snug around the pot.
Don’t pull it too tightly. You should be able to remove the cover without struggling.
Once you are happy with the fit, use two or three safety pins to hold the overlapping fabric together.
Keep the pins at the back of the pot. That way, you won’t see them when the plant is sitting on a shelf or table.
If the cover feels too loose, move the overlap farther across the back. If it feels too tight, loosen the overlap a little.
This is also what makes the cover useful for more than one pot. You can adjust the overlap whenever you change pots.
Step 6: Fold the Top
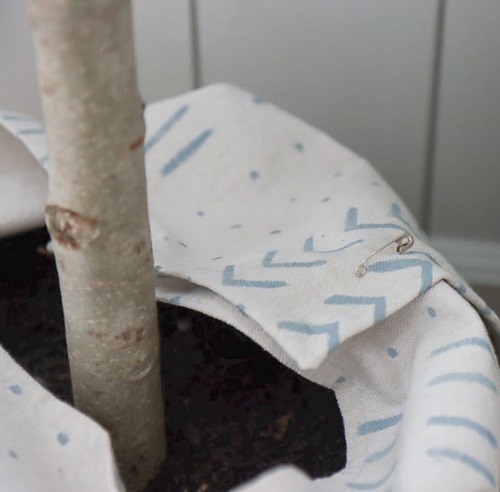
You should have some extra fabric above the top of the pot.
Fold this fabric toward the outside of the pot.
Start with a small fold and see how it looks. If you want the cover shorter, fold it down a little farther.
There is no special measurement for this part. Just adjust the fold until you like the height.
If your fabric is quite stiff, you can press the fold with an iron to help it stay in place. With softer fabric, a simple fold may be enough.
Step 7: Put the Plant Inside
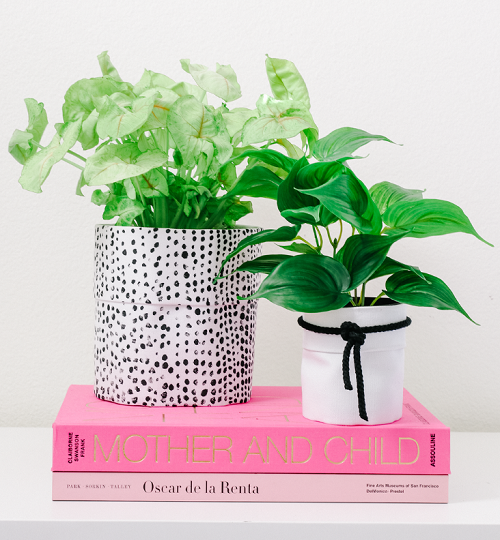
Your fabric cover is finished.
Place the existing plant pot inside it and adjust the fabric one last time. Make sure the pot sits straight and feels secure.
Remember that this is a decorative cover, not the actual plant pot. Your plant should remain in a container with drainage holes.
When you water the plant, avoid letting the fabric sit in water. If water collects in the saucer, take the cover off or move it away from the wet area until everything is dry.
A Few Things That Make This Project Easier
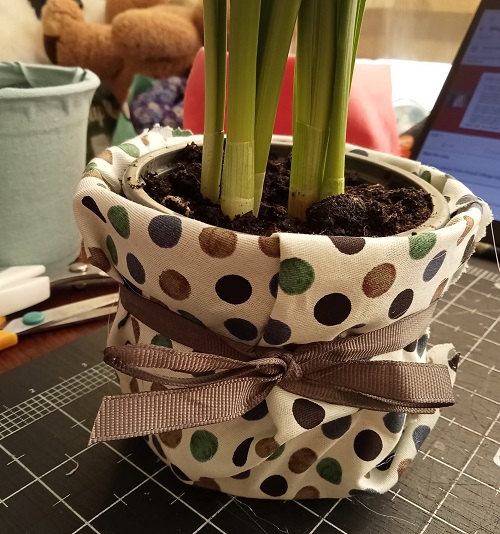
- Choose your fabric carefully. Very thin fabric can look floppy around the pot, while medium-weight fabric tends to hold its shape better.
- Canvas is a good choice if you want a little more structure. A sturdy cotton fabric works well too.
- Don’t skip the extra width. You need enough fabric for the ends to overlap at the back. If you cut the fabric exactly to the measurement around the pot, it won’t have anything to overlap.
- The same goes for height. A few extra inches give you something to fold down, and you can always make the fold smaller later.
- If you’re new to working with fabric, make the first cover from an inexpensive piece of material. Once you know how the measurements work, you can make another one from a fabric you really like.
How to Use the Cover
- You can change this little cover in plenty of ways.
- Use plain fabric around a colorful pot when you want to tone down the look. Or do the opposite and use a bright print to make a simple pot stand out.
- You can make several covers from the same fabric for a group of plants. They don’t have to be exactly the same size. Just measure each pot and adjust the fabric accordingly.
- You can also use different fabrics in the same room that share a similar color. This gives your plant display a pulled-together look without making every pot identical.
- For something more personal, paint a few simple shapes onto plain canvas. You don’t need to create a perfect pattern. Uneven stripes, dots, or small shapes can actually make the cover look more handmade.
Can You Use Any Fabric?
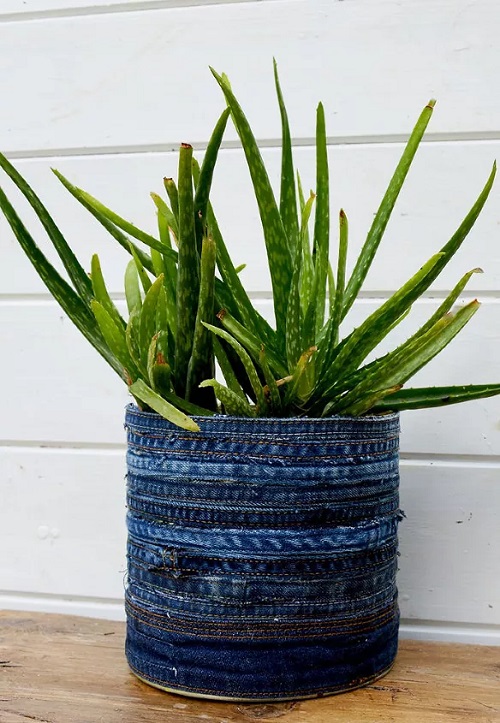
Not quite.
The fabric needs to be strong enough to wrap around the pot without collapsing completely. Medium-weight cotton, canvas, and drop cloth are good places to start.
Avoid very thin fabric for larger pots because it may bunch up or lose its shape.
Also remember that the cover will be near water. It is better to remove it when watering rather than allowing the fabric to stay wet.
What Makes This Plant Pot Cover Useful?
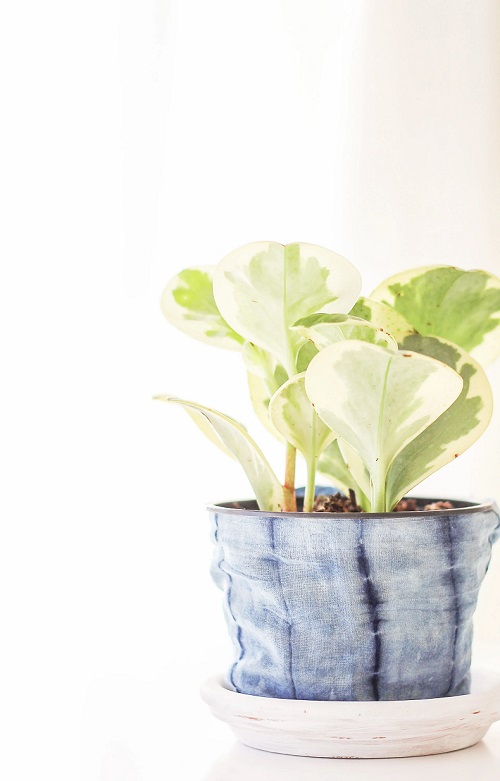
The nice thing about this project is that you aren’t permanently changing your plant pot.
If you get tired of the fabric, simply remove it and make another cover. If you move the plant to a slightly different pot, you can adjust the overlap at the back.
You can also make the cover taller or shorter by changing the fold at the top.
And if you have fabric left over from another project, you don’t need much material to make one. That makes this a good little project for using up scraps that are too small for larger sewing projects but still too nice to throw away.