Try this easy Paper Plant Craft Tutorial to make colorful faux greenery with cardstock, floral wire, and a few simple craft supplies.
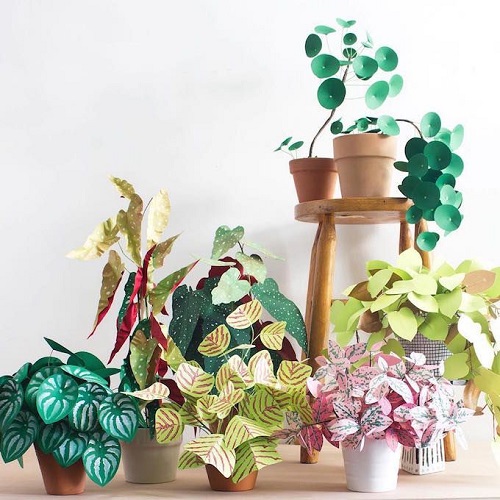
Paper plants are inexpensive to make and easy to change to suit your space. You can make the leaves large or small, mix different shades of green, or add another color for a less traditional look. Once you have the basic method down, you can easily change the shape and size. For this Paper Plant Craft Tutorial, we’ll make two paper plants: a monstera-inspired plant and a begonia-inspired plant. Both use simple materials, and you can cut the leaves with a Cricut machine or make everything by hand.

The finished plant also needs very little care. No watering, pruning, or finding the right spot for sunlight.
What You’ll Need
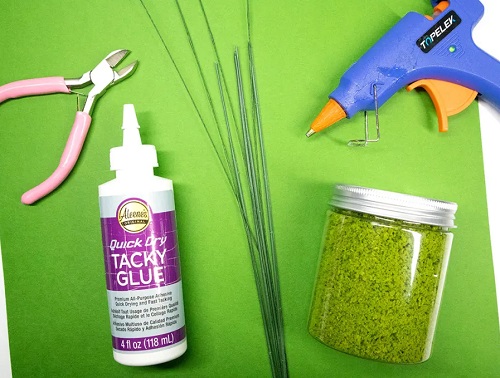
Here are the basic supplies for this project:
- Green cardstock
- Floral wire
- Floral foam
- Faux moss
- Hot glue gun
- Quick-dry tacky glue
- Wire cutters
- Scissors
- Plant pot or small planter
- Cricut machine and cutting mat, if using one
- Leaf template or SVG file
You don’t need every item on the list. If you don’t have a Cricut, print a leaf template, trace it onto your cardstock, and cut the shapes out with scissors.
Before You Start
Decide which paper plant you want to make first.
For the monstera-inspired plant, you’ll need green cardstock and leaf shapes with the familiar cut-out sections.
The begonia-inspired version gives you a little more freedom with color. You could use dark green leaves with pink, red, or another shade of cardstock for the inner part.
You also don’t have to copy the exact number of leaves shown here. Add more if you want a fuller plant, or make fewer leaves for a small pot.
Paper Plant Craft Tutorial
Version 1: Paper Monstera Plant
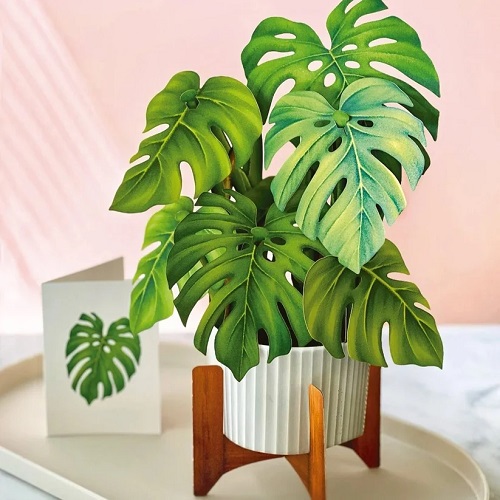
This paper monstera is a good one to start with. The leaves are fairly simple to put together, and the wire stems let you change the shape of the plant after everything is assembled.
Step 1: Cut the Leaves
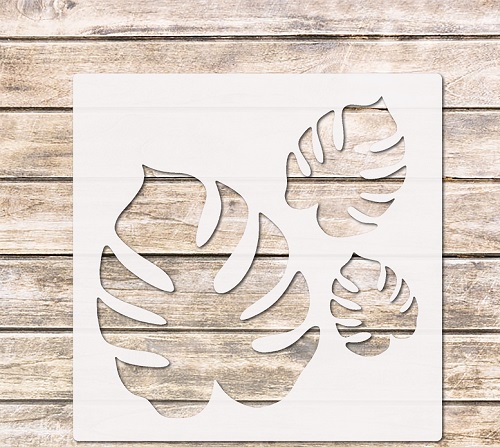
Start by preparing your monstera leaf template.

If you’re using a Cricut machine, upload the SVG into your cutting software and arrange the leaves in a few different sizes. A mixture of large and small leaves keeps the finished plant from looking too uniform.
If you’re cutting by hand, print the template, place it over the cardstock, trace around it, and cut out each leaf carefully.
You can use around 5 larger leaves and 10 smaller ones. Each finished leaf needs two matching pieces of cardstock, one for the front and one for the back.

When the machine has finished cutting, carefully lift the pieces from the cutting mat.
Step 2: Make the Single-Stem Leaves
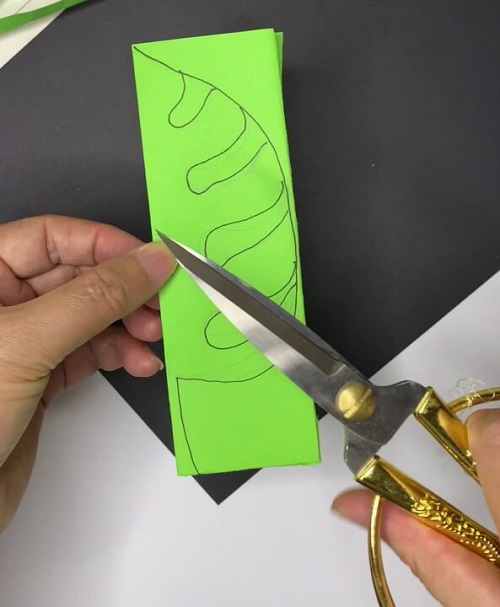
Take two matching leaves and place them together. Cut a piece of 18-gauge floral wire for the stem.
Add a little hot glue to the top part of the wire and place it along the center of one leaf. Let the glue cool for a few seconds so the wire doesn’t shift.

Next, add small amounts of tacky glue around the leaf. Put a little extra near the tips and along the edges.
Place the second leaf on top and line up the edges. Press it down gently with your fingers and hold it for a few seconds.
You now have a paper leaf with a wire stem. Make the rest of the leaves the same way.

Step 3: Add a Few Double Stems
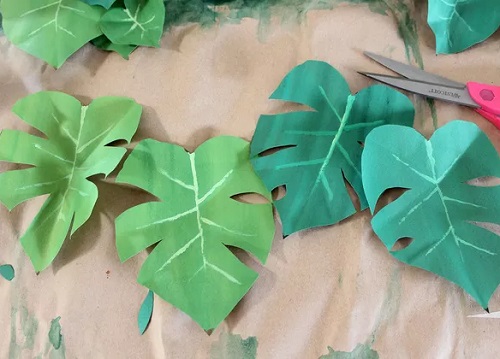
A few double-stem leaves can help fill out the plant.
For these, use thinner 26-gauge floral wire. Cut the wire into shorter pieces and take two matching paper leaves.
Put a small amount of hot glue near the top of the wire and attach it to the center of one leaf. Add tacky glue around the rest of the leaf, paying attention to the edges and tips.

Place the second leaf on top and press gently until the pieces hold together.
When the leaf is secure, wrap the bottom of the thin wire around one of the thicker 18-gauge stems. Give both wires a slight bend.
Now you have a leaf with two stems. Make a few of these and vary the wire lengths so the leaves don’t all sit at exactly the same height.
Step 4: Prepare the Planter
Now get the planter ready.
Take your plant pot and a piece of floral foam. Cut the foam so it fits snugly inside the pot. It should be firm enough that it won’t wobble when you start adding the stems.
Push the foam into the bottom of the planter. If it moves around, add a little adhesive or reusable mounting putty to keep it in place.
Cover the top of the foam with faux moss. This hides the foam and gives the finished plant a more finished look.
Step 5: Arrange the Paper Leaves
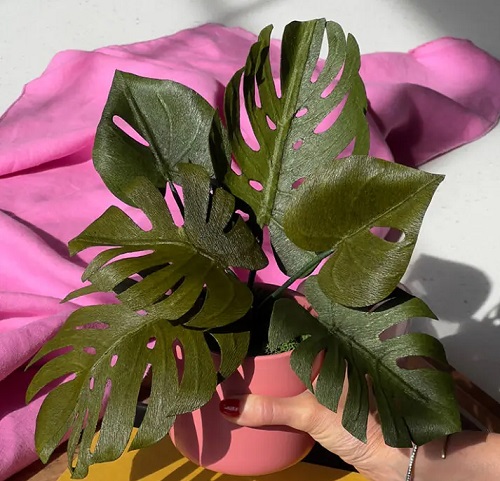
Now you can start putting the plant together.
Push the stems into the foam one at a time. Work around the pot instead of putting every stem in the same direction. Bend the wire as you go so some leaves sit higher while others spread out to the sides.
Place the larger leaves toward the bottom and use the smaller ones to fill the open spaces.
Don’t worry if the plant looks a little strange at first. The wire makes it easy to move things around. Pull out a stem, bend it, and put it back if the angle isn’t quite right.
You can also give some of the leaves a gentle curve. A little shaping helps keep them from looking completely flat.
Once you’re happy with the arrangement, your paper monstera is done.
Version 2: Paper Begonia Plant
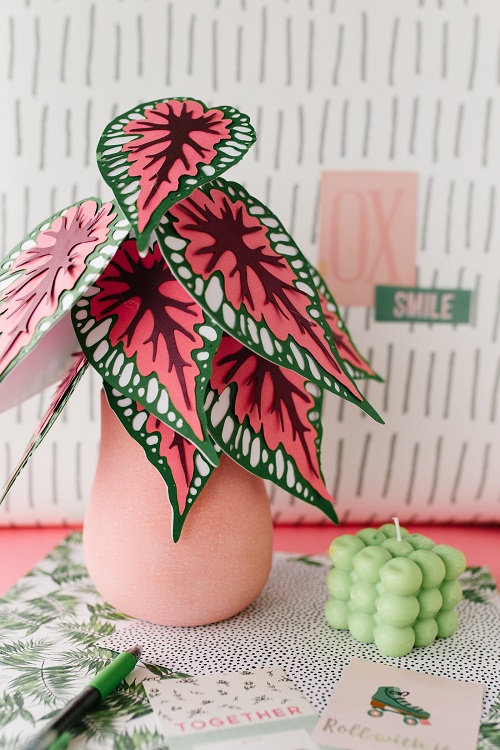
For something with a little more color, try this begonia-inspired paper plant.
This version uses two colors of cardstock, so the leaves have a simple layered effect.
Step 1: Cut the Leaves
Choose two cardstock colors. Dark green and pink work well together, but there are plenty of other combinations you can try.
Cut the large and small leaf shapes with a Cricut or scissors.
For a fuller plant, you can make around 20 finished leaves. Mix the sizes rather than making every leaf identical.
Once they’re cut, carefully remove the pieces from the cutting mat.
Step 2: Add the Colored Center
This part is optional, but it gives the leaves some extra detail.
Take one green leaf and place it over the pink cardstock. Trace around the outside of the leaf. You don’t need to trace all the little veins or details.
Cut out the pink shape.
It doesn’t have to be an exact copy. Making it slightly smaller is actually helpful because it leaves a green border around the outside.
Use this first pink piece as a template for the rest.
Step 3: Layer the Leaves
Take one green leaf and put a few small dots of tacky glue on the back.
Place the pink piece over it and adjust it until it sits neatly inside the green leaf.
Turn the leaf over and check the front. If a little pink cardstock sticks out around the edge, trim it with scissors.
Now add a little more glue to another green leaf. Place it on the back of the first leaf, making sure the two green pieces line up.
Press the layers together and leave them for a moment so the glue can grab.
Repeat with the remaining leaves.
Step 4: Add the Wire Stems
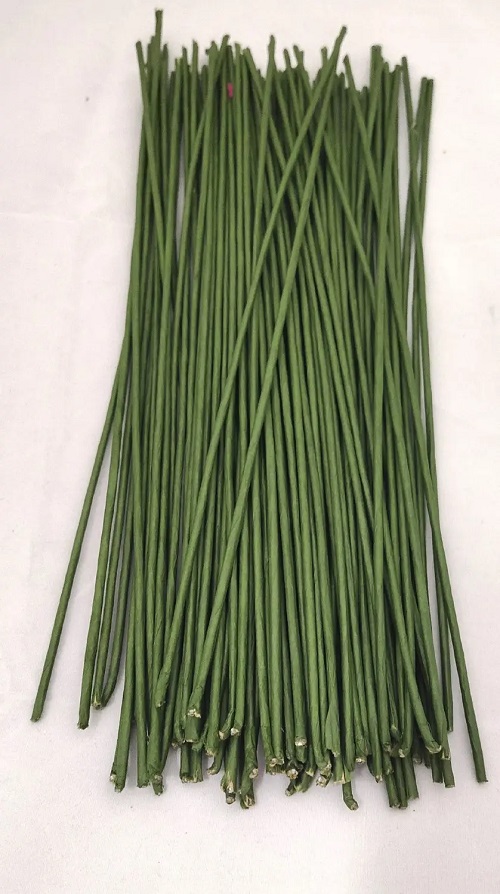
Once the leaves are assembled, add the stems.
Use 18-gauge floral wire for the larger leaves. For the smaller ones, 26-gauge wire works well.
The thinner wire is quite flexible, so you can fold it in half and twist the bottom section together. This gives it a little more strength and makes it easier to push into the floral foam.
For each leaf, run a thin line of hot glue along the center of the back. Place the wire over the glue and hold it in place for a few seconds.
Let the glue cool completely before moving the leaf.
Once the stem is secure, gently bend the leaf down the middle. You don’t need a sharp crease. A slight curve is enough to give the leaf some shape.
Repeat for the rest of the leaves.
Step 5: Put the Plant Together
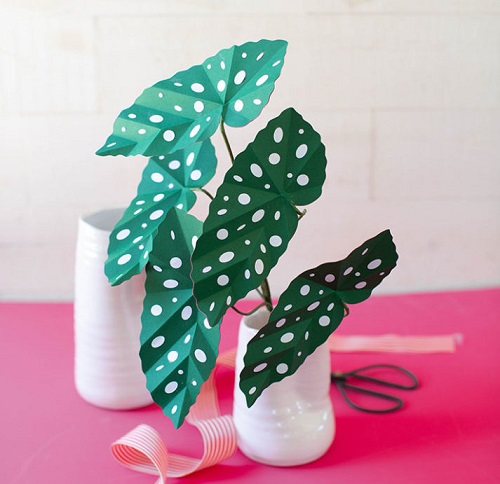
Prepare the planter the same way as you did for the monstera.
Place the floral foam inside the pot and cover the top with faux moss.
Start pushing the wire stems into the foam. Work around the planter as you go instead of filling one side first.
Put some of the larger leaves lower down and use the smaller leaves to fill the spaces above them.
Bend the wires in different directions to give the plant some height. You can also curve a few leaves outward so the whole plant doesn’t look too upright.
Every so often, step back and look at the plant from a little distance. If one leaf seems out of place, pull out the stem, bend it, and put it back.
Keep adjusting things until you’re happy with the shape.
Your paper begonia is ready.
A Few Tips for Making Paper Plants
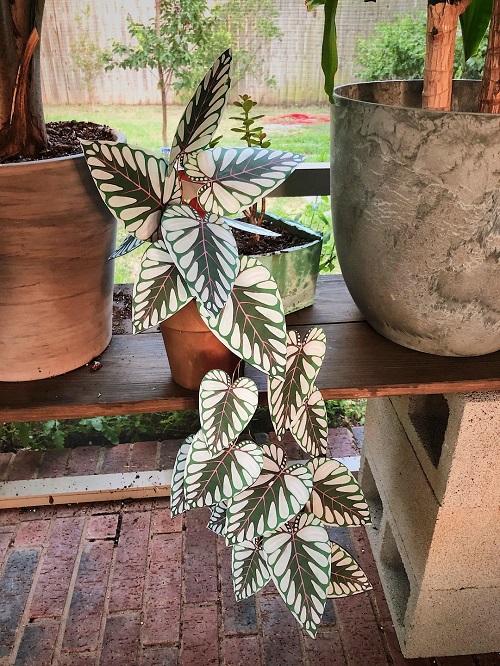
- Using one leaf size throughout can make the plant look a bit flat. A mixture of large and small leaves gives you more to work with when arranging the stems.
- Try different stem lengths instead of cutting them all to the same size. This makes it easier to spread the leaves around the pot.
- Straight stems can make a paper plant look stiff. Even a small bend in the wire can change the way a leaf sits.
- You don’t have to use green for every leaf. Pink, burgundy, yellow, cream, or patterned cardstock can give the plant a completely different look.
- It can be tempting to start arranging the leaves right away, especially when you’re almost finished. Give the glue enough time to set first. The leaves will be easier to handle and less likely to come apart while you’re working.
- Use a small ceramic pot, a colorful planter, a recycled container, or something you already have at home. You don’t need a special pot just for this project.
How to Display Your Paper Plant
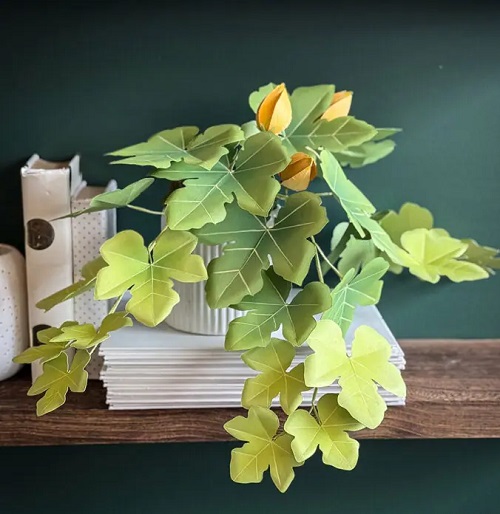
Paper plants work well in spots where a real plant wouldn’t get enough light.
Try placing one on a bookshelf, bedside table, work desk, coffee table, floating shelf, or in a small entryway. You can also use one in an empty corner or add several to an existing plant display.
If you have the space, make a few plants in different sizes and group them together. Changing the leaf shapes and colors can make each one look different.
The nice thing about making paper plants is that you aren’t limited to one design. You can change the leaf size, try different cardstock colors, make a tiny plant for your desk, or build a larger one for a shelf or corner.
The floral wire also gives you some flexibility after the plant is finished.