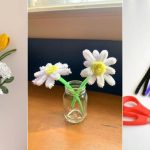
Try this Pipe Cleaner Plant Flower Tutorial to make a simple, colorful flower with easy steps. It’s a fun craft for beginners.
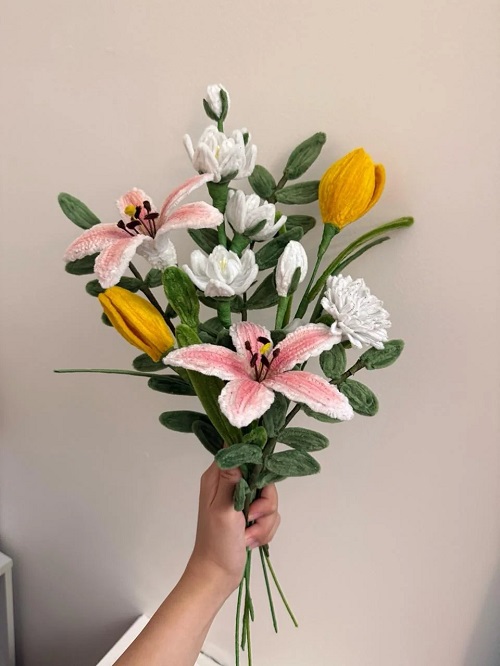
If you enjoy making small things for your home, try turning a few pipe cleaners into a flower plant. You only need some basic craft supplies, and you can change the flower colors to suit your room. This Pipe Cleaner Plant Flower Tutorial is also a good project when you want something simple. No sewing or complicated techniques are involved. You do most of the shaping with your fingers, so you can keep adjusting the flower until it looks right to you.
What you will need
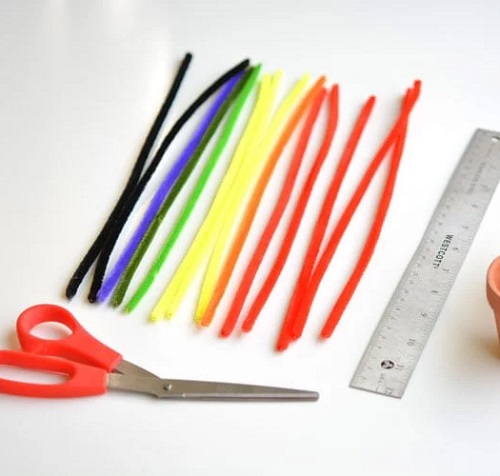

You will need a few pipe cleaners in the colors you want for the flowers. Green ones are useful for the stems and leaves. You will also need a small pot and some floral foam to hold the flowers in place.

Keep a pair of scissors nearby for cutting the pipe cleaners. You can use a little hot glue if you find that a flower center or leaf is not staying where you want it. Artificial moss or small stones can be used to hide the foam at the end.
Pipe Cleaner Plant Flower Tutorial
Making the flower
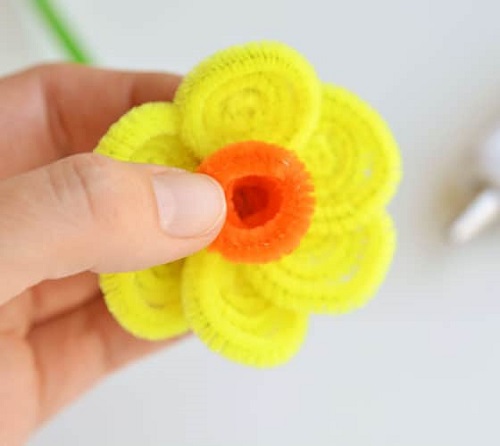
Start with the petals. Take one pipe cleaner and bend it into a rounded loop. Twist the ends together at the bottom. Make several loops in roughly the same size.
Five petals are enough for a simple flower, although you can use six if you want it to look fuller. Put the lower ends together and twist them gently. Spread the petals around the middle rather than leaving them bunched together.
At this stage, don’t worry too much about getting an even shape. Pipe cleaners are quite forgiving. If one petal looks larger than the others, bend it until the flower looks balanced.
Now you can work on the center. A short piece of another colored pipe cleaner works well for this. Curl it into a small coil and place it over the middle of the petals. Twist the end at the back to hold it in place.
Yellow works nicely for a simple flower center, but you can use any color you like. A darker center can also give the flower a different look.
Adding the stem
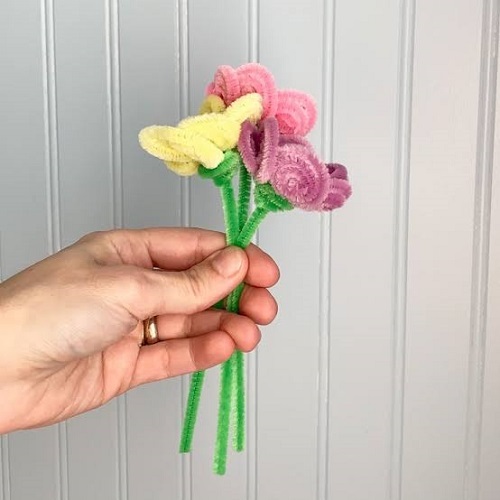
For the stem, use a green pipe cleaner. Place one end behind the flower and twist it around the base a few times. The rest of it becomes the stem.

If the flower is large, one pipe cleaner may bend under its weight. In that case, twist another green pipe cleaner around the first one. It will make the stem firmer without changing the overall look very much.
You can leave the stem straight or give it a slight bend. A few flowers with gently curved stems will make the finished arrangement look less stiff.
Make the leaves
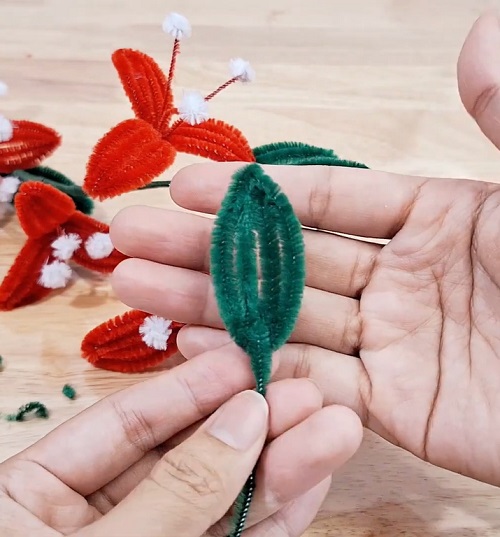
Leaves are quite easy to add. Cut a short piece from a green pipe cleaner and fold it into a narrow loop. Twist the ends together and flatten the loop slightly.

Wrap the twisted end around the stem. You don’t need many leaves. One leaf on each side of the stem is usually enough for a small flower.
Try making some leaves slightly larger than others. They don’t all need to be identical.
Make a small flower plant
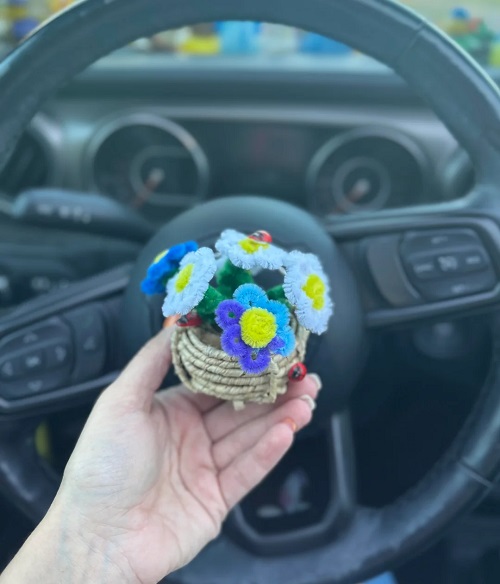
Once you have one flower finished, make a few more in different colors or sizes. You could keep the same color throughout the arrangement, but mixing two or three colors gives you more variety.

Make the flowers first and arrange them on a table before putting them into the pot. This makes it easier to see which ones should go in the back and which ones should sit toward the front.
Cut a piece of floral foam so it fits inside the pot. Push the stems into the foam, leaving enough space between the flowers so the petals don’t overlap too much.
Put the taller flowers toward the back and shorter ones near the front. You can also bend a few stems outward so the flowers don’t all point in the same direction.

When everything is in place, cover the exposed foam with artificial moss or small decorative stones.
A few flower shapes to try
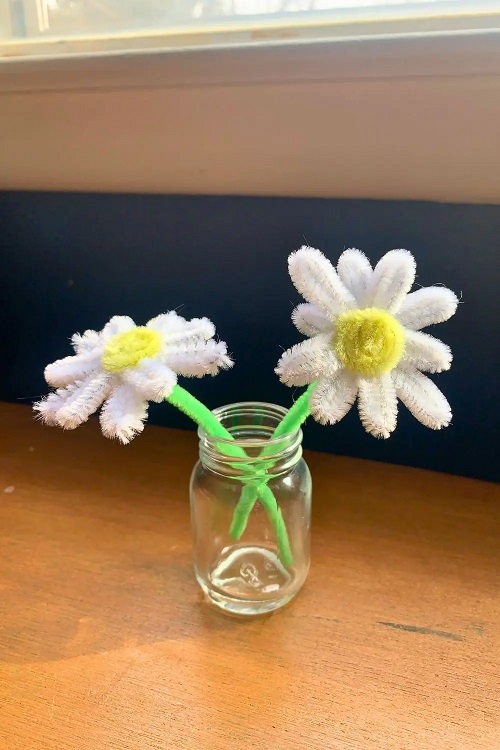
Once you are comfortable with the basic flower, you can change the shape without learning a completely new technique.
For a daisy-style flower, keep the petals rounded and use a yellow center. Make the petals fairly open so the flower has a flat appearance.

For a fuller flower, make another set of smaller petals and place them behind the first set. This gives the flower more layers.
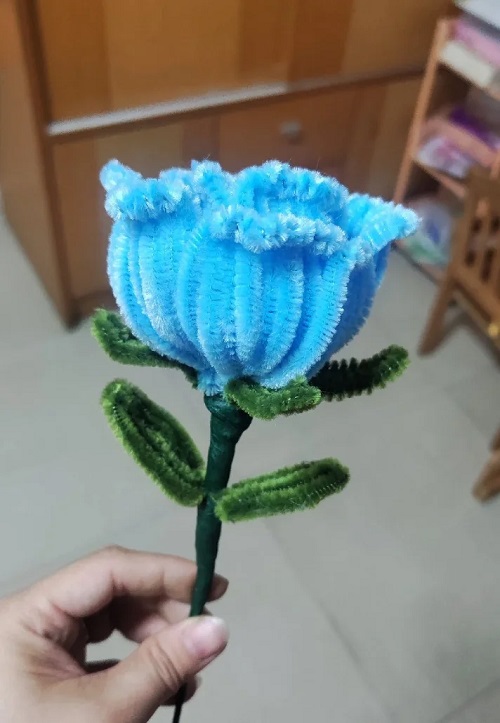
You can also make a rose-like flower by keeping the inner petals tighter and curling the outer ones outward. It won’t look exactly like a real rose, but the shape gives the arrangement some variety.
Things that make the project easier

Don’t twist the pipe cleaners too tightly at the beginning. You may want to move the petals around several times before you are happy with the shape.
It also helps to make the first flower before cutting lots of pieces for the others. Once you know how large you want the petals and leaves, you can use that flower as a rough guide.
If a stem keeps falling to one side, make it shorter or strengthen it with another green pipe cleaner. A heavy flower on a very long stem is more likely to bend.
Hot glue is useful for small parts that refuse to stay in place, but you don’t need it for every part of the project. If children are making the flowers, an adult should handle the hot glue gun.
Where you can keep your finished flower plant
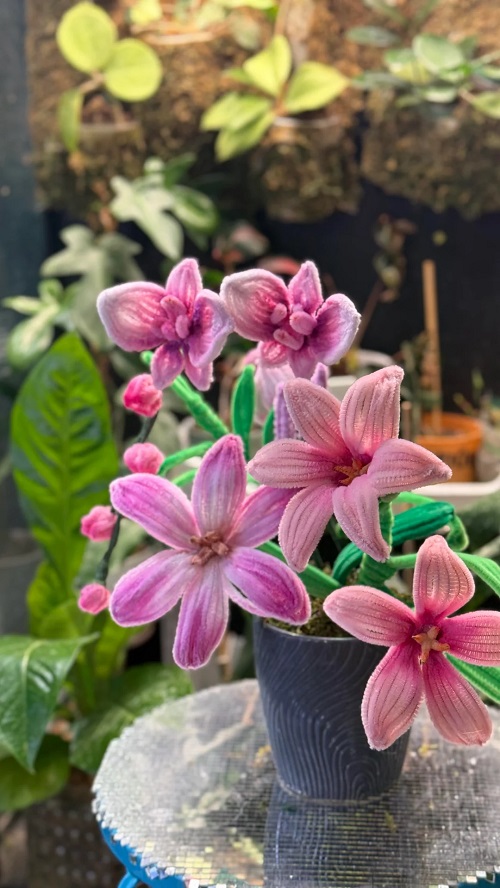
Your finished arrangement can go on a bookshelf, desk, side table, or windowsill. Since it is made from pipe cleaners, you don’t have to think about watering it or finding the right amount of light.
You can also make a small arrangement as a handmade gift. Try matching the flower colors to the person’s favorite colors, or make a few different flowers and put them together in one little pot.
The nice thing about this project is that you can keep changing the flowers as you work. If a petal looks too wide or a stem is leaning, simply bend it again until you are happy with it.