Want to try a new craft? Learn how to embroider a flower on Leather with simple steps and useful tips to create a neat, handmade design.
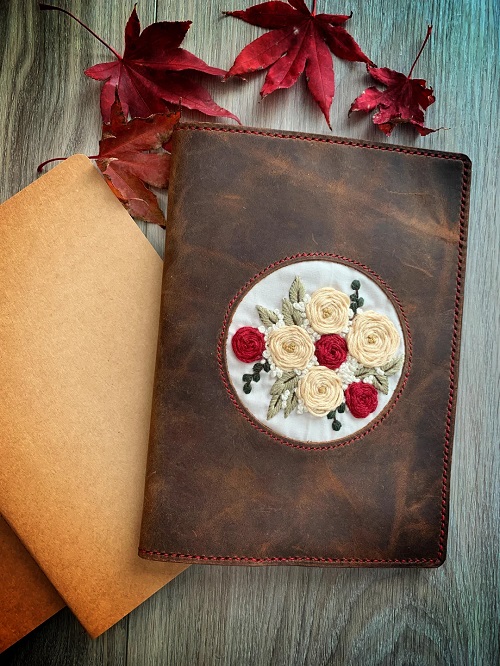
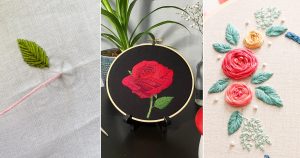
If you have only embroidered on fabric before, learn how to embroider a flower on Leather. It takes a little getting used to. The material is firmer, the needle does not slide through it as easily, and every hole you make stays there. That last part is worth remembering before you start. The good news is that you do not need a complicated design or special embroidery skills. A small flower, a few leaves, initials, or a simple border can look great on a leather wallet, bookmark, pouch, or bag.

Start with a piece of scrap leather rather than your favorite bag. You will learn quite a bit from the first few stitches.

What you need
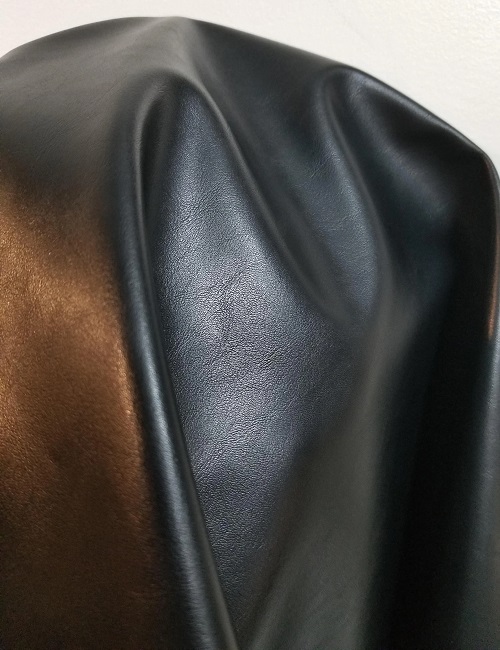
For a basic project, gather:
* Soft leather
* Embroidery floss
* Embroidery needle
* Small sharp scissors
* Pencil
* Tracing paper
* Awl or sharp needle
* Piece of cardboard
The leather you choose makes a difference. Soft leather is much easier to work with by hand. If it feels very stiff when you bend it, it probably is not the easiest choice for a first project.
How to Embroider Flower on Leather
Start with the pattern
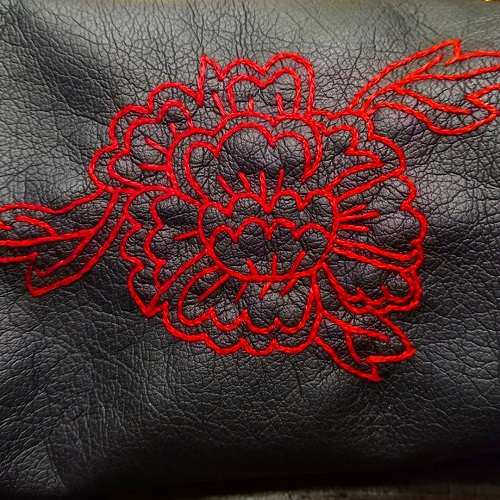
Keep your first pattern fairly simple. A small flower or leaf is a good place to begin.
Draw the design on tracing paper first. Move the paper around on the leather until you like the position. Think about where the design will sit when the item is finished, too. You do not want to complete the embroidery and then realize that part of it will be hidden by a fold or seam.

Once the position looks right, place the leather on a piece of cardboard.
Now comes the part you would not normally do with fabric. Use an awl or a sharp needle to make small holes along the lines of your design.
Make the holes carefully
You are not actually stitching yet. You are preparing the leather for the stitching.

Make a small hole wherever the needle needs to enter and come back out. How far apart you place the holes depends on the stitch. For a backstitch outline, for example, you can keep the holes fairly even along the line.
Take your time with this. If you make a hole in the wrong place, it will still be there when you remove the thread.
Do not make the holes larger than necessary either. Small, neat holes are much less noticeable once the embroidery is finished.

When all the holes are ready, remove the tracing paper and look at the design again. This is your last easy chance to change anything.
Thread the needle and begin
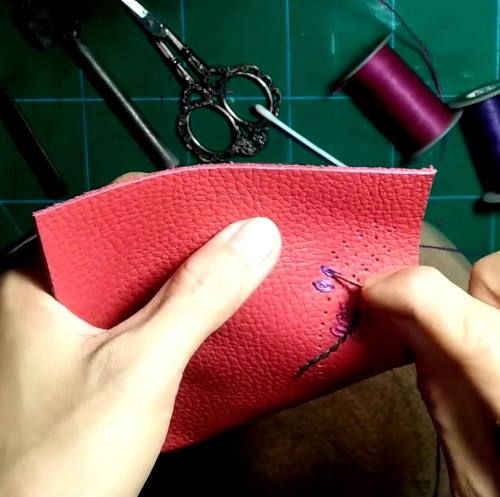
Thread your needle with embroidery floss. You do not need a lot of strands for leather. Two or three strands are often enough for a small design.
Bring the needle through the first hole and begin stitching.

Backstitch works particularly well for simple outlines. You can use it for letters, stems, leaves, flowers, and other shapes. Running stitch is another easy option if you want a lighter line.
Try not to pull the thread too tightly. It should sit against the leather without puckering it or pulling at the holes.
You may notice that your hand naturally wants to push the needle through the leather wherever it feels convenient. Try not to do that. Follow the holes you made instead.

Take extra care around curves
Straight lines are fairly easy once you get into a rhythm. Curves need a little more attention.
For a bend in the design, use shorter stitches. This helps the embroidery follow the shape instead of making the curve look like a series of sharp corners.
Look at the front of the leather as you work. If the stitches start getting too close together, stop and check the pattern. It is better to adjust the next few holes than to keep adding stitches to a crowded area.

What about an embroidery hoop?
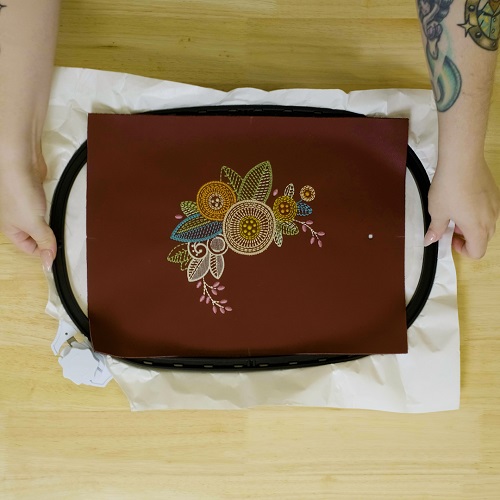
You may be used to putting fabric into a hoop before stitching, but you do not need to do the same with leather.
Leather is already firm, so there is usually no reason to stretch it. Depending on the type of leather, a hoop can also leave marks that are difficult to remove.
Instead, keep the leather flat on your work surface and hold the section you are stitching comfortably in your hand.
Finishing the design
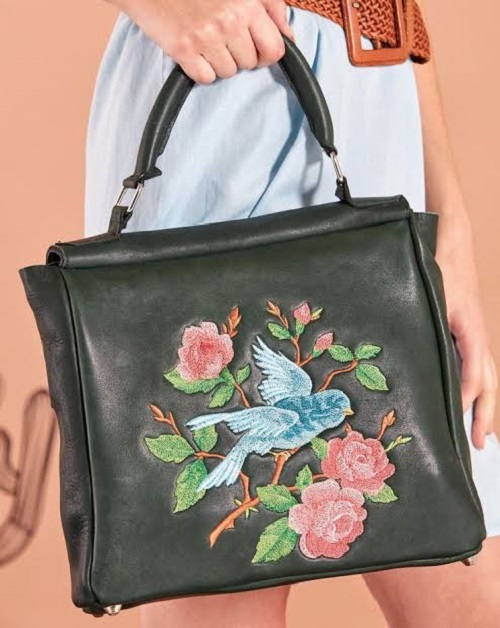
When you reach the last stitch, turn the leather over and secure the thread on the back. Keep the ending as small and flat as possible.
Cut off the extra thread and check the back of the piece. If it is going to be used regularly, make sure there are no loose ends that could catch on clothing or other objects.
Then turn it over and look at the front.
Do not worry if the first few stitches are not perfectly even. Leather embroidery has a slightly different look from embroidery on fabric, and small variations are not necessarily a problem.
A few tips before you try it
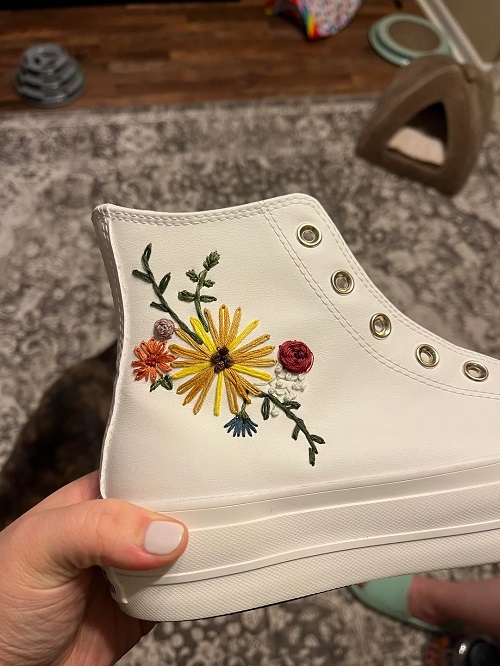
Practice on the same type of leather you plan to use for the finished project. A thin, soft piece and a thick piece can behave very differently.
Keep your design small at first. You can always try something more detailed once you know how the leather handles the needle and thread.
Also, resist the temptation to fill every little space. Leather can only take so many holes before the area starts to look worn or weak.
And remember that you only get one chance with each hole. Spend a few extra minutes planning the design and stitch placement before picking up the needle. That small bit of preparation makes the actual embroidery much easier.