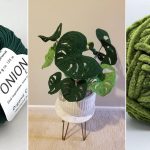
Need a houseplant that never needs watering? Follow this Crochet Monstera Pattern Tutorial and make one for your home.
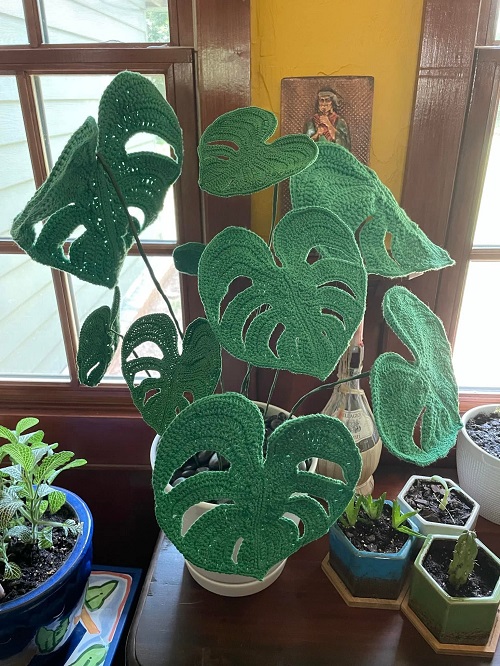
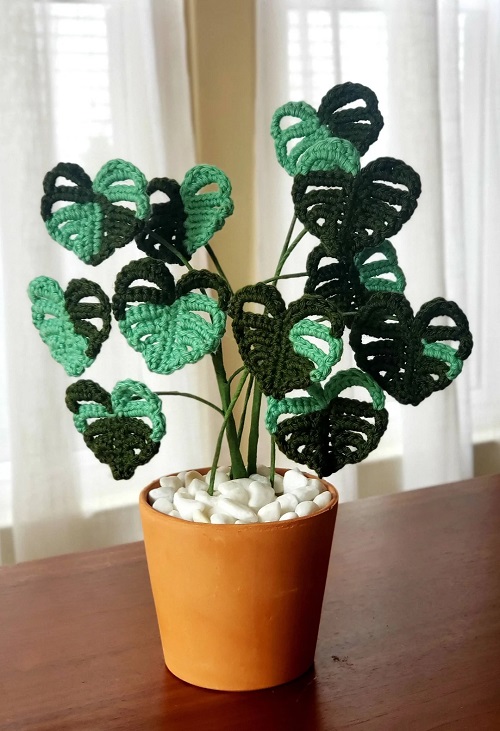
If you love the look of Monstera plants but somehow manage to forget to water your real ones. This crochet version might be just what you need. A crocheted Monstera adds a nice touch of green to a shelf, desk, or plant corner without needing sunlight or watering.

This Crochet Monstera Pattern Tutorial uses simple crochet stitches and a little shaping to create broad leaves with the fenestrations. You can make one leaf for a small decoration or crochet several and turn them into a full faux plant.
Crochet Monstera Pattern Tutorial
What You’ll Need
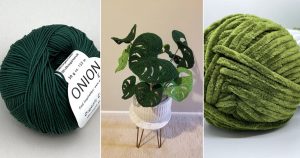
- Green yarn: Choose a green yarn with a bit of structure. Cotton or cotton-blend yarn works well because it gives the leaves a clean shape.
- Crochet hook: A 3.5 mm to 4.5 mm crochet hook. Usually works well with medium-weight yarn. For worsted-weight yarn, a 4.0 mm hook is a good starting point. If you crochet tightly, try a slightly larger hook.
- Scissors: Keep a small, sharp pair nearby for neatly cutting yarn.
- Tapestry needle: Use a blunt tapestry needle with a large eye to weave in yarn ends and attach the leaf to its stem. A needle around 5–7 cm (2–3 inches) long is comfortable for this project.
- Floral wire: Use flexible floral wire. A 22- to 24-gauge wire is suitable for many crochet plant projects.
- Green floral tape
- Stuffing
- Decorative moss or pebbles
- Floral foam or a sturdy filler
- Small plant, 4-6 inch pot
- Measuring tape
- Stitch markers
Crochet Stitches Used
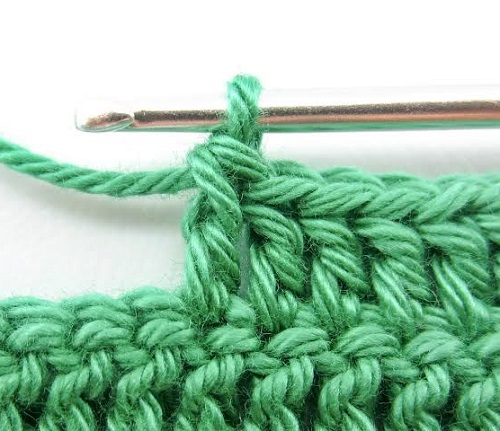
This project is easier if you already know a few basic stitches. The main ones are single crochet, half double crochet, double crochet, chain, and slip stitch.
You don’t need to worry about getting every stitch perfectly even. A Monstera leaf is naturally a little irregular, and small differences can actually make your finished plant look more natural.
The pattern below uses US crochet terms.
1. Start With the Leaf Stem
Begin by making a foundation chain for the center vein of your leaf. A chain of about 25 to 30 stitches works well for a medium leaf.
Work single crochet back along the chain. This gives you a narrow strip that becomes the middle of the leaf.
If you want a larger leaf, simply start with a longer chain. For a small decorative leaf, shorten the chain instead.
This center section is important because it gives the leaf some structure. Don’t worry if it looks more like a skinny strip than a leaf at this point. The shape comes together as you build out from the center.
2. Build the First Side of the Leaf
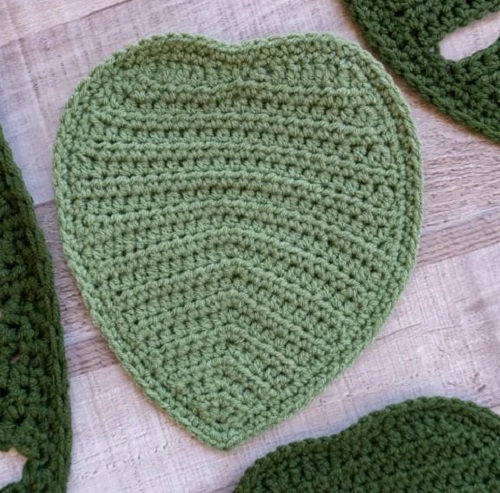
Now you’ll start working outward from the center.
Work a few single crochets, followed by half double crochets and double crochets. The taller stitches help create the wide, rounded sections of the Monstera leaf.

As you move toward the outer edge, increase gradually. You don’t need to make every section identical. The goal is to create a broad leaf shape rather than a perfect geometric form.
After completing the first section, use chains to create the openings that give Monstera leaves their familiar appearance.
For example, you can chain several stitches, skip a few stitches along the base, and join back into the leaf with a slip stitch. The open space becomes one of the characteristic holes or cuts.

3. Create the Monstera Splits
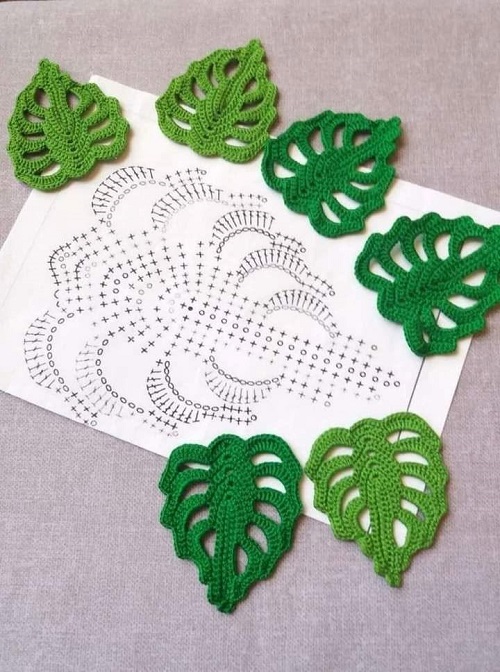
This is the fun part.
Real Monstera leaves have deep splits and holes, so don’t make the openings too small. Chain across the section and attach the chain farther along the leaf to leave a visible gap.

You can vary the size of these openings as you move toward the outer edge. Smaller gaps near the lower part of the leaf and larger ones farther out can give the finished piece a more natural appearance.
Don’t try to make both sides look perfectly identical. Slight differences can make your crochet leaf look less stiff.
Other crochet Monstera tutorials use chain spaces and skipped stitches to form these characteristic fenestrations, so this technique works particularly well for capturing the plant’s recognizable shape.

4. Work the Other Side
Once the first half looks right, return to the center vein and work the second side.
Repeat the same general process of building outward with single crochet, half double crochet, and double crochet. Add chain spaces for the openings as you go.
Try to keep the second side roughly the same size as the first, but don’t worry if it isn’t an exact mirror image.

Tip: If your leaf starts curling too much, check your tension. Very tight stitches can pull the edges inward. A slightly relaxed tension usually gives you a flatter leaf.
5. Add an Outer Edge
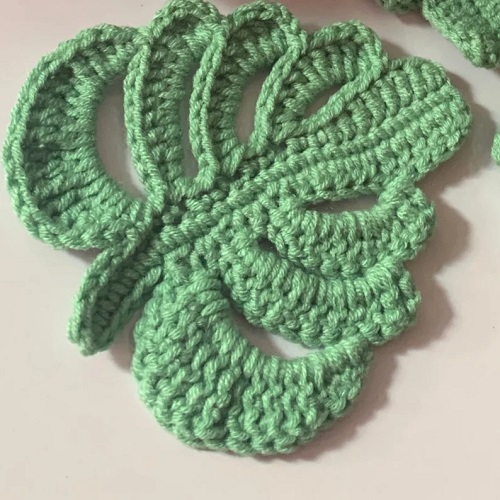
Once both sides are complete, crochet around the outside of the leaf.
A round of single crochet works well here. It gives the edges a cleaner finish and helps the leaf keep its shape.
When you reach a sharp point or split, work slowly. You may need to add or skip a stitch so the border doesn’t bunch up.
This is also a good time to look at the leaf from a distance. If one area looks too wide or too narrow, you can adjust the next leaf rather than trying to make every leaf exactly the same.
6. Shape the Leaf
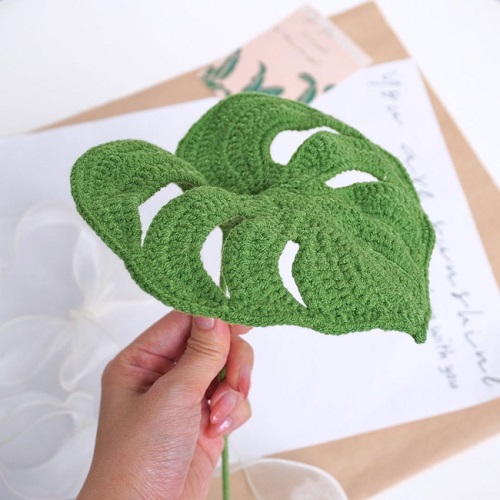
A Monstera leaf looks much better when it has a little movement instead of lying completely flat.
If you’re using floral wire, place it along the center vein before closing or finishing the crochet work. You can also use smaller pieces of flexible wire around the outer sections if you want to bend the leaf.
Be careful with exposed wire ends. Cover or secure them completely so they cannot poke through the yarn.
I would avoid using an open flame to shape acrylic yarn. Heat can melt or damage synthetic fibers and can also create a fire hazard. Instead, shape the leaf by hand or use a suitable blocking method for the particular yarn you’re using.
7. Make the Stem
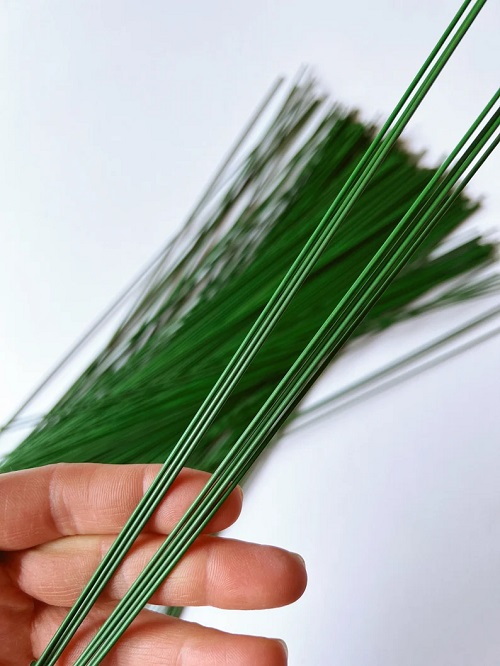
For the stem, cover a piece of floral wire with green floral tape.
Leave enough wire at the top to attach it securely to the back of the leaf. You can wrap the yarn around the attachment point or stitch the stem firmly to the leaf with a tapestry needle.
Bend the stem slightly rather than leaving it completely straight. That small curve makes a big difference once you place several leaves together.
8. Put Your Crochet Monstera Together
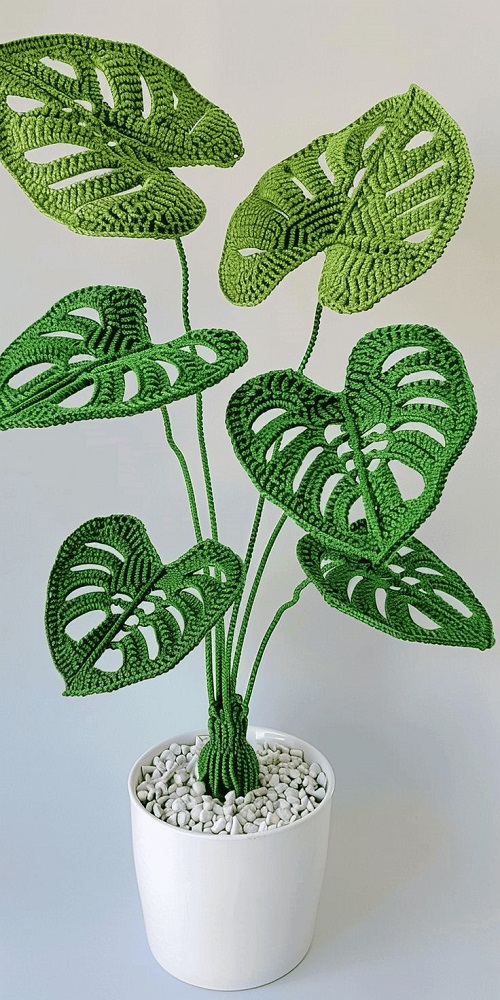
Once you have several leaves finished, arrange them before attaching them permanently.
Start with your largest leaves toward the back or bottom. Place smaller leaves around the outside and angle some of them in different directions.
You don’t need every leaf facing forward. A few turned slightly sideways will make the plant look fuller and more natural.
Place the stems into a small pot filled with floral foam, craft filler, or another suitable base. Cover the top with decorative moss, yarn, pebbles, or another material that matches your décor.
9. Make Your Monstera Look More Natural
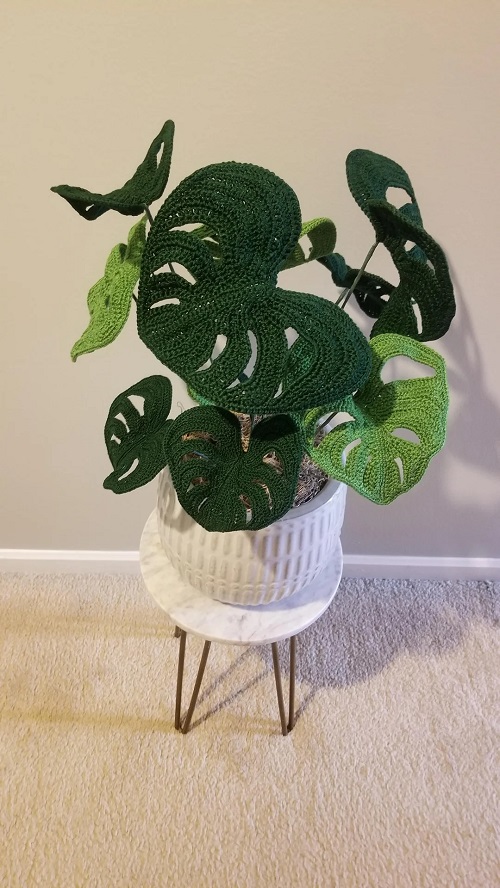
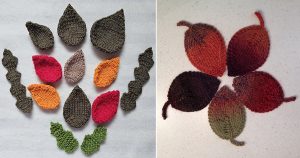
One shade of green works perfectly, but using two or three shades can make your crochet plant more interesting.
Try a darker green for the larger leaves and a slightly lighter shade for the smaller ones. You can also make a few tiny leaves and mix them between the larger pieces.
Tips to Keep in Mind
- Don’t make your first leaf too complicated. Make one and see how the stitches behave with your yarn and hook. Once you’re happy with the shape, use it as your guide for the remaining leaves.
- Keep your tension fairly even, but don’t obsess over perfection. Handmade leaves look better with a little character.
- Most importantly, focus on the shape rather than just the stitch count. The broad center, pointed sections, and open Monstera cuts are what make the finished piece recognizable.
- Once you get comfortable with the first leaf, you can experiment with different sizes and shades of green. Before long, you’ll have a whole crochet Monstera that looks great all year without asking you for a single drop of water.