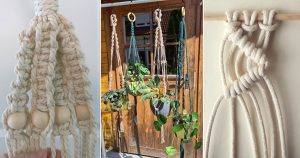
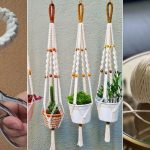
Make a No-Ring Macrame Plant Hanger with basic knots and simple steps. No special hardware needed just cord, scissors, and your favorite pot.
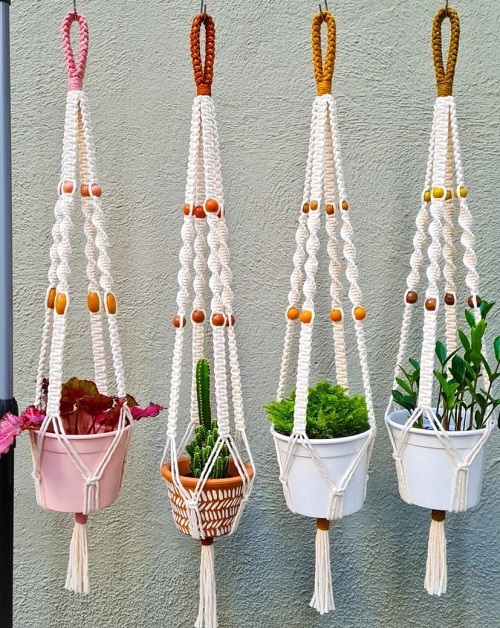
If you want to make a macrame plant hanger but don’t have a ring, you can skip it. The loop at the top uses the same cords, so you don’t need extra hardware. No-Ring Macrame Plant Hanger Tutorial is a fairly simple project once the cords are divided up. You only need an overhand knot and a gathering knot, along with some cotton cord and scissors. The measurements below are a starting point. I would still check the size against your own pot as you go.

Supplies
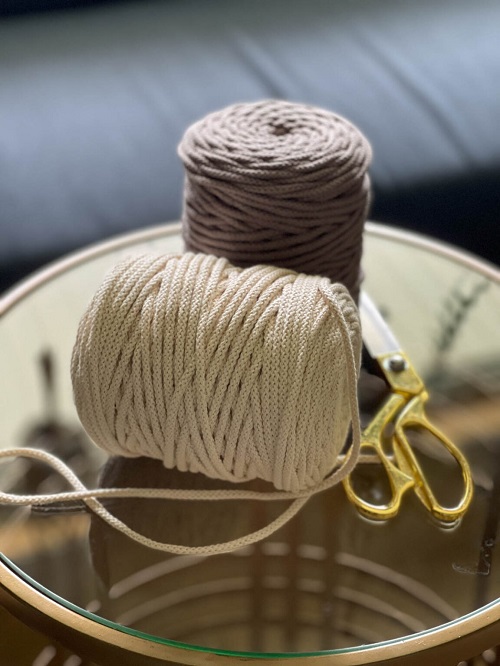
* 6 pieces of 4 mm braided cotton cord, 8 feet each
* 1 piece of cord, 12 inches long
* A second 12-inch piece if you want a gathered finish at the bottom
* Scissors
* Measuring tape
* A sturdy hook for holding the hanger while you work
Macrame Abbreviations and Terms
This project only uses a couple of basic macrame terms:
OHK – Overhand Knot
GK – Gathering Knot
WS – Working Strands
CO – Cord
No-Ring Macrame Plant Hanger
Cut and fold the cords
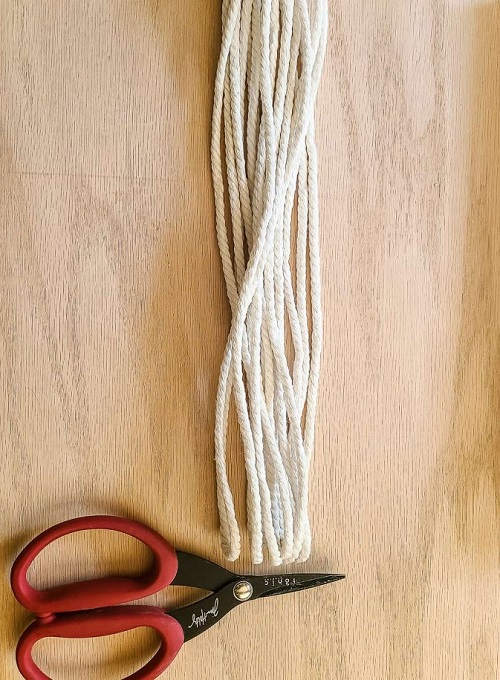
First, lay the six long cords together and straighten out the ends.
Fold all six pieces in half. This gives you a loop at one end and 12 strands at the other.
Measure about 6 inches down from the folded end. Hold the cords together at that point and make a gathering knot with the short piece of cord.
The loop doesn’t have to be exactly 6 inches. If you know where you want to hang the plant, make it longer or shorter now.
Divide the strands
Put the loop on a sturdy hook.
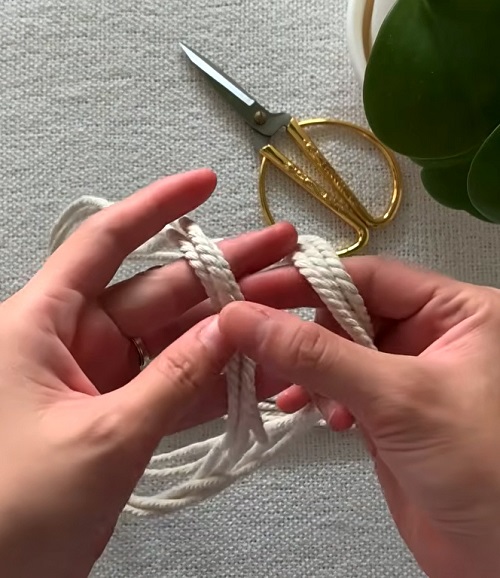
You should have 12 strands hanging down. Separate them into three groups of four. Keep one group on the left, one in the middle, and one on the right.

This is probably the part where you’ll do the most cord sorting. If the strands get mixed up, just separate them again before making the next knot.
Make the first three knots
Measure around 24 inches down from the gathering knot.
Take the four strands on the left and tie them together with an overhand knot. Tie the four middle strands in the same way, followed by the four on the right.

You should now have three knots spread across the hanger.
The 24-inch measurement is only a guide. Hold your pot underneath the hanger before you go any further. You may find that you want the knots a little higher or lower.
Join the groups
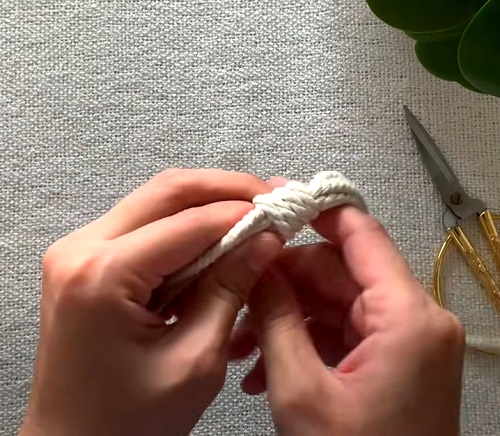
Measure about 6 inches below the three knots.

Now take two cords from the left group and two from the middle group. Tie those four cords together.
Move to the middle and right groups and do the same thing with four cords.
For the last knot, join the remaining four cords from the right and left groups.

Try to keep these three knots at about the same height. They don’t need to be perfectly measured, but large differences will make the pot sit unevenly.
Spread the cords apart with your hands. You should be able to see the beginnings of the basket.
Try the pot in it
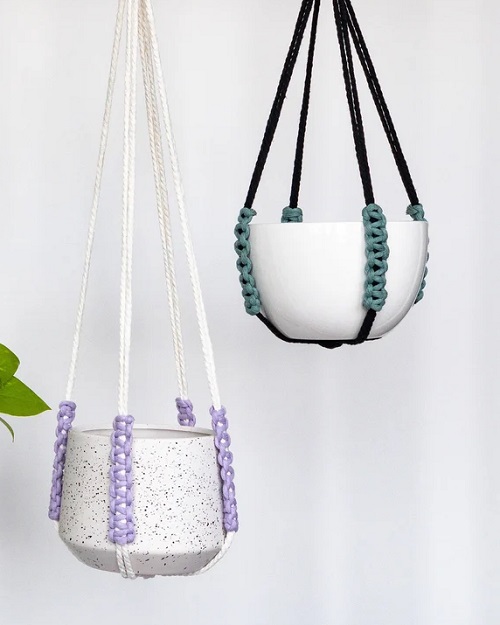

Put the empty pot into the hanger.
Don’t skip this part. It’s much easier to move a knot now than after you’ve finished the bottom.
If the sides are too loose, bring the connecting knots a little closer together. If the pot sits too high or too low, move them as needed.
You don’t have to follow the 6-inch measurement exactly. The shape of your pot matters more than the measurement in the tutorial.
Finish the bottom
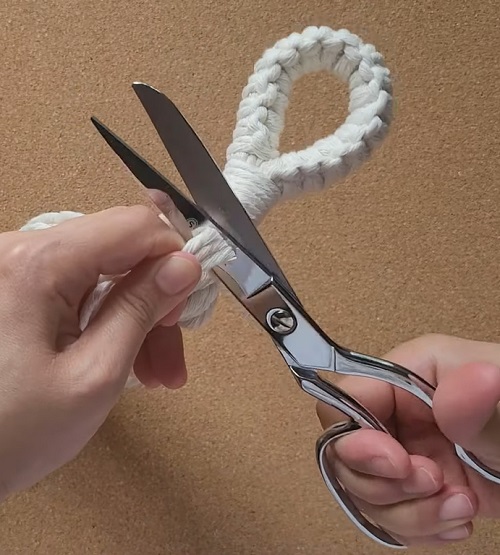
Gather all 12 strands below the basket.
For the easiest finish, tie all of them together in one large overhand knot. You can trim the ends later and make a short fringe, or leave them long.
If you prefer a more finished look, use the second short piece of cord to make a gathering knot around all 12 strands.
I would leave the fringe longer than you think you need at first. It’s easy to cut off another inch or two later.
Check everything before hanging the plant
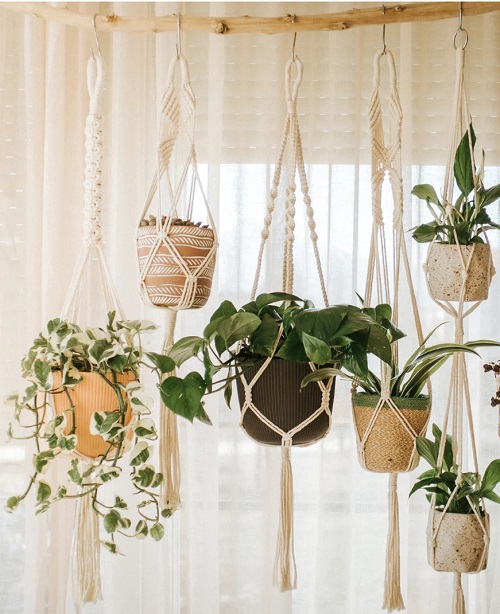
Put the empty pot back into the basket and hang it from the spot where you plan to keep it.
Make sure the pot is level and the three sections are carrying the weight evenly. Check the knots while you’re there.
Also make sure the hook or other hanging support is suitable for the total weight. Once you add wet soil and a plant, the hanger will be carrying quite a bit more than it does while you’re working on it.
When everything looks secure, add your plant.
A Few Easy Changes
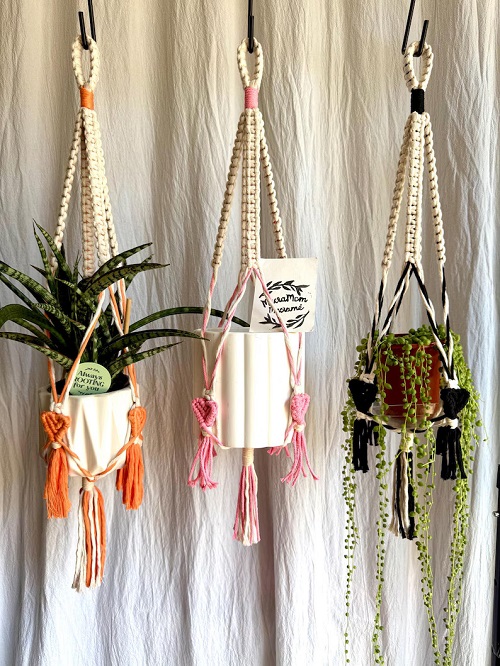
- Once you have the basic hanger down, you can change the measurements without changing the knot pattern.
- Make the top loop longer if the plant needs to hang lower. Try a different cord color, combine two colors, or leave the bottom strands long for a fuller fringe.
- You can also add extra knots if you want more detail.
- But you don’t really need to. The basic version is useful on its own, and sometimes a simple hanger looks better than one with too many knots packed into it.
If you’re new to macrame, this is a good project to start with. The knots are simple, and you don’t need a ring or a complicated pattern. The only part that takes a little attention is keeping the 12 cords in the right groups while you make the basket.