Try this Knitted Cactus Pattern Tutorial to make a cute little plant for your shelf, desk, or gift box using simple techniques.
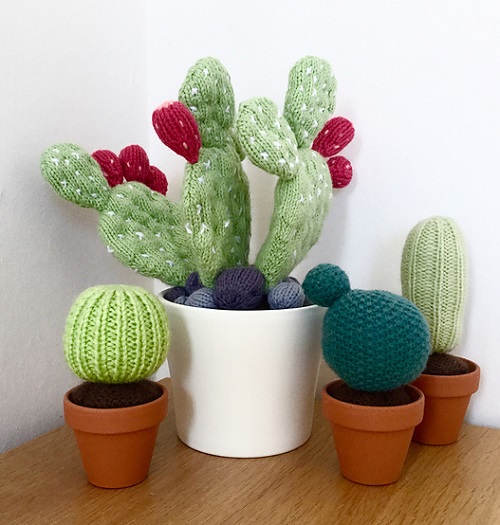
Forget about watering schedules and pick up the knitting needles instead. This Knitted Cactus Pattern Tutorial turns a few simple stitches into a little yarn plant that can sit happily on a shelf, desk, or windowsill.

A knitted cactus is also a fun project for anyone who enjoys plants but does not want another living thing to look after. There is no watering, repotting, or searching for the perfect sunny spot. The finished cactus keeps its shape and color while adding a handmade touch to a room.

The unusual shapes of real cacti also make this project quite forgiving. A slightly uneven stitch or a small difference in shape does not have to be fixed because handmade cacti do not need to look perfectly symmetrical.
Knitted Cactus Pattern Tutorial
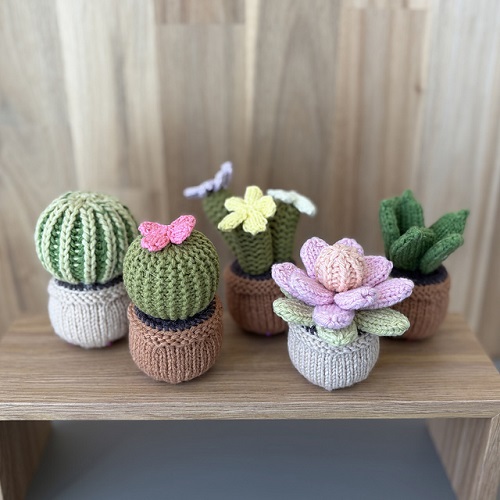
This tutorial includes three cactus designs: a small round cactus, a taller textured cactus, and a bobbly cactus made from several sections.
The pieces are knitted in the round on double-pointed needles, filled with fiber stuffing, and closed at the ends. A small crochet flower can be added afterward, although the cactus also looks good without one.
The designs can be made separately or displayed together as a little collection. Different shades of green and contrasting flowers can also give each cactus its own character.
- Skill level: Beginner to intermediate
- Techniques: Knitting in the round, ribbing, moss stitch, basic crochet
- Finished size: Varies by design
Materials You’ll Need
- DK-weight green yarn
* A second shade of green yarn
* A small amount of fluffy or mohair yarn for the tall cactus
* Contrasting yarn for the flowers
* 3.5 mm double-pointed knitting needles
* 3.5 mm crochet hook
* Toy stuffing or fiberfill
* Small plant pots
* Stitch marker
* Tapestry or darning needle
* Scissors
Leftover yarn works particularly well for this project. Small amounts are enough for the flowers, different cactus sections, or simple color changes.
Small Round Cactus
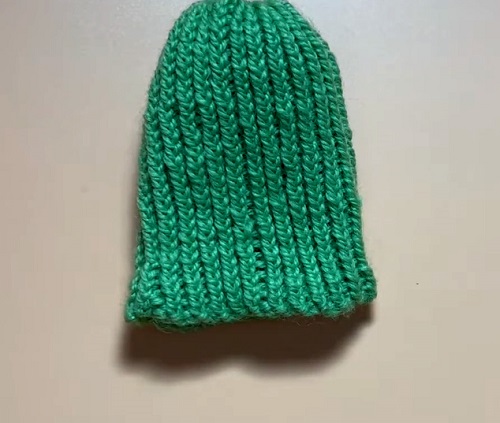
The round cactus has a simple ribbed texture and is a good place to start.

Cast on 48 stitches.
Distribute the stitches evenly across four double-pointed needles, with 12 stitches on each needle. Join to work in the round, making sure the stitches are not twisted.
Place a stitch marker at the beginning of the round.

Work the following rib pattern:
Round: Knit 1 through the back loop, purl 1; repeat around.
Continue this pattern for 30 rounds.
When the cactus reaches the desired height, cut the yarn and leave a long tail. Thread the tail through a darning needle and pass it through the remaining stitches.

Remove the stitches from the needles, pull the yarn to close the opening, and secure it.
Fill the cactus firmly with toy stuffing or fiberfill. Add enough filling to give it a rounded shape without stretching the knitting too much.
Sew the bottom opening closed using the yarn tail.

Tall Cactus
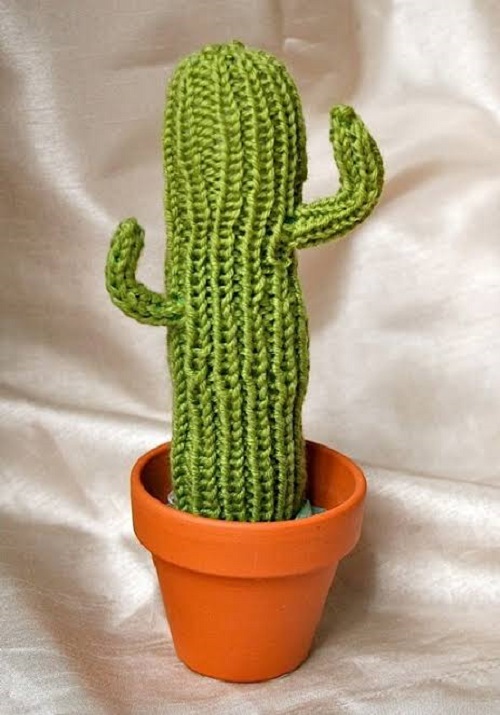
The tall cactus has a narrower shape and can be given a soft, fuzzy texture near the top.
Cast on 32 stitches.
Divide the stitches across four double-pointed needles, placing 8 stitches on each needle. Join to work in the round and place a stitch marker at the beginning of the round.

Work:
Round: Knit 1 through the back loop, purl 1; repeat around.
Continue for 30 rounds.
For a textured finish, introduce the fluffy or mohair yarn and hold it together with the main yarn.

Continue working the same rib pattern for another 20 rounds.
When the cactus has reached the desired height, cut the yarns and leave a long tail. Thread the tail through the remaining stitches and pull the opening closed.
Fill the cactus with fiberfill, shaping it as you go. Sew the bottom opening closed.
The fluffy fibers can be gently teased out with the fingers once the cactus is finished. This gives the tall design a softer surface and helps it stand out from the other knitted shapes.
Bobbly Cactus
The bobbly cactus is made from several stuffed sections joined together. It has a more irregular shape and works particularly well as part of a group of knitted plants.
For this design, even stitch counts are used so the moss stitch pattern can be worked consistently in the round.
Large Section
Cast on 40 stitches.
Divide the stitches evenly across four double-pointed needles, with 10 stitches on each needle. Join in the round without twisting the stitches.
Work the following two-round moss stitch pattern:
Round 1: Knit 1, purl 1; repeat around.
Round 2: Purl 1, knit 1; repeat around.
Repeat these two rounds for 30 rounds.
When finished, cut the yarn and leave a long tail. Thread the tail through the remaining stitches, pull the opening closed, and secure the yarn.
Fill the section with fiberfill and sew the bottom opening closed.
Medium Sections
Make two medium sections using the same moss stitch pattern.
For each section, cast on 28 stitches and divide them evenly across four double-pointed needles, with 7 stitches on each needle.
Join in the round and work:
Round 1: Knit 1, purl 1; repeat around.
Round 2: Purl 1, knit 1; repeat around.
Continue the two-round pattern for 20 rounds.
Close the top in the same way as the large section. Add fiberfill, shape the section, and sew the bottom closed.
Small Section
For the small section, cast on 16 stitches.
Divide the stitches evenly across four double-pointed needles, with 4 stitches on each needle.
Join in the round and repeat the same two moss stitch rounds for 16 rounds.
Close the top, fill the section with fiberfill, and sew the bottom opening closed.
Assemble the Bobbly Cactus
Place the two medium sections and the small section around the large section. Move them around until the overall shape looks balanced.
The smaller sections can sit at different heights or angles. There is no need to make both sides identical. A little variation gives the cactus a more natural shape.
Once the arrangement looks right, stitch the sections together securely with matching yarn and a tapestry needle.
Take a few extra stitches where the sections meet so they stay firmly attached, especially if the finished cactus will be handled often.
Add a Small Crochet Flower
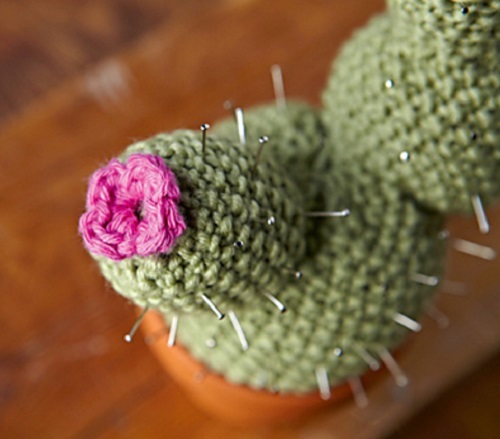
A tiny crochet flower adds a simple finishing detail to the cactus.
This flower uses UK crochet terminology.
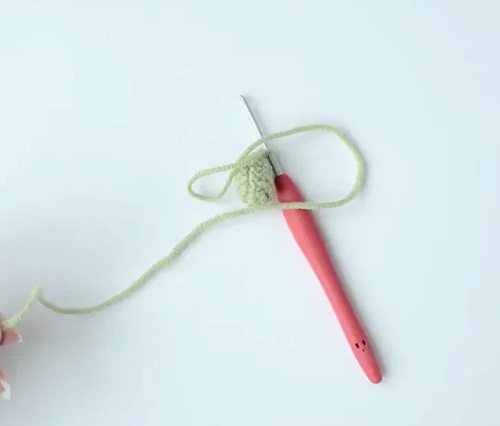
Using the contrasting yarn, make 4 chain stitches and join them with a slip stitch to form a ring.
Work 4 groups into the center of the ring:
3 treble crochets, followed by 1 slip stitch.
Repeat this sequence four times to create four small petals.
Break the yarn and pull it through the final loop. Leave enough yarn at the ends to sew the flower onto the cactus.
Position the flower at the top of the cactus and stitch it securely in place.
Several small flowers can be made in different colors when creating a group of knitted cacti.
Put the Cactus in a Plant Pot
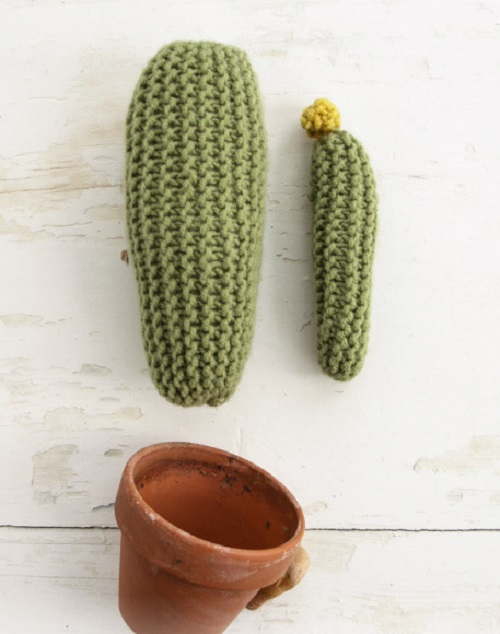
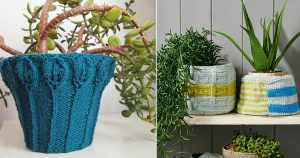
Choose a small pot that fits the finished cactus. The knitted piece should sit firmly without looking cramped.
If the cactus feels loose, add a little extra stuffing around its base. This can help keep it upright inside the pot.
A small piece of double-sided tape placed inside the pot can also help secure the cactus. This is particularly useful for lightweight knitted pieces.
Several cactus designs can be arranged together in different pots to create a small indoor display.
Ways to Personalize a Knitted Cactus
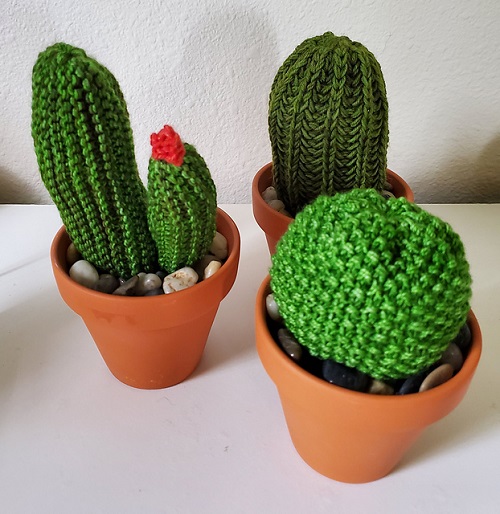
- Try olive, sage, forest green, or muted green yarn instead of using the same shade for every cactus.
- For miniature versions, use thinner yarn and appropriately smaller needles. This works well for tiny desk decorations or small shelves.
- Use chunkier yarn and larger needles for an oversized cactus. The finished piece will need more stuffing and a larger pot to support it.
- Flowers can be made in pink, yellow, white, red, or any other color that works with the chosen green yarn.
- Different cactus shapes also look better together than several identical ones. A round cactus beside a tall cactus and a bobbly design creates a more varied display.
Why Make a Knitted Cactus?
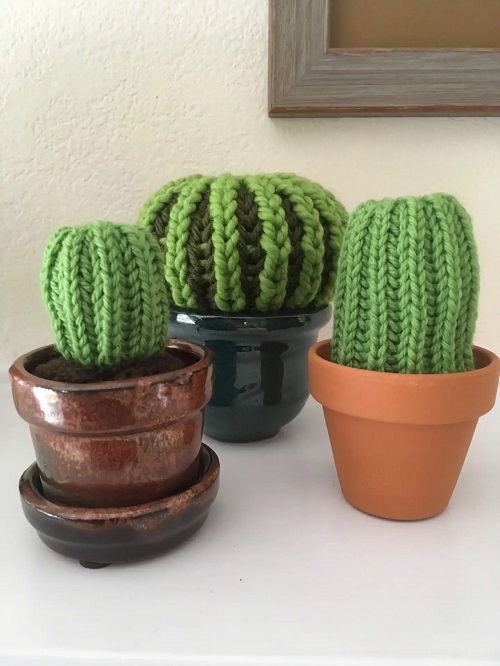
A knitted cactus brings the look of a little potted plant without the everyday care that comes with a real one.
There is no watering schedule to remember, and the finished piece does not need sunlight or regular repotting. It can sit on a desk, bookshelf, bedside table, or windowsill without changing shape as the seasons change.