Need a quick craft idea? Try this Mini Succulent Clay Craft Tutorial and turn a little clay into a charming plant for your home.
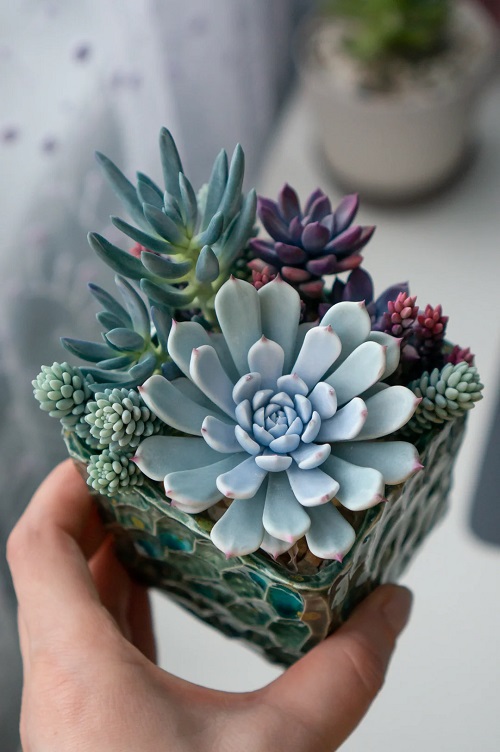
If you enjoy making small clay crafts, follow this Mini Succulent Clay Craft Tutorial. You only need a little clay, and you can make the whole plant without needing many special tools.
Once you finish it, pop it into a small pot and leave it on your desk, shelf, or beside your real plants. You can also make a few different ones and put them together. Since you are working with such small pieces, it is easy to change the leaf shape and make each plant look a little different.

Supplies
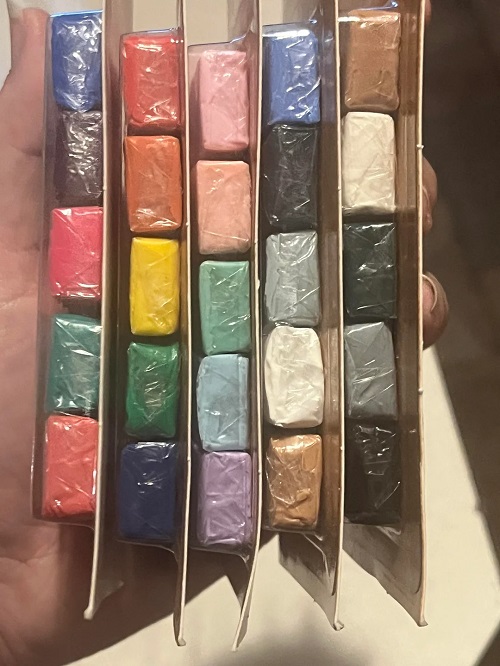
For one small succulent, you will need:
* 1 oz green polymer clay
* ¼ oz brown polymer clay
* 1 small pot, about 1½–2 inches wide
* 1 toothpick or clay tool
* 1 small craft knife
* Parchment paper
* 1 baking tray
* A small amount of acrylic paint, optional
* Clear sealer, optional
You may use a little less or more green clay depending on how full you want the plant. Keep some extra nearby. Once you start adding the leaves, you may decide that your succulent needs another layer.
Mini Succulent Clay Craft Tutorial
Shape the Leaves
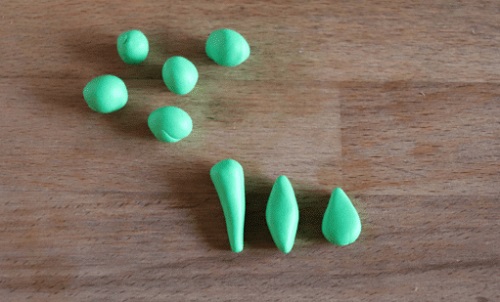
Take a small piece of green clay and roll it between your fingers. Flatten it gently and pinch one end to make it slightly pointed.
Keep making leaves in the same way. Make the first few smaller because they will sit in the middle. As you work outward, make the leaves a little bigger.
Do not worry about making every leaf the same size. You will actually get a better-looking plant if they are slightly different.
For a little detail, use the tip of a toothpick to make a shallow line down the middle of a few leaves. You do not have to mark all of them.
Put the Leaves Together
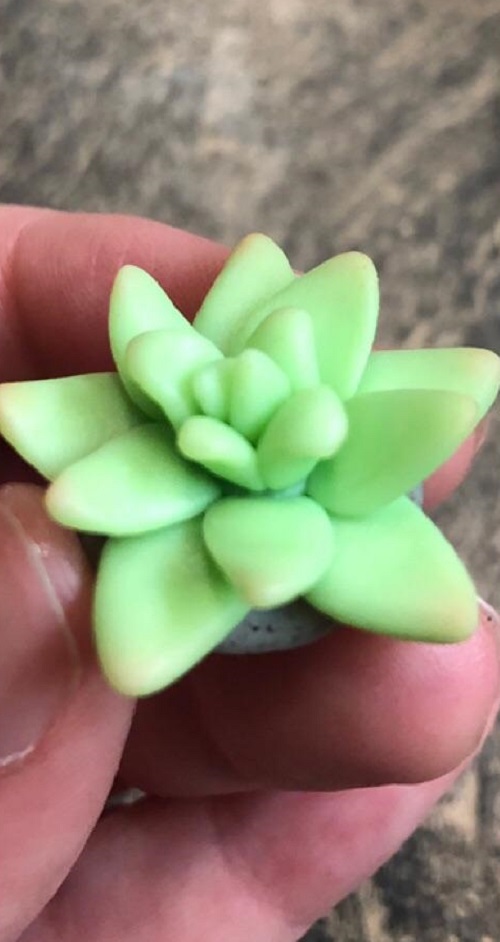
Take one of your smallest leaves and curl it slightly toward the center. Place another leaf around it.
Keep adding leaves, working your way around the center. Let each new leaf overlap the previous one a little.

At first, the shape may not look much like a succulent. Keep adding the leaves. After a few layers, you should start seeing the rosette.
As you get closer to the outside, bend some leaves outward. Leave a few pointing up. This keeps the plant from looking too flat.
Turn the piece around as you work. If you notice an empty space, add another leaf there. You do not need to make the shape perfectly even.

Make a Pointed Succulent
You can make another style with longer leaves.
Take small pieces of green clay and roll them into narrow shapes. Make one end thinner, then flatten each piece slightly.
Bring the leaves together at the bottom. Put the longer ones toward the center and the shorter ones around the outside.

Give a few leaves a small curve with your fingers. If you have two shades of green, use both. You can also make the whole plant from one color.
Make the Small Pot
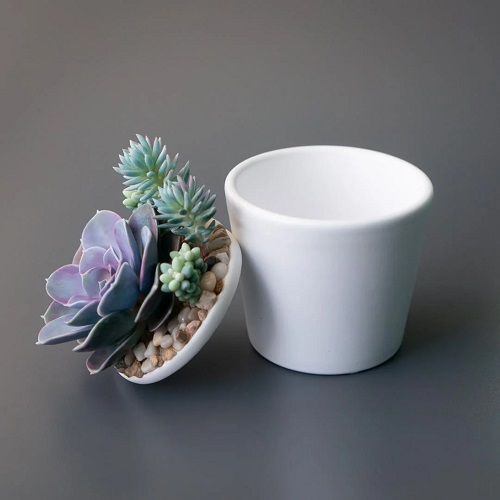
You can use a miniature pot you already have, or make one from clay.
For a small pot, use about ½ oz of clay. Roll it into a ball and press your thumb into the center. Slowly widen the opening while turning the clay in your hand.

Try to leave the bottom slightly thicker than the sides. You do not need to get the shape perfectly smooth.
Take a small piece of brown clay for the soil. Flatten it and press it into the top of the pot. Use your toothpick to make a few rough marks across the surface.
Now place your succulent on top.

Look at the size of the plant compared with the pot. If the plant looks too small, add a few more leaves. If it looks too big, remove one or two from the outside.
Check It Before Baking
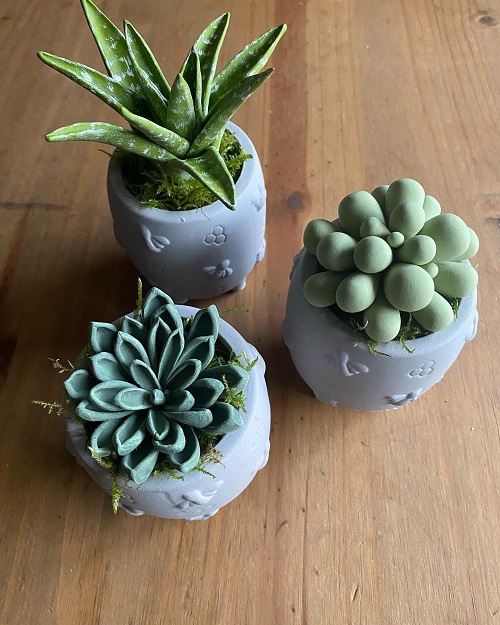
Take a minute to look at your succulent from different angles.
Check the top and sides. Move any leaves that have slipped out of place and fill any obvious gaps.
This is also your chance to make the plant sit properly in the pot. Press it down gently if needed, but do not squash the leaves.
Once you are happy with it, place the pieces on parchment paper on your baking tray.
Bake the Clay
Check the instructions on your polymer clay package before you put the tray in the oven. The temperature and baking time can vary between brands.
Bake the pieces according to those instructions.
When you take them out, let them cool completely before handling them much. The little leaves are easier to damage while the clay is still warm.
Add Some Color
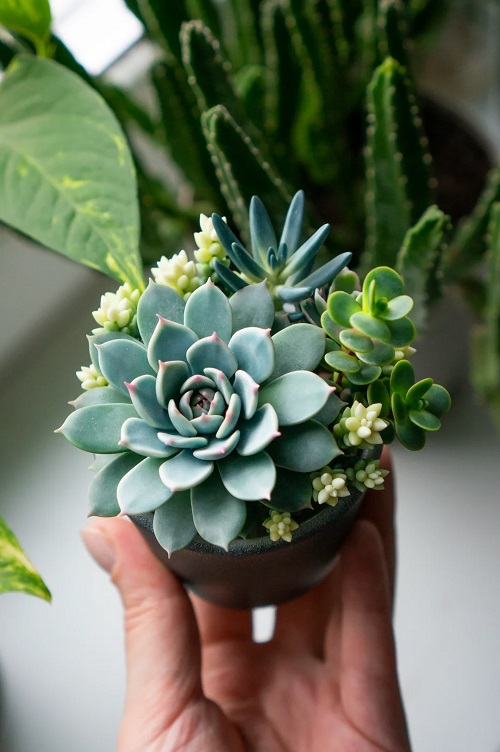
You can leave the succulent as it is after baking, especially if you like the color of the clay.
If you want more detail, use a small brush and a little acrylic paint. Try adding a darker green around the center of the rosette so the layers stand out.
You can paint the pot too. White, terracotta, or a soft pastel color would work nicely.
Let the paint dry before using clear sealer.
Display Your Mini Succulents
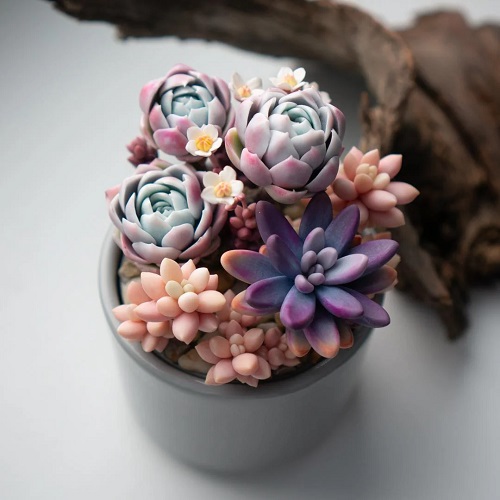
Once your first one is finished, you may want to make another.
Try changing the shape of the leaves or making one plant taller than the other. Put each one in a different little pot, then arrange them together on a shelf or desk.
You can also use them in a miniature garden or dollhouse display.
The nice thing about these clay succulents is that you can put them almost anywhere. You do not have to think about watering, sunlight, or moving them around to keep them healthy. Just make them, find a little spot for them, and enjoy your tiny plants.