Learn how to sew a Stuffed Pumpkin with simple steps and supplies. Choose your favorite fabric and make a cute fall decoration.
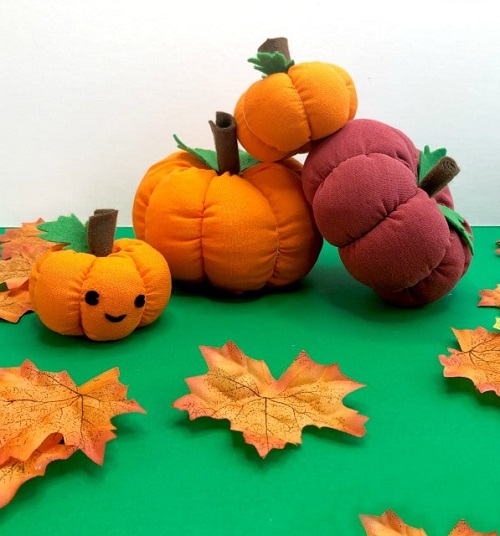
Have some fabric scraps left over from another project? Put them to good use by sewing a stuffed pumpkin for your fall decorations. You only need a few basic supplies, and even if you are new to sewing, you can manage this project with a little patience. Once finished, your pumpkin will look right at home on a shelf, table, or windowsill.

Orange cotton is a good choice for a traditional pumpkin, but you can use any color or print you like. Add a small stem and a couple of leaves at the end, and you’ll have a handmade decoration ready to display.

How to Sew a Stuffed Pumpkin
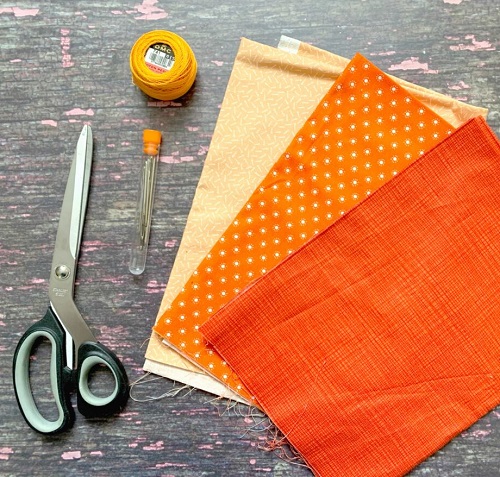
Materials You Will Need
Gather everything before you start so you don’t have to stop halfway through.
– Orange fabric for the pumpkin
– Brown or green fabric for the stem
– Green felt for the leaves
– Polyester stuffing
– Matching thread
– Needle or sewing machine
– Scissors
– Pins or sewing clips
– Paper and pencil for the pattern
– Long needle and strong thread for shaping the pumpkin
Cotton fabric is a good option if you’re still learning to sew because it’s easy to cut and handle. Fabric scraps work just as well, provided they’re large enough for the pattern pieces.
Step 1: Cut the Fabric Pieces
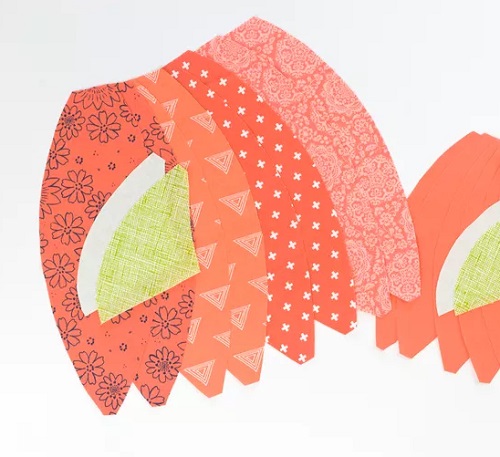
First, draw a long oval on a sheet of paper, roughly 8 inches long and 4 inches wide. This will be your pattern for one pumpkin section.
Cut out the pattern and use it to mark six matching pieces on your orange fabric. Cut along the outlines carefully. For a pumpkin with more ridges, you can make eight sections instead.
Try to keep all the pieces as close to the same size as possible. Uneven pieces can make the finished pumpkin look lopsided, so take a moment to check them before moving on.
Step 2: Sew the Sections Together
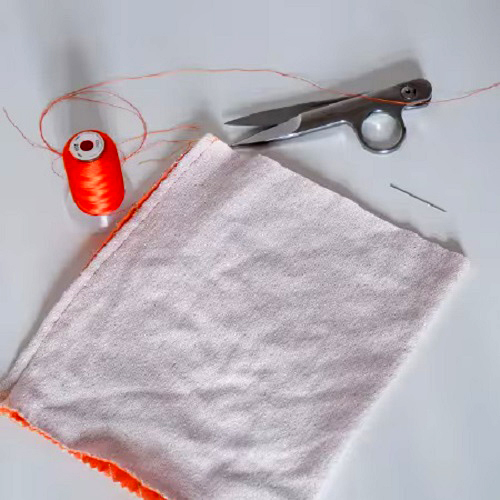
Place two fabric pieces together with their right sides facing inward. Sew along one of the long curved edges, leaving a seam allowance of about ¼ inch.

Take another piece and sew it to one of the open edges. Continue adding the remaining pieces until they form a rounded shape. As you work, check that the seams meet neatly at both ends. This will help you get a more even pumpkin once it’s stuffed.
Leave a small opening near the bottom for turning and stuffing the fabric. If you’re using a sewing machine, take your time around the curves. Pins or sewing clips will help keep the layers from slipping while you sew.
Step 3: Turn and Stuff the Pumpkin
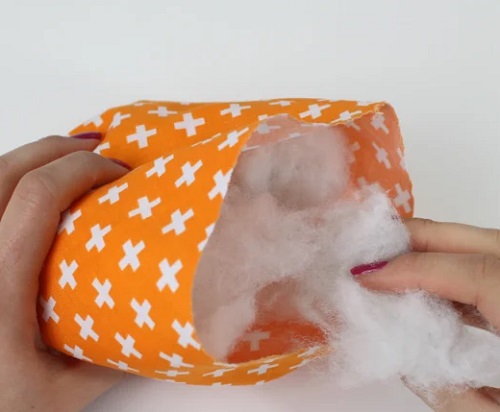
Turn the sewn fabric right side out through the opening. Gently smooth the seams with your fingers, taking care not to stretch the fabric.

Now start filling the pumpkin with polyester stuffing. Add small amounts at a time, pushing the filling into the sides so the whole shape fills out evenly. If you add too much at once, you may end up with empty spots or uneven sections.
Keep going until the pumpkin feels firm but still gives a little when you press it. Overstuffing can put too much pressure on the seams, so there’s no need to pack it tightly.
Once you’re happy with the shape, fold the raw edges of the opening inward and sew them closed with small, neat stitches.

Step 4: Shape the Pumpkin Ridges
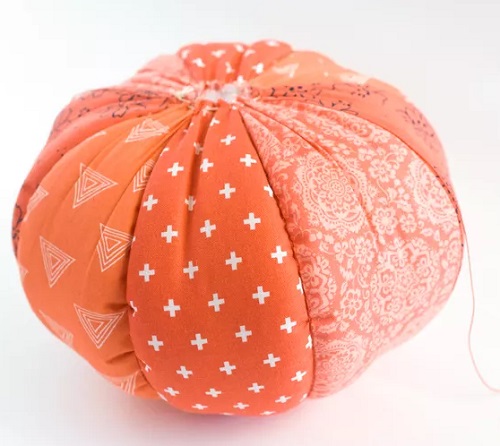
At this point, your pumpkin might look more like a round cushion than a pumpkin. A little extra stitching will give it those familiar ridges.
Thread a long needle with strong thread or embroidery floss and tie a knot at the end. Push the needle through the center of the pumpkin, from the bottom to the top. Pull the thread until you see a small dip forming at the top.
Next, bring the thread around the outside of the pumpkin and pass it through the center again. Repeat this a few times, spacing the thread evenly around the shape. As you tighten the thread, it will pull the fabric inward and create ridges between the sections.

Keep the tension firm enough to shape the pumpkin without pulling the fabric too tightly. When the ridges look even, secure the thread with a knot.
Step 5: Make the Stem
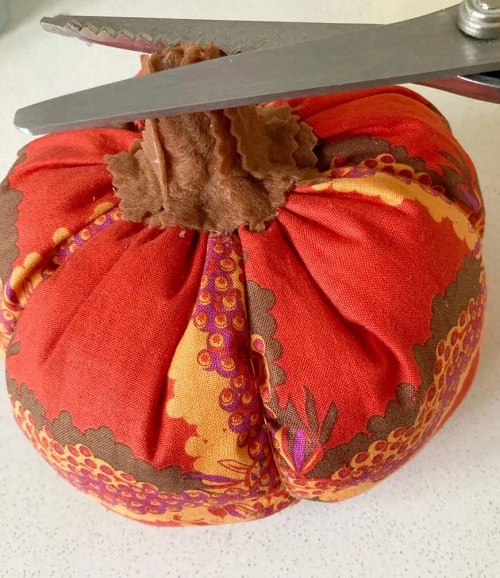
For a simple fabric stem, cut a small rectangle from your brown or green fabric. Fold it lengthwise with the right sides together and sew along the long edge.
Turn the fabric right side out. You can leave the stem flat or add a little stuffing if you’d like it to look thicker. Fold the open edges inward and stitch them closed.

Place the stem over the dip at the top of the pumpkin and sew it securely in place. You can make it short and stubby or leave it a little taller, depending on the look you prefer.
If you have a small, dry twig, you can use that instead of fabric. Just make sure it’s attached firmly so it doesn’t fall out when you pick up or move the pumpkin.
Step 6: Add Leaves and Finishing Touches
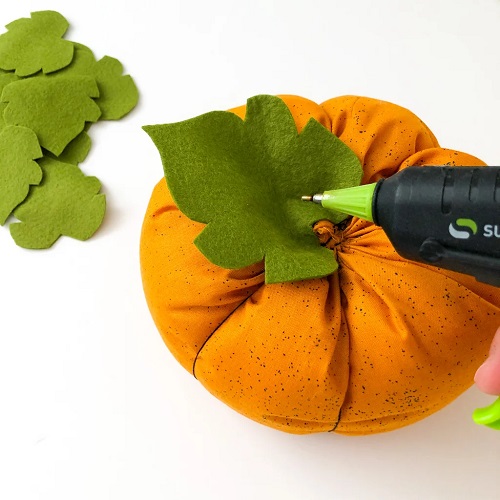
Cut one or two leaf shapes from green felt. If you’re unsure about the shape, sketch the leaves on paper first and use the outline as a guide. Attach them near the base of the stem with a few stitches or fabric glue.

Want to add a little curl? Wrap a piece of green floral wire around a pencil, then slide it off to create a small vine. Attach it near the stem and tuck the wire ends away so they won’t catch on your hands or nearby fabric.
You don’t need to add every detail. A plain pumpkin can look just as good, especially if you’ve chosen a fabric with an interesting print. You could also make a few pumpkins in different colors and sizes to go together.
A Few Things to Keep in Mind
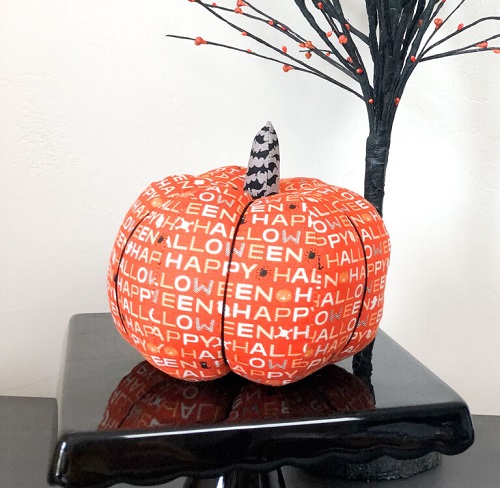
Before turning the pumpkin right side out, check the seams for gaps. Even a small opening can let the stuffing escape, so stitch any loose areas before moving on.
When filling the pumpkin, add the stuffing gradually and spread it into the sides. This makes it easier to spot empty areas and helps the pumpkin hold its shape.
You can also adjust the size of your paper pattern to make larger or smaller pumpkins. Try making one large pumpkin with a few smaller ones beside it for an autumn display.
Finish Your Fabric Pumpkin
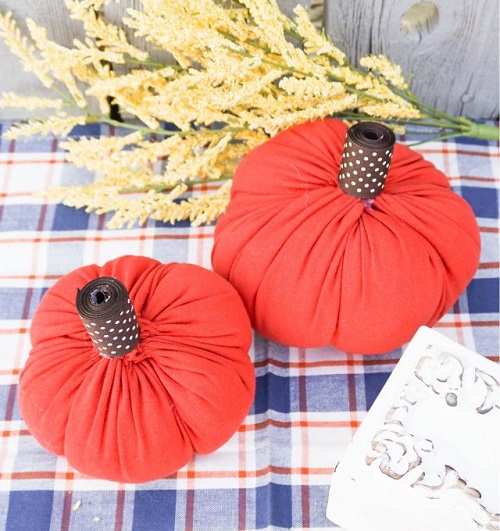
Your fabric pumpkin is ready to display once you’ve added the stuffing, shaped the sections, and attached the stem and leaves. Place it on a shelf, use it as a table decoration, or set it beside other fall crafts.
You can use whatever fabric you have at home and make the pumpkin as big or small as you like. For your first one, try six sections and a simple stem. Once you get the hang of it, you can try different fabrics or make a few pumpkins in different sizes.