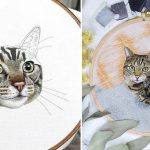
Try this Cat Embroidery Pattern Tutorial and stitch a cute feline with simple steps. Pick your favorite colors and make it your own.
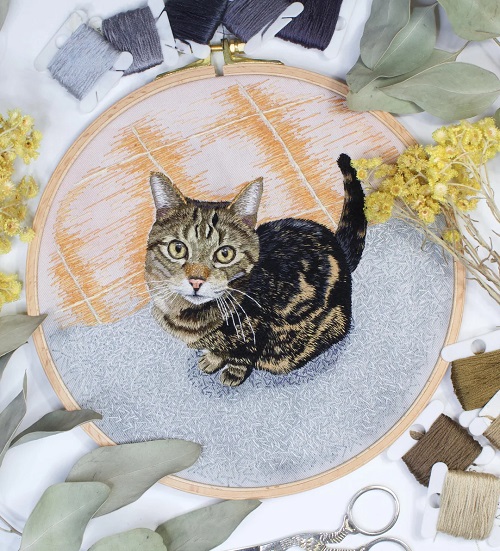
Cat faces are surprisingly easy to turn into embroidery. A couple of pointed ears, a rounded head, two eyes, a tiny nose, and some whiskers are enough to make the design recognizable. After that, you can decide how much detail you want to add. This Cat Embroidery Pattern Tutorial makes a nice small project when you are still getting used to embroidery. You can work on one feature at a time, and if an eye ends up slightly too big or a whisker is in the wrong place, it is easy enough to take out a few stitches and fix it.

You will mostly use backstitch, satin stitch, and straight stitch for this design. They are simple stitches, but you can do quite a lot with them.

What you need
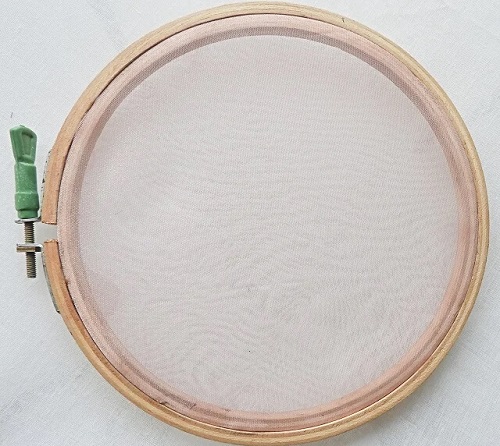
* 4- to 6-inch embroidery hoop
* Cotton or linen fabric
* Embroidery needle
* Embroidery floss
* Small, sharp scissors
* Pencil or washable fabric marker
* Tracing paper, if you are transferring a separate drawing
Pick the thread colors before you begin, especially if you already have a particular cat in mind. Black, gray, orange, cream, brown, and white are all useful choices. You can also forget about realistic colors altogether and make a pink, blue-gray, or mixed-color cat.
Keep a dark shade handy for the eyes, nose, mouth, and whiskers. Those smaller features usually look clearer when they have a little contrast against the face.
Cat Embroidery Pattern Tutorial
Step 1: Sketch and Transfer the Design
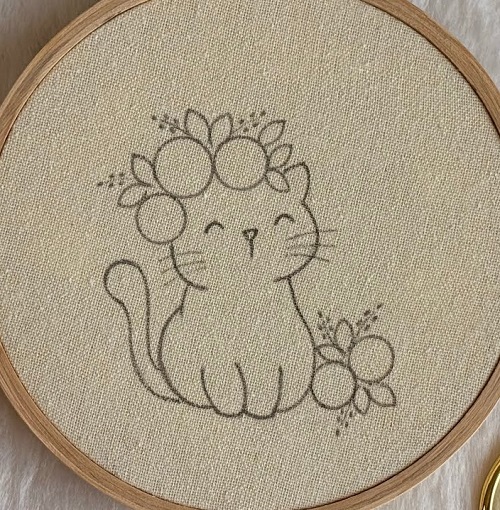
Keep the drawing fairly simple. You are going to stitch these lines, so tiny details that look fine on paper can become a nuisance once you put a needle through them.
Start with the ears. Two simple triangles are enough. Bring the lines down from each ear and curve them around to make the sides and bottom of the head. It does not have to be perfectly symmetrical. In fact, a slightly uneven outline can give the finished piece a more handmade look.
Place the eyes underneath the ears, leaving enough space between them. A small triangle works for the nose, with a short line underneath for the mouth. You can sketch the whiskers lightly, but prefer to decide their exact position while stitching.
A face by itself works well in a small hoop. For a fuller design, draw a neck, two front legs, and a rounded body underneath.

Cut your fabric with several inches of extra material around the design. Fit it into the hoop and tighten it until the surface feels firm. You want the fabric to stay smooth while you stitch, but do not pull it so hard that the weave becomes distorted.
Transfer the cat using a washable fabric marker or whichever method suits your fabric. Keep the lines light. They only need to guide you while you work.
Before reaching for your needle, look at the whole design from a little distance. Check that the cat is sitting where you want it and that there is enough room around the edges. This takes less than a minute and can save you from having to move the design later.

Step 2: Stitch the Face First
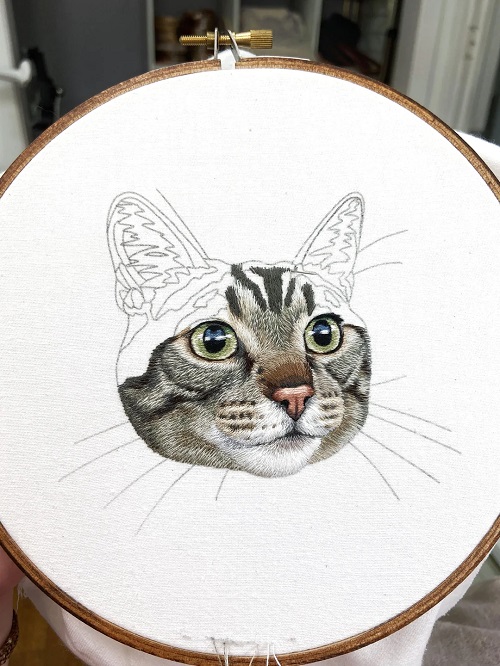
It’s easier to start with the outline of the head. Once that shape is stitched, the position of the eyes, nose, and other features becomes much easier to judge.
Use backstitch around the head. Bring the needle up at the start of the line, make a small stitch, then bring the needle up farther along the outline. Insert it at the end of the previous stitch and continue in the same way.
Keep your stitches a little shorter around the ears and curves. The pointed tips, especially, are easier to handle when you are not trying to make one long stitch.

Two or three strands of floss will give you a clear outline. Black creates a strong contrast, while dark brown or gray gives a softer effect. Match the outline to the rest of the cat rather than feeling that it has to be black.
The stitches do not have to be identical. What matters is that the line looks steady when you step back and look at it as a whole.
Step 3: Work on the Ears, Eyes, and Nose
The inside of the ears is a good place to add a small patch of color. Pink is the obvious choice, but peach, pale brown, or gray can work just as well.

For a filled inner ear, use satin stitch and keep the stitches fairly short. The smaller the area, the easier it is to keep the stitches tidy when they are not too long. If satin stitch feels fiddly, use a few short straight stitches instead. They give you a lighter result and take much less time.
Then come to the eyes. This is probably the part where you will notice even a tiny change, so take a moment before stitching them.
Draw two small ovals and fill them with dark thread. Satin stitch gives a smooth finish, although short straight stitches will also work. Leaving a tiny spot of fabric uncovered creates a highlight. Another option is to add a single white stitch afterward.

Check both eyes together before moving on. They do not have to be mirror images, but keep them close in size and height. If you want a sleepy expression, skip the filled eyes and stitch two curved lines instead.
The nose is small enough that you will only need a little floss. Fill the triangle with satin stitch, then use one or two strands for the mouth. Stitch a short line down from the nose and add two small curves underneath.
Keep the mouth lighter than the eyes. If it becomes too dark, it can quickly become the first thing you notice.

Step 4: Finish the Face With Whiskers and Fur
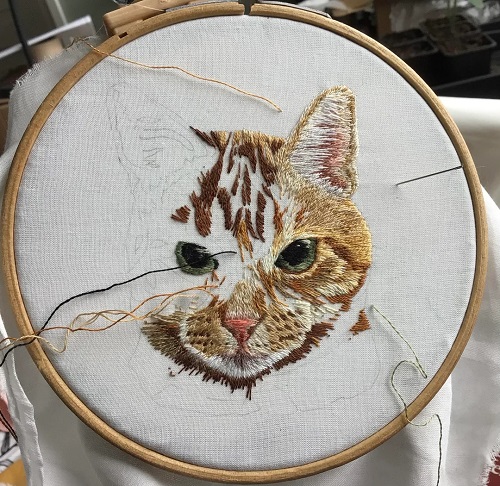
Whiskers are best done with one strand of floss. Bring the needle up close to the nose and make three fine straight stitches on each side.
Do not worry about getting every whisker exactly the same length. Slight differences are perfectly fine here. What you want to avoid is placing them so close together that they turn into one dark patch.
Before adding any more, pause and look at the face. It may already be finished.
If you want a little more texture, add short straight stitches around the cheeks, forehead, and ears. Follow the direction of the fur rather than placing the marks randomly. Cheek stitches can point outward, while forehead marks can angle upward.
For stripes, use a darker shade and add a few marks across the forehead and cheeks. With a solid-colored cat, a slightly lighter or darker version of the main color is enough to add some variation.
You really do not need many fur stitches. Too many can make a small face look crowded.
Step 5: Add a Body if You Want More Than a Face
A body gives you a larger design to work with, but the face can easily stand alone.
For a sitting cat, draw two front legs and a rounded body below the head. Outline the shape with backstitch and add a few short stitches to separate the toes.
Leaving most of the body as plain fabric keeps the design light. If you want more texture, work some straight stitches in the direction the fur would grow. You do not have to fill the entire body.
For a first attempt, keep the body fairly open. The face carries most of the expression anyway.
Step 6: Add Small Extras
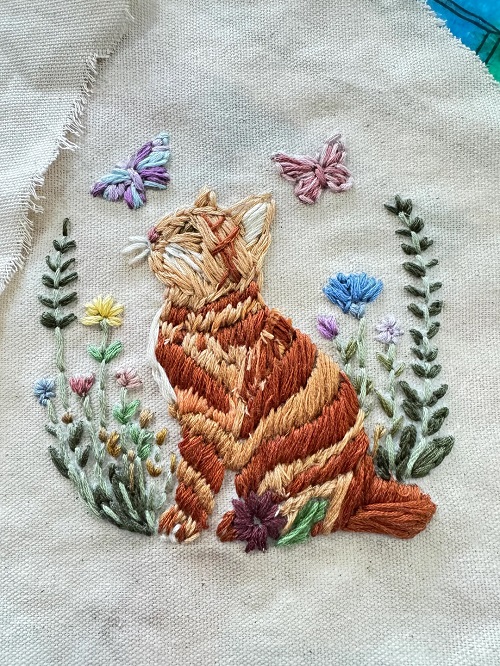
Once the cat is stitched, have a look at it before adding anything else. Sometimes the simplest version is the one that works.
A narrow collar is easy to add. Stitch a curved line around the neck and use a tiny French knot for the tag. A flower, a few leaves, or some small stars can also fill empty space around the cat.
If you are making the embroidery as a gift, stitching the cat’s name underneath is a simple way to make it more personal.
You can also change the expression instead of adding decorations. Larger ears, rounder eyes, closed eyes, a wider face, or a small bow can make the same basic pattern look completely different.
Step 7: Choose Your Colors
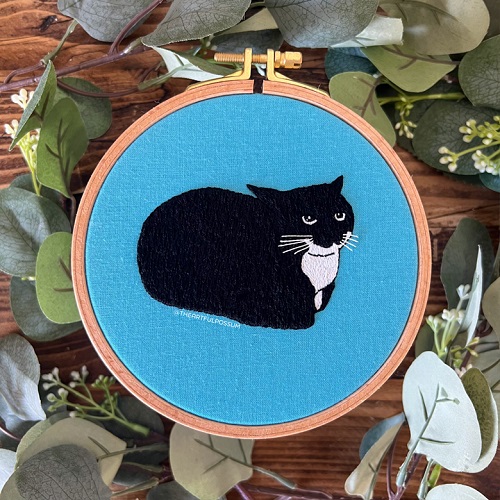
There is plenty of room to play with color here.
An orange cat with darker forehead stripes is easy to stitch. For gray fur, try two shades of gray rather than relying on one color throughout. A black cat on cream fabric gives you strong contrast, particularly if you add light-colored eyes.
If you are trying to capture your own cat, look at a photograph while choosing the details. You do not need to copy every patch of fur. Think about the features you would notice first.
A white chin, one dark patch around an eye, different-colored ears, or a particular stripe pattern may be enough to make the finished embroidery look like your pet.
Step 8: Keep These Things in Mind While Stitching
Keep your embroidery floss reasonably short. Long lengths are more likely to twist, knot, and become difficult to manage, especially when you are using several strands.
Two or three strands work well for the main outline. Change to one strand when you get to whiskers, the mouth, or other very small details.
Watch the tension too. If the fabric starts puckering around your stitches, you may be pulling the thread too tightly. The stitch only needs to sit against the fabric. Tugging harder will not make it neater.
And if something looks wrong, take it out. This is one of those projects where removing three or four stitches can make a bigger difference than adding ten more. I would rather redo an eye than keep looking at one that never quite looks right.
Step 9: Finish and Make a Few Final Checks
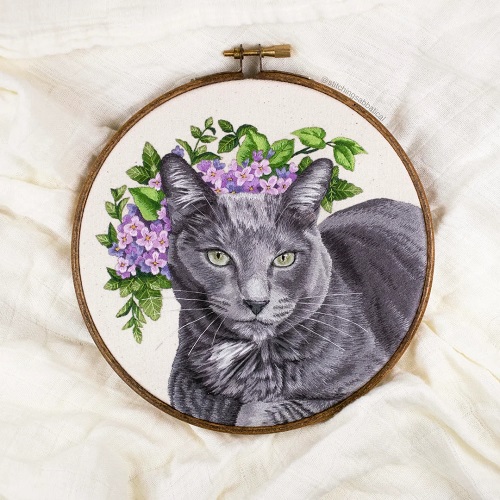
When the cat looks finished, put the needle down and look at the whole piece. Check the eyes, whiskers, mouth, and outline from a little distance. Small problems are much easier to spot this way.
Turn the hoop over as well. Secure the final thread with a few small stitches and trim away long ends. Try not to leave bulky knots behind the design.
If the embroidery is staying in the hoop, trim the excess fabric around the back and fold it neatly inward. You can secure it with small stitches or cover the back with a piece of felt if you want a cleaner finish.