
Learn the Square Knot Macrame Tutorial step by step and try this easy knot for plant hangers, wall hangings, bracelets, and more.
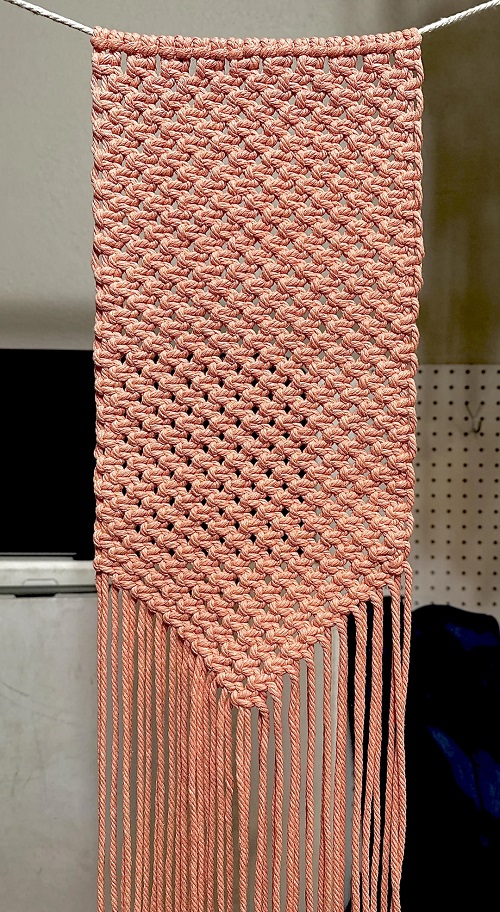
Want to try a simple macrame project? This Square Knot Macrame Tutorial will show you how to tie the knot step by step. You only need a few cords and basic supplies to get started. Once you learn the technique, you can use it to make plant hangers, bracelets, and wall hangings.
What You Need

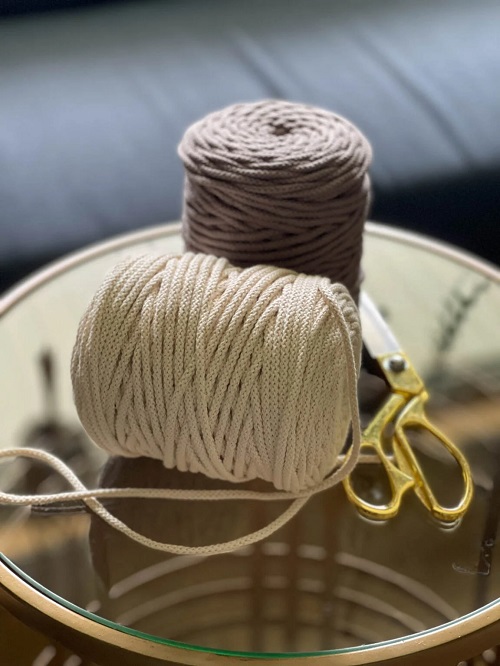

- Gather four lengths of macrame cord,
- scissors, and something to hold the cords while you work.
- A wooden dowel is useful, but taping the cords to a table works just as well.
For practice, try cotton cord around 3 mm thick. It is easy to see and handle, which helps when you are learning where each cord should go.
Secure the four cords at the top and let them hang down. The two in the middle will form the center of the knot. The cords on either side will move around them, so leave enough length to work comfortably.
Square Knot Macrame Tutorial
Begin on the Left
Take the cord on the left and lay it across the front of the two middle cords. This leaves a loop on the left side.
Now pick up the cord on the right. Pass it over the loose end of the left cord, behind the middle pair, and through the loop you just made. Pull both outside cords gently to close the knot.
You have made the first half. It may not look finished yet, and that is fine.
Switch to the Right
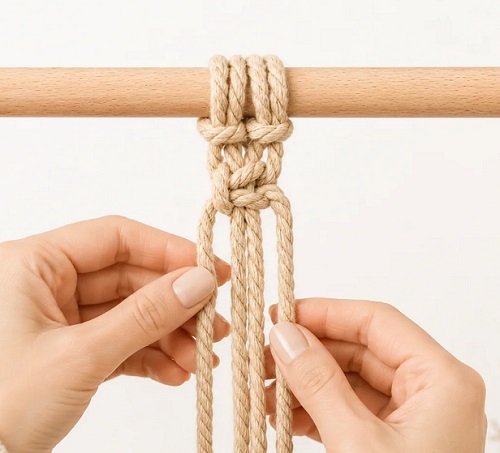
For the second half, start with the right cord. Bring it across the front of the middle cords, leaving a loop on the right.
Take the left cord over the loose end, pass it behind the middle pair, and bring it through the right loop. Pull the outside cords apart until the knot sits neatly around the center cords.

That’s your first square knot.
Look at it before moving on. The two halves should balance each other rather than twist to one side. If the knot looks like a spiral, check whether you switched sides for the second half.
Keep Going
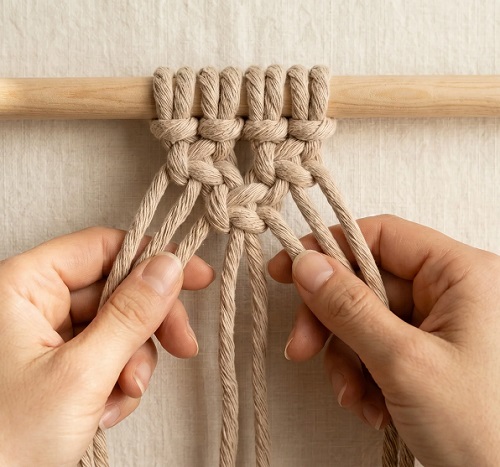
To make another square knot, start with the left cord again and repeat both movements. Try to keep the middle cords straight as you work.
Your first few knots might vary in size. Don’t worry too much about that. After making a short row, you will start to notice how tightly to pull the cords and how much space to leave between knots.
Getting the Knots to Sit Properly
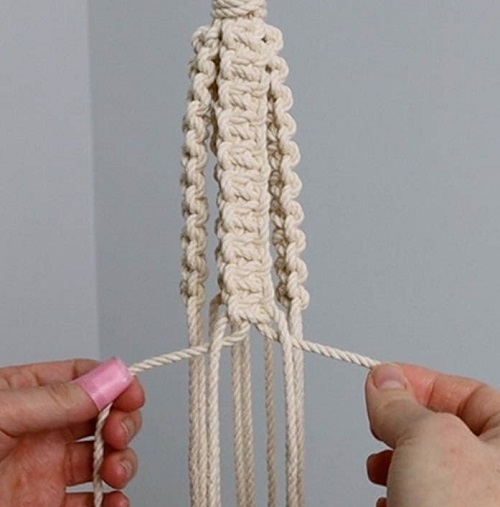
Uneven tension is a common reason a macrame row looks untidy. One knot may be tight while the next sits loosely underneath it. Pull the working cords with similar pressure each time, and check the shape before starting another knot.
The middle cords can move out of place, too. If they spread apart, bring them back together before continuing. This small adjustment can make the finished row look much neater.

What if the whole piece starts to twist? Check the direction of your knots. A square knot uses opposite movements for its two halves. If you keep starting from the same side, the cord will curl into a spiral.
Make an Open Pattern With Square Knots
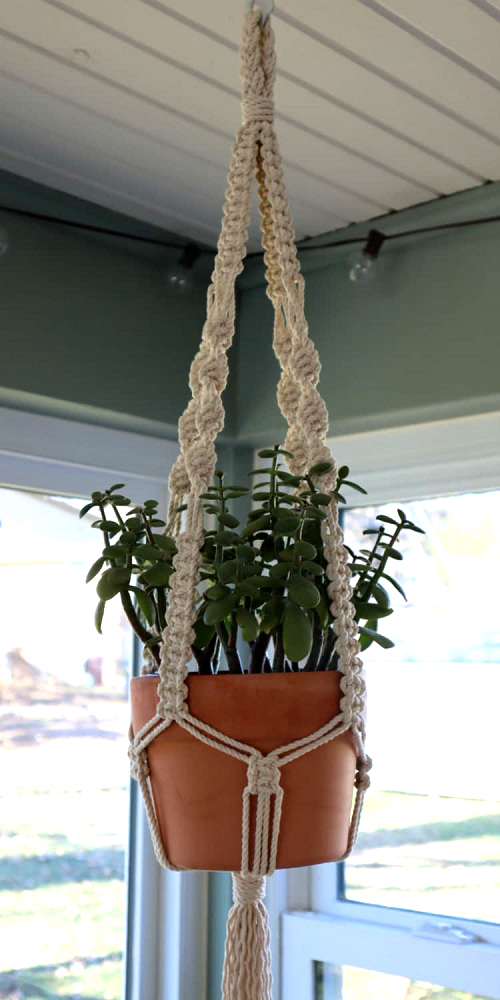
Once you have a few neat rows, try leaving spaces between the knots. This pattern is often used in plant hangers because it creates a net-like section around the pot.
Start with a row of square knots, using four cords for each knot. For the next row, leave the two outermost cords unused. Take two cords from one knot and two from the neighboring knot to make a new group of four.
Tie a square knot with that group, then continue across the row. Each new knot sits between the knots above it, creating small gaps.
Keep the spacing fairly consistent. If the gaps are too different in size, the pattern can look uneven. Practice a few rows first to see how the design comes together before using it in a larger project.
Make a Spiral With the Same Knot
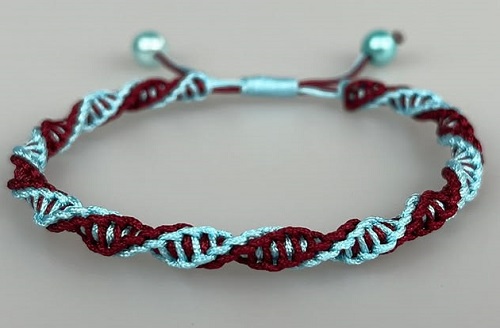
You can make a spiral using the same square knot. The only difference is how you repeat the steps.
Start by making half a knot from the left side. Instead of switching to the right for the next half, begin on the left again. Keep doing this, and the cords will slowly twist into a spiral.
This pattern works well for bracelets, keychains, and plant hangers. If you want the knots to lie flat, alternate sides. If you prefer a twisted look, keep starting from the same side.
Common Square Knot Problems
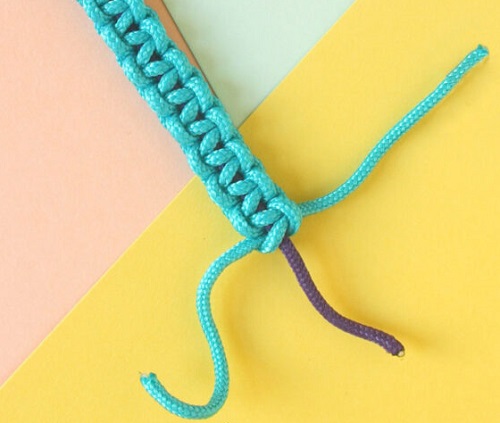
- If your knots look loose, pull the outside cords a little more firmly to close each loop. There is no need to tug hard; just make sure the knot holds its shape.
- When one side looks larger than the other, check the loops before tightening. Adjusting them while the cord is still loose is easier than trying to fix the shape afterward.
- If the row starts twisting, undo the last few knots and check the direction in which you worked. You usually don’t need to take the whole piece apart. A small correction may be enough to get back on track.